Elements
Elements represent individual people, items, or components needed to complete the work in a Breakdown Sheet.
Edit an Element
-
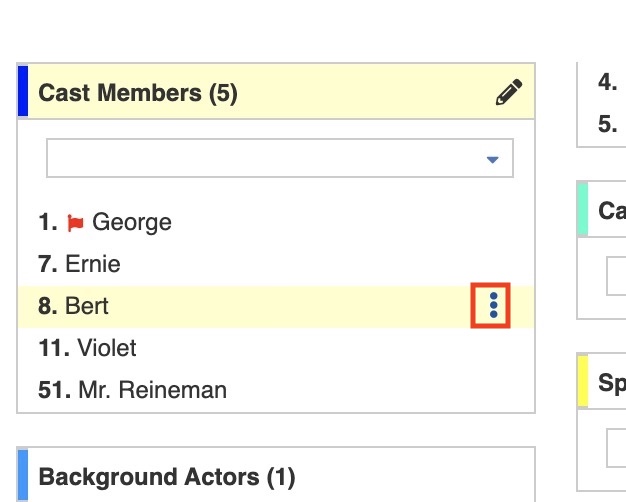
Select the Element and click on the three dots on the right of that element.
-
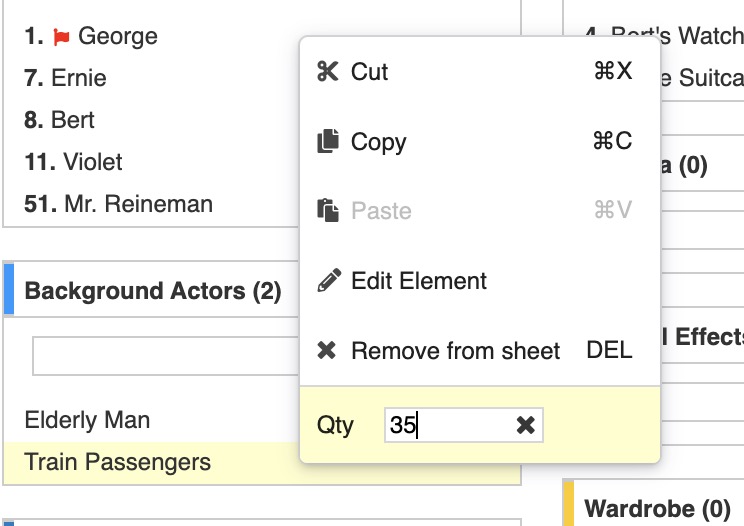
A dropdown menu will appear with different options: copy, cut, paste, remove from sheet, edit element, and quantity.
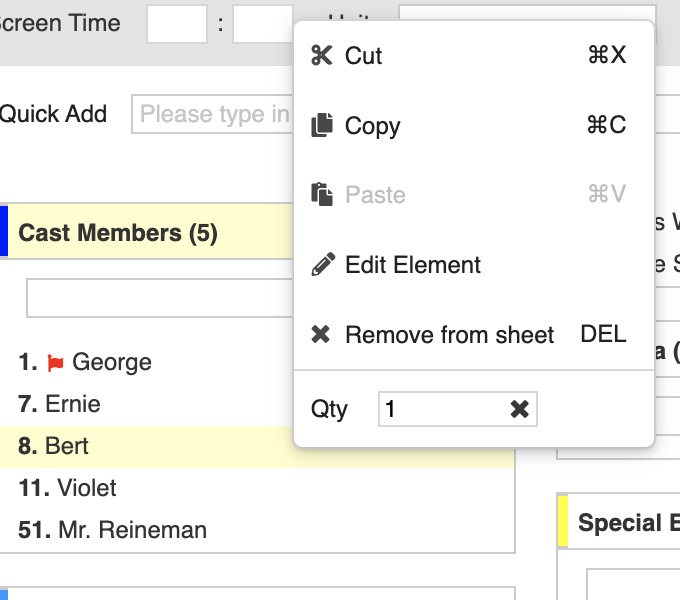
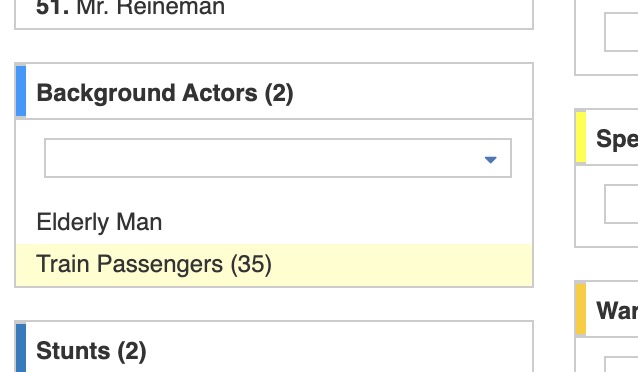
The quantity field allows you to add the amount needed for that element. For example, in the Background Actors category, if you need 35 passenger train, enter 35 in the Qty field.
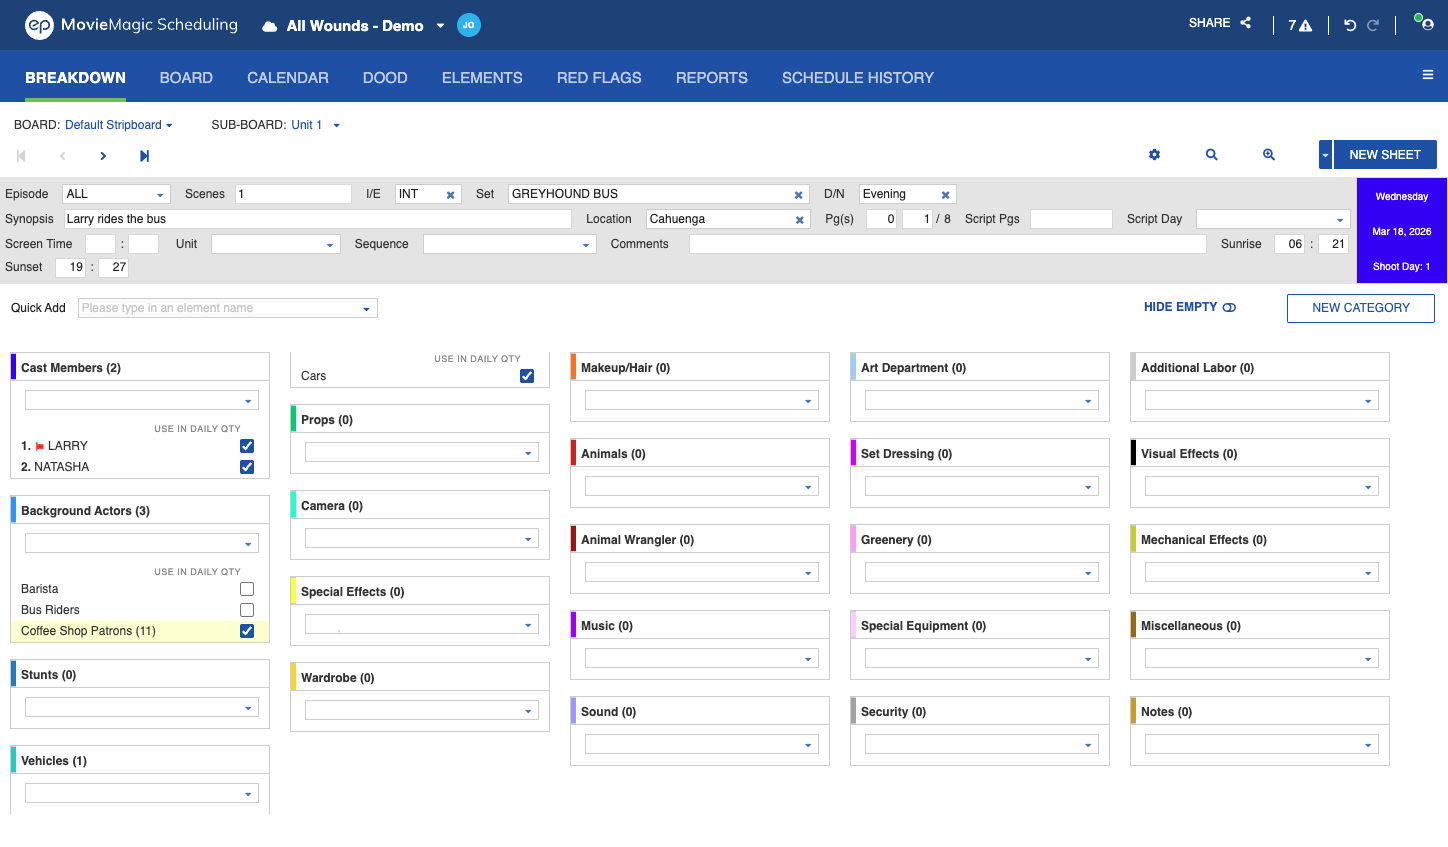
Use In Daily Qty
Each Element row on a Breakdown Sheet includes a Use In Daily Qty checkbox, checked by default. The checkbox sits next to the Quantity field and controls whether that Element's quantity is added to the daily totals shown on Day Break strips.
Uncheck Use In Daily Qty to flag the Element as reused across multiple scenes in the same day without counting more than once. The quantity remains editable when the checkbox is unchecked.
How Use In Daily Qty Affects Day Break Totals
- An unchecked Element still appears in the per-strip Element list by name and quantity.
- An unchecked Element does not contribute to the category count on the Day Break strip for that day.
- A checked Element contributes its quantity to the Day Break category count as it always has.
Example
A 30-person extras group appears in 4 scenes on the same day:
- Use In Daily Qty checked on all 4 occurrences: the Day Break extras count reads
120. - Use In Daily Qty unchecked on all 4 occurrences: the Day Break extras count reads
0. The element still appears in the per-strip Element list but does not contribute to the daily total.

Note
Day Break totals, One-line Schedule reports, PDF exports, and print outputs all respect the Use In Daily Qty flag.
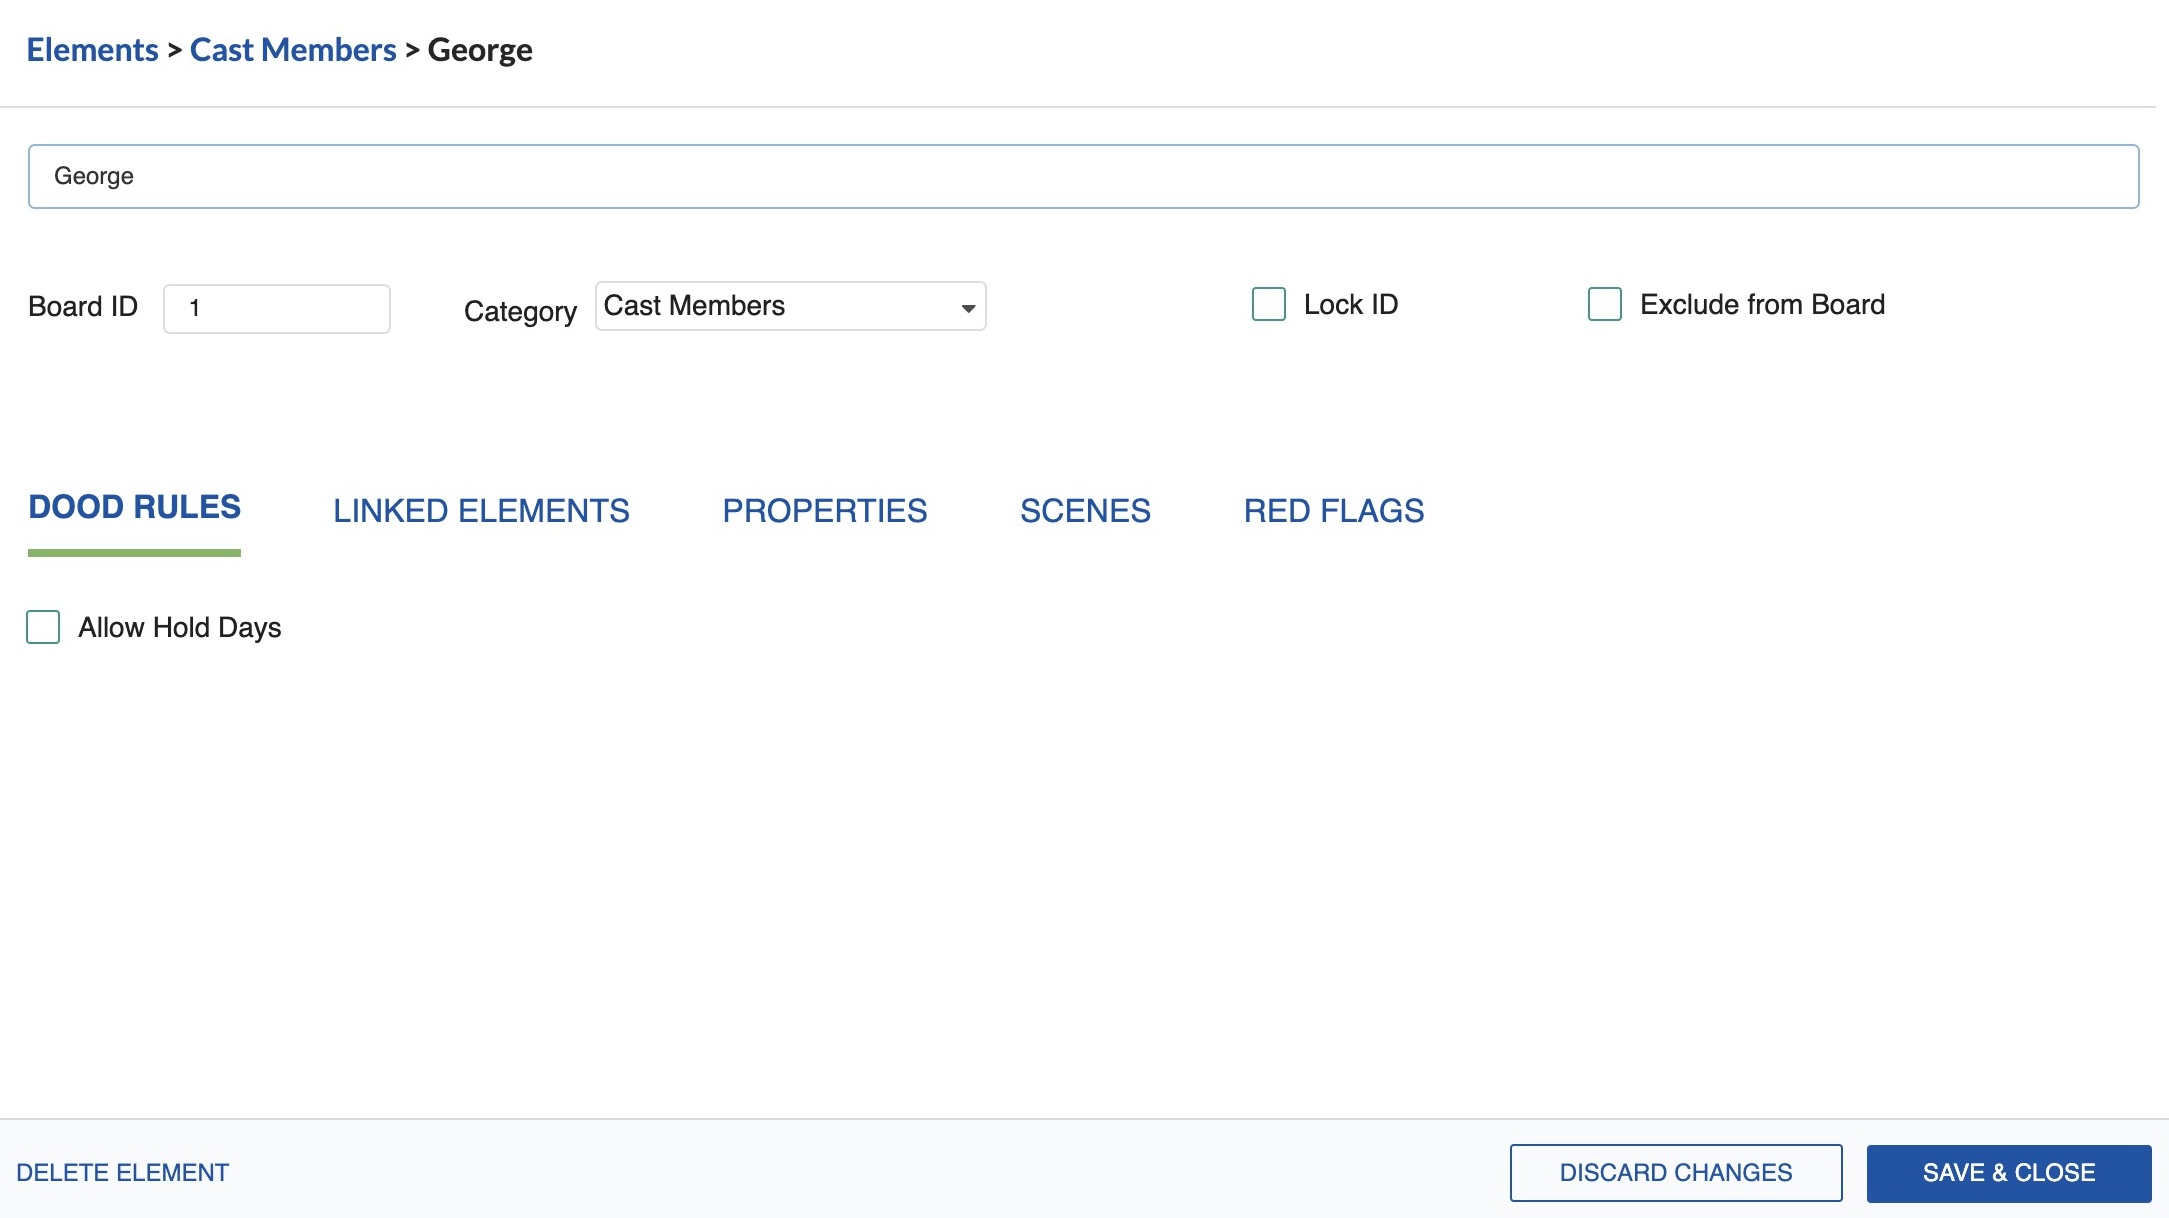
Element Window
When selecting the edit option or double-clicking on an element, the window with all of its properties opens.
Quick Add Elements
Go to Quick Add Elements for more.
Search Elements
- Clicking on the search icon (magnifying glass) will show all the search options.
-
Fill in the required options: Find, Containing, and Replace With, if needed.

On the right side, you will find the number of sheets containing that element. You can navigate through the sheets containing the element by clicking on the left or right arrows.

Copy an Element
To copy Elements to another Breakdown Sheet:
- Click to select one or more Elements in their current Category.
- Press CMD + C on macOS or CTRL + C on Windows. Or right-click on a selected Element and select Copy.
- Navigate to the Breakdown Sheet where you want to add the Element(s).
- Press CMD + V on macOS or CTRL + V on Windows to paste.
Move an Element
To move Elements to another Breakdown Sheet:
- Click to select one or more Elements in their current Category.
- Right-click on a selected Element and select Cut.
- Navigate to the target Breakdown Sheet.
- Press CMD + V on macOS or CTRL + V on Windows to paste.
Remove an Element
To remove an Element from a Breakdown Sheet:
- Select the Element and click on the three dots on the right.
- Select Remove from sheet.