Reports
Generate One-line Schedule, Shooting Schedule, DOOD, Element, and other reports from Movie Magic Scheduling.
To Access Reports
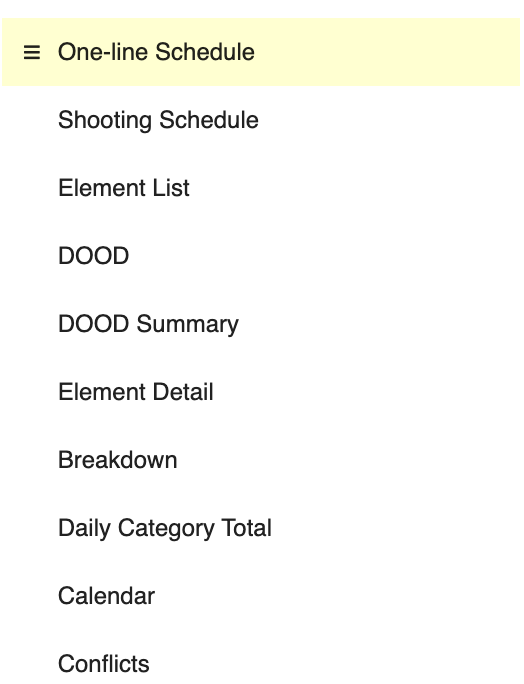
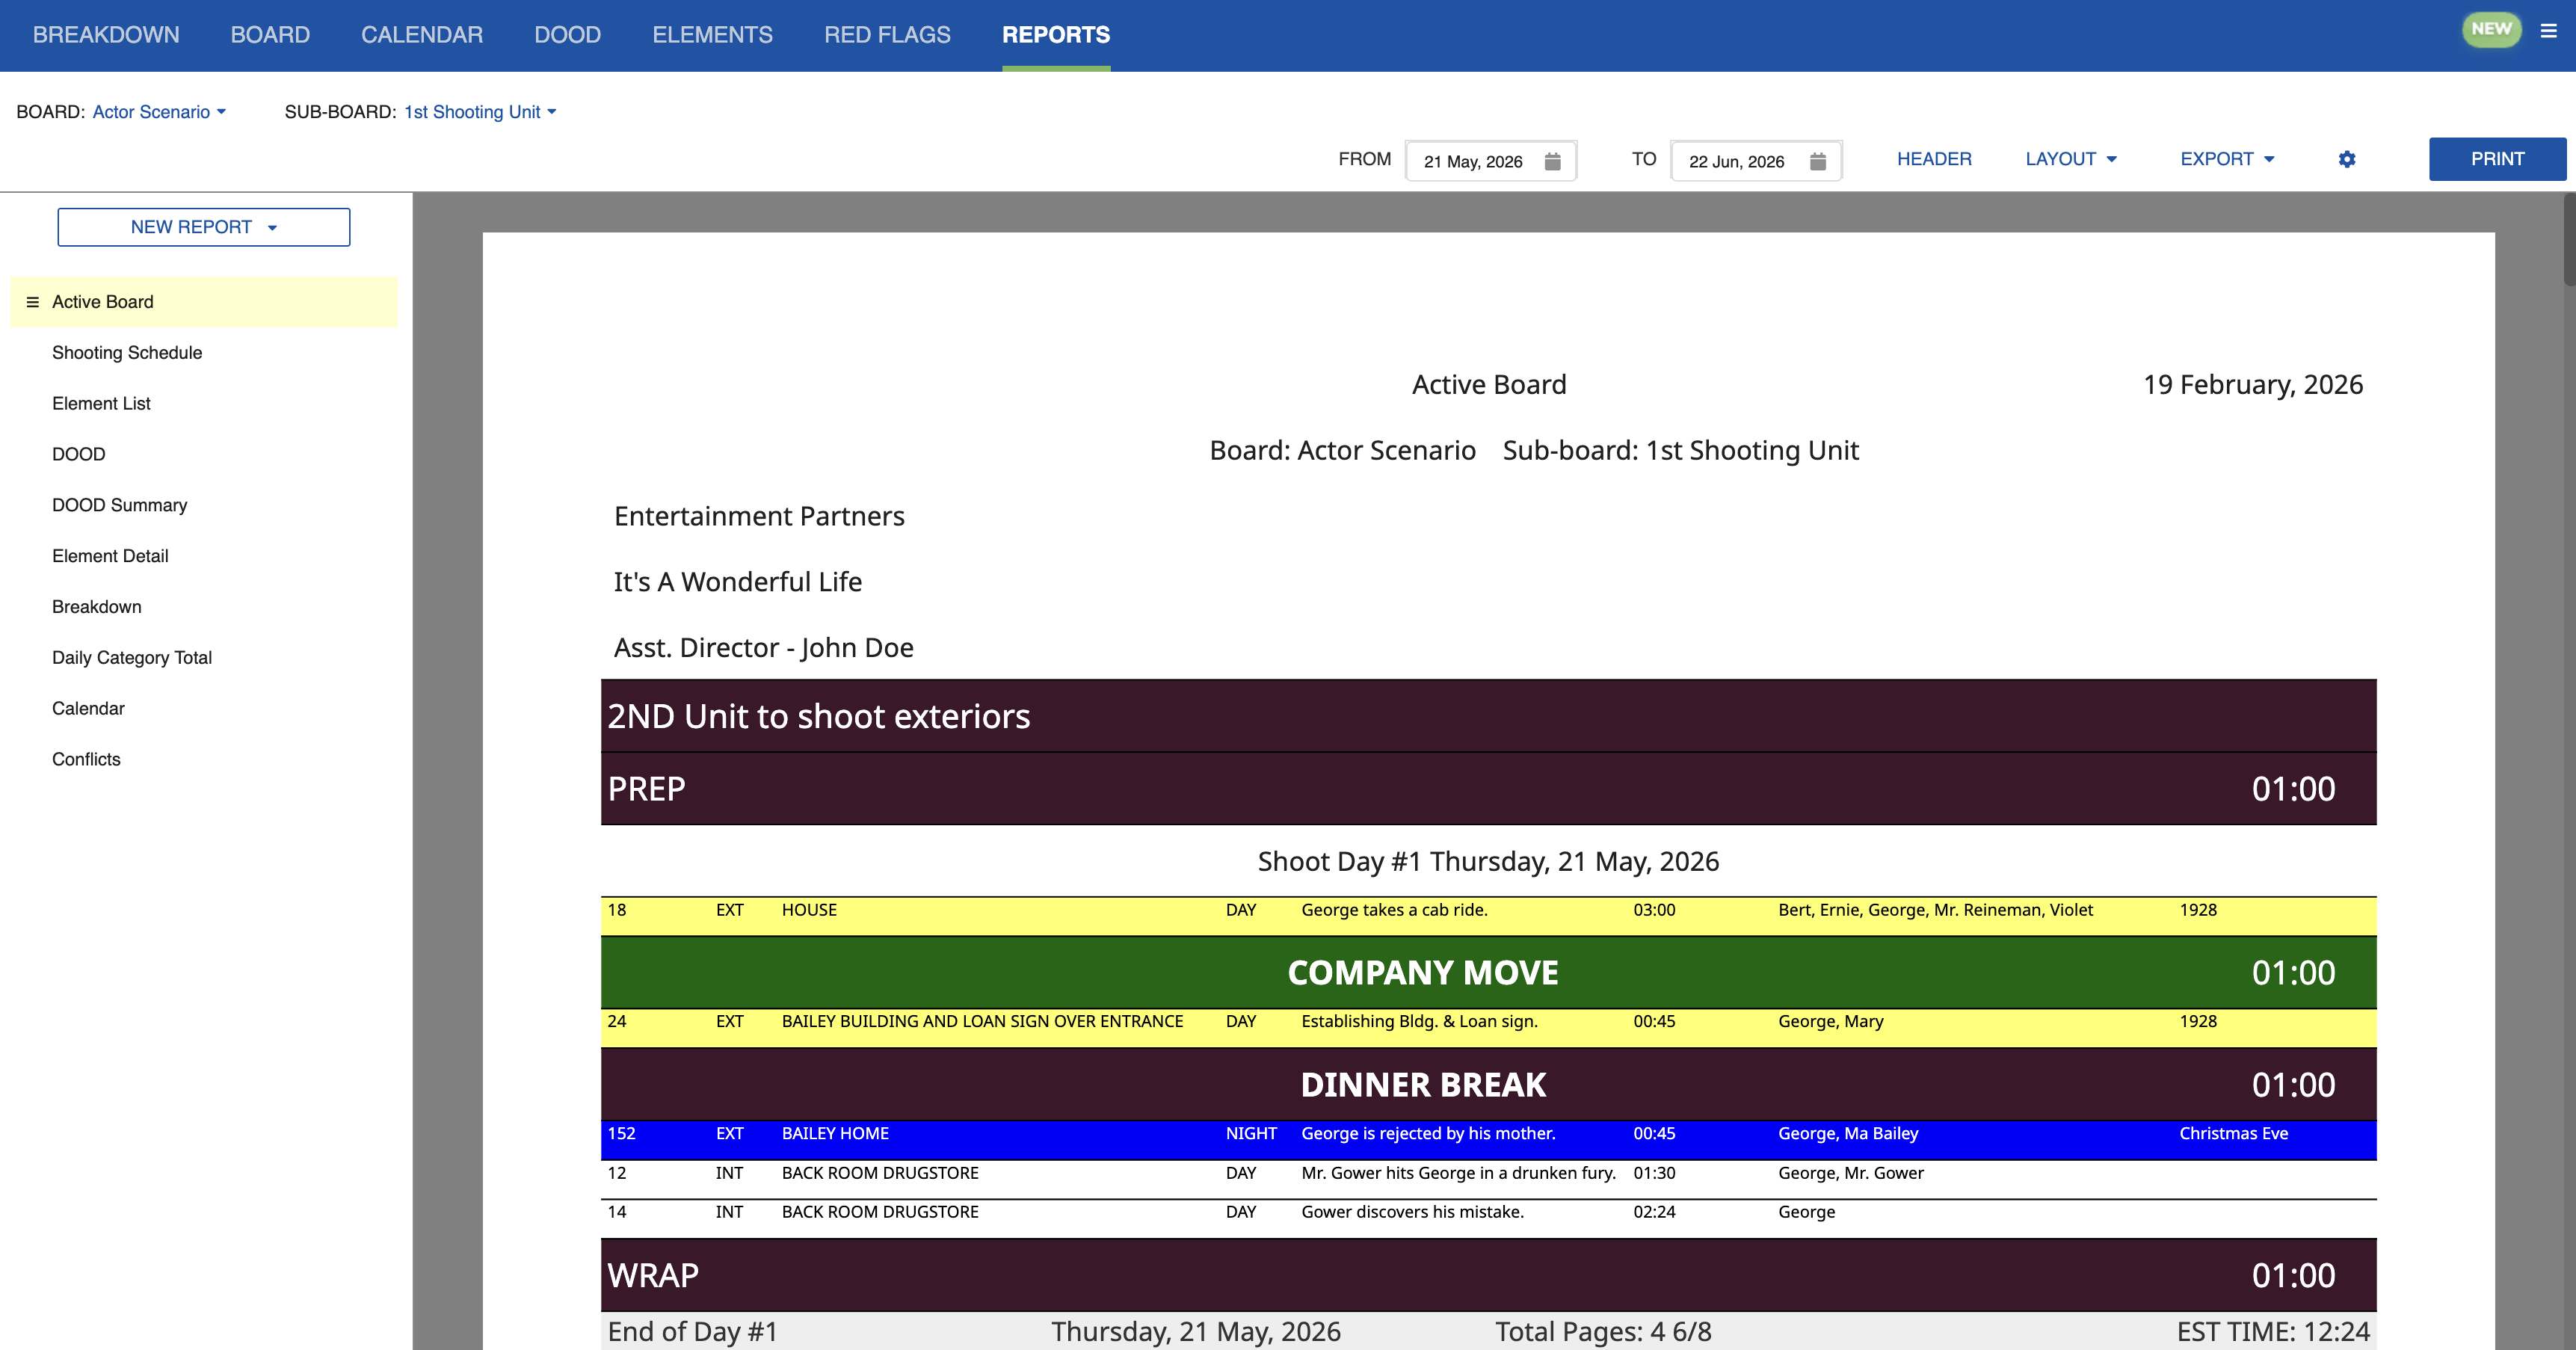
- Click the Reports tab in the navigation bar.
- Select a Report.
- A preview of the Report will display.
- Click EXPORT PDF to download a PDF, or click PRINT to generate a preview and print.
You can drag and drop Reports into your preferred order. You can also create custom Reports. Note that you can also download and print your work directly from the Board and Calendar tabs.
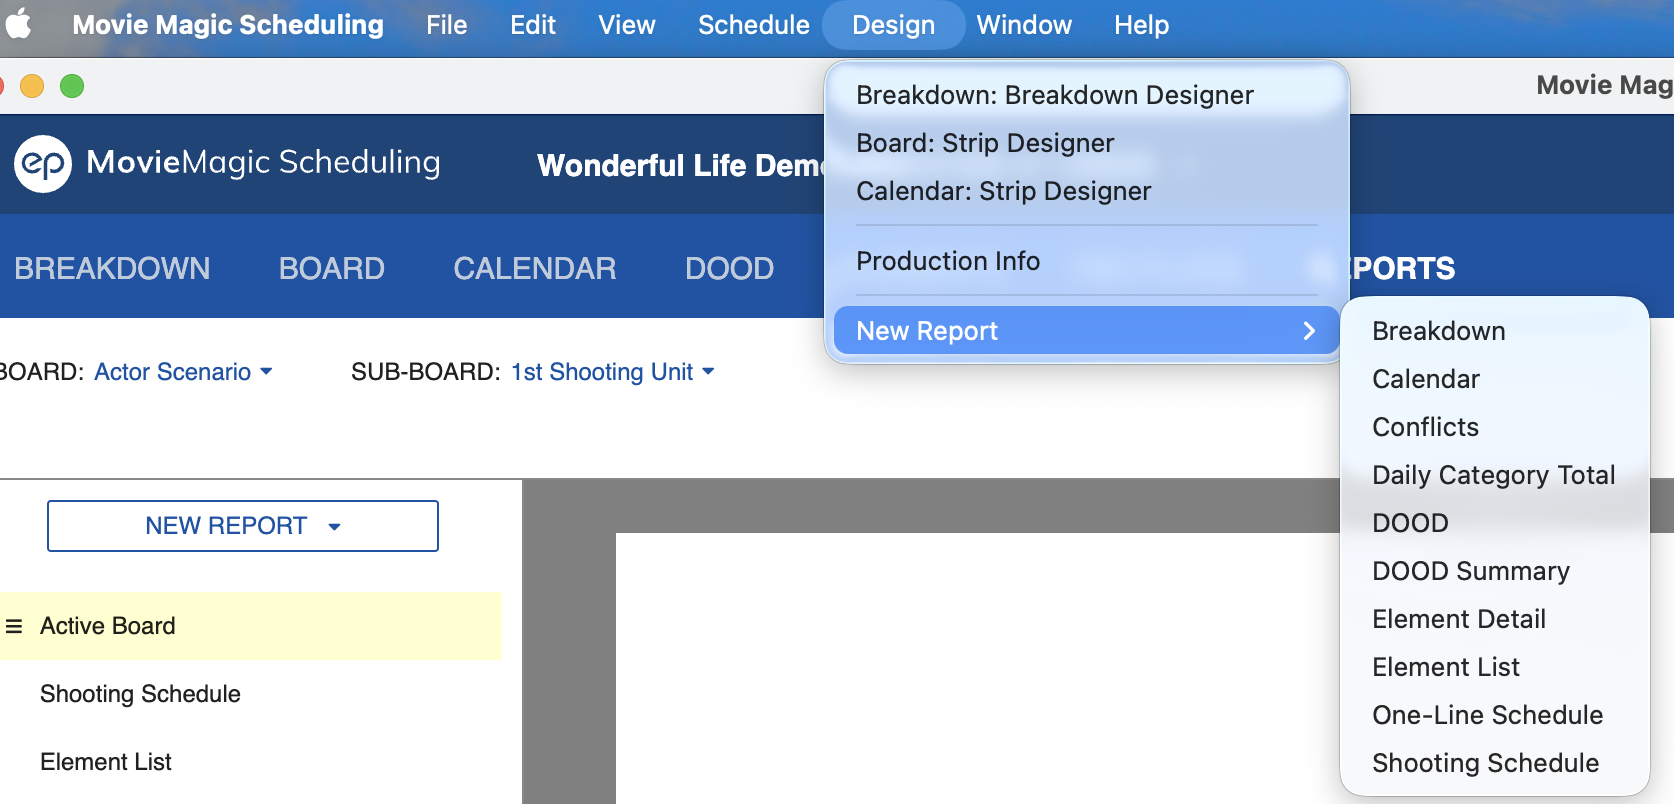
To access a new report from the Design menu, select Design > New Report.
Selecting the Correct Board & Sub-Board and Date Range

Before generating a report, select the appropriate Board and Sub-Board from the selectors at the top of the Reports tab. You can also set a date range to limit the report to a specific period.
Selecting the Layout and Output of Your Report
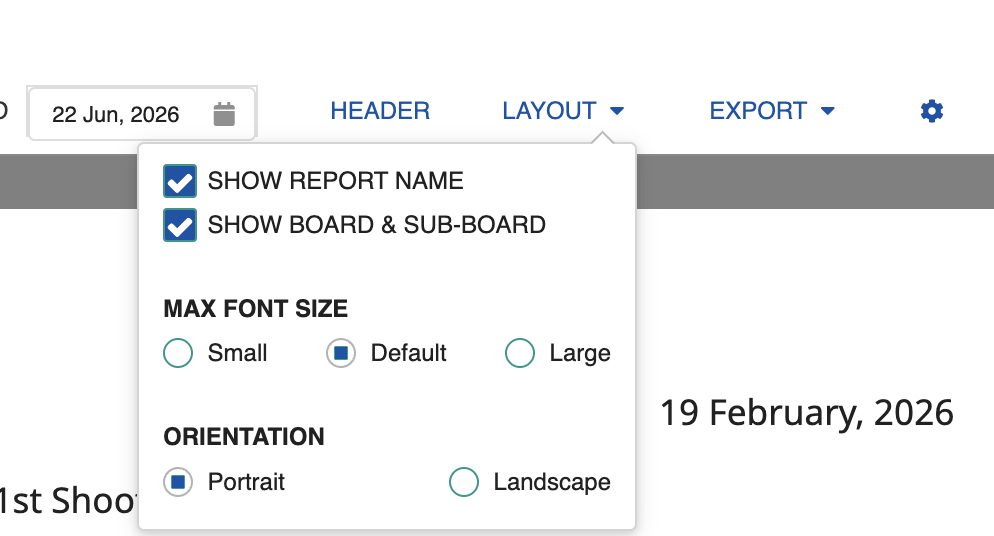
- Click the LAYOUT menu in the header.
- Choose to include or exclude information by selecting or deselecting the SHOW REPORT NAME and SHOW BOARD & SUB-BOARD checkboxes.
- Select from the font size options (under MAX FONT SIZE): Small, Default, or Large.
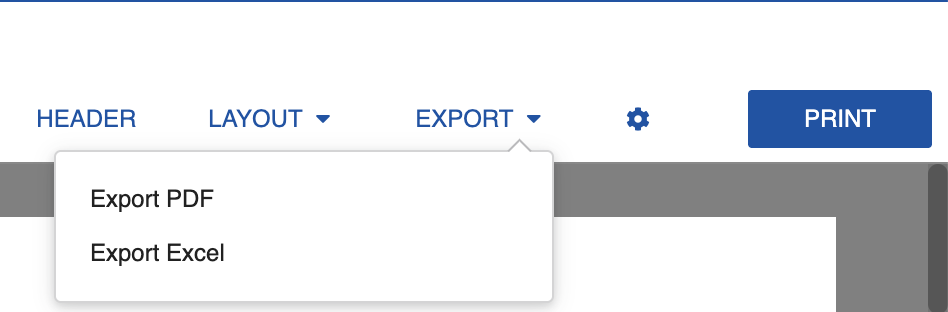
To export your report, click EXPORT PDF to download a PDF or EXPORT EXCEL to download a spreadsheet (available on select reports).
The Settings icon (cog) also allows you to edit, delete, or duplicate your chosen report.
To Set Up Report Header (Common to All Reports)
The report header can include your production name, company, and other identifying information. Set up the header from the Design menu.
- Go to Design > Production Info.
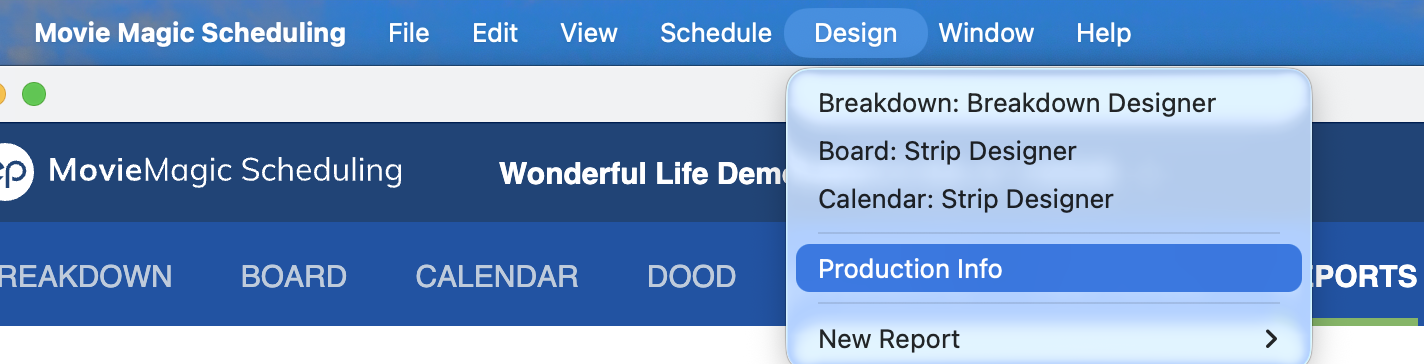
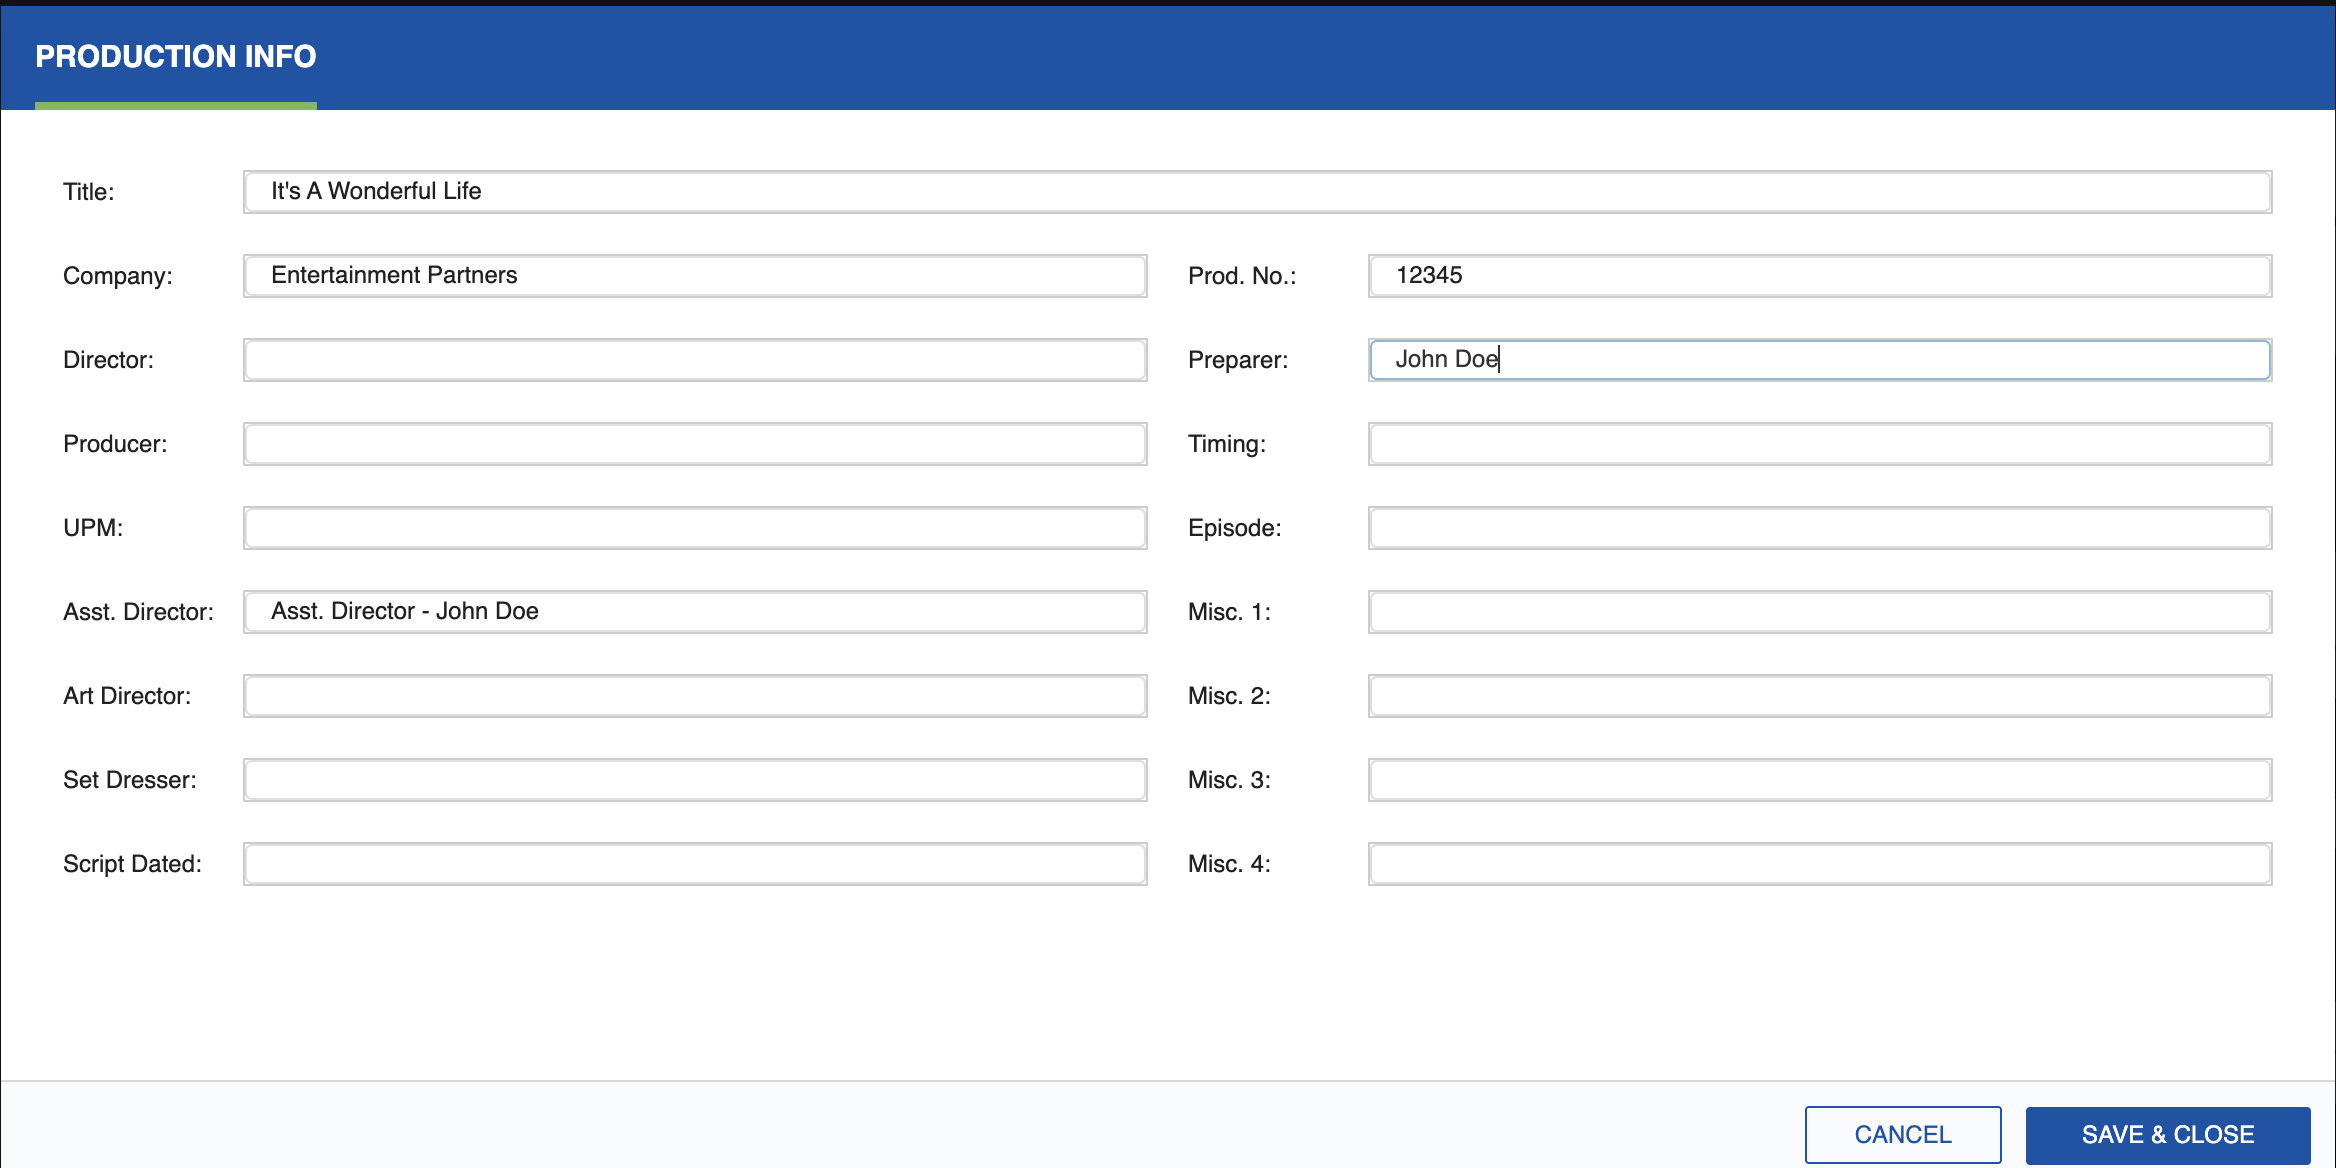
- The Production Info dialog opens.
-
Populate the fields to create a header for all your reports. When entering an individual's name, include the role. For example, in the Asst Dir. field enter "Asst. Dir. John Doe". A preview of your selection appears at the bottom of the dialog. Click SAVE & CLOSE when done.
-
Click Header to open the Header dialog.
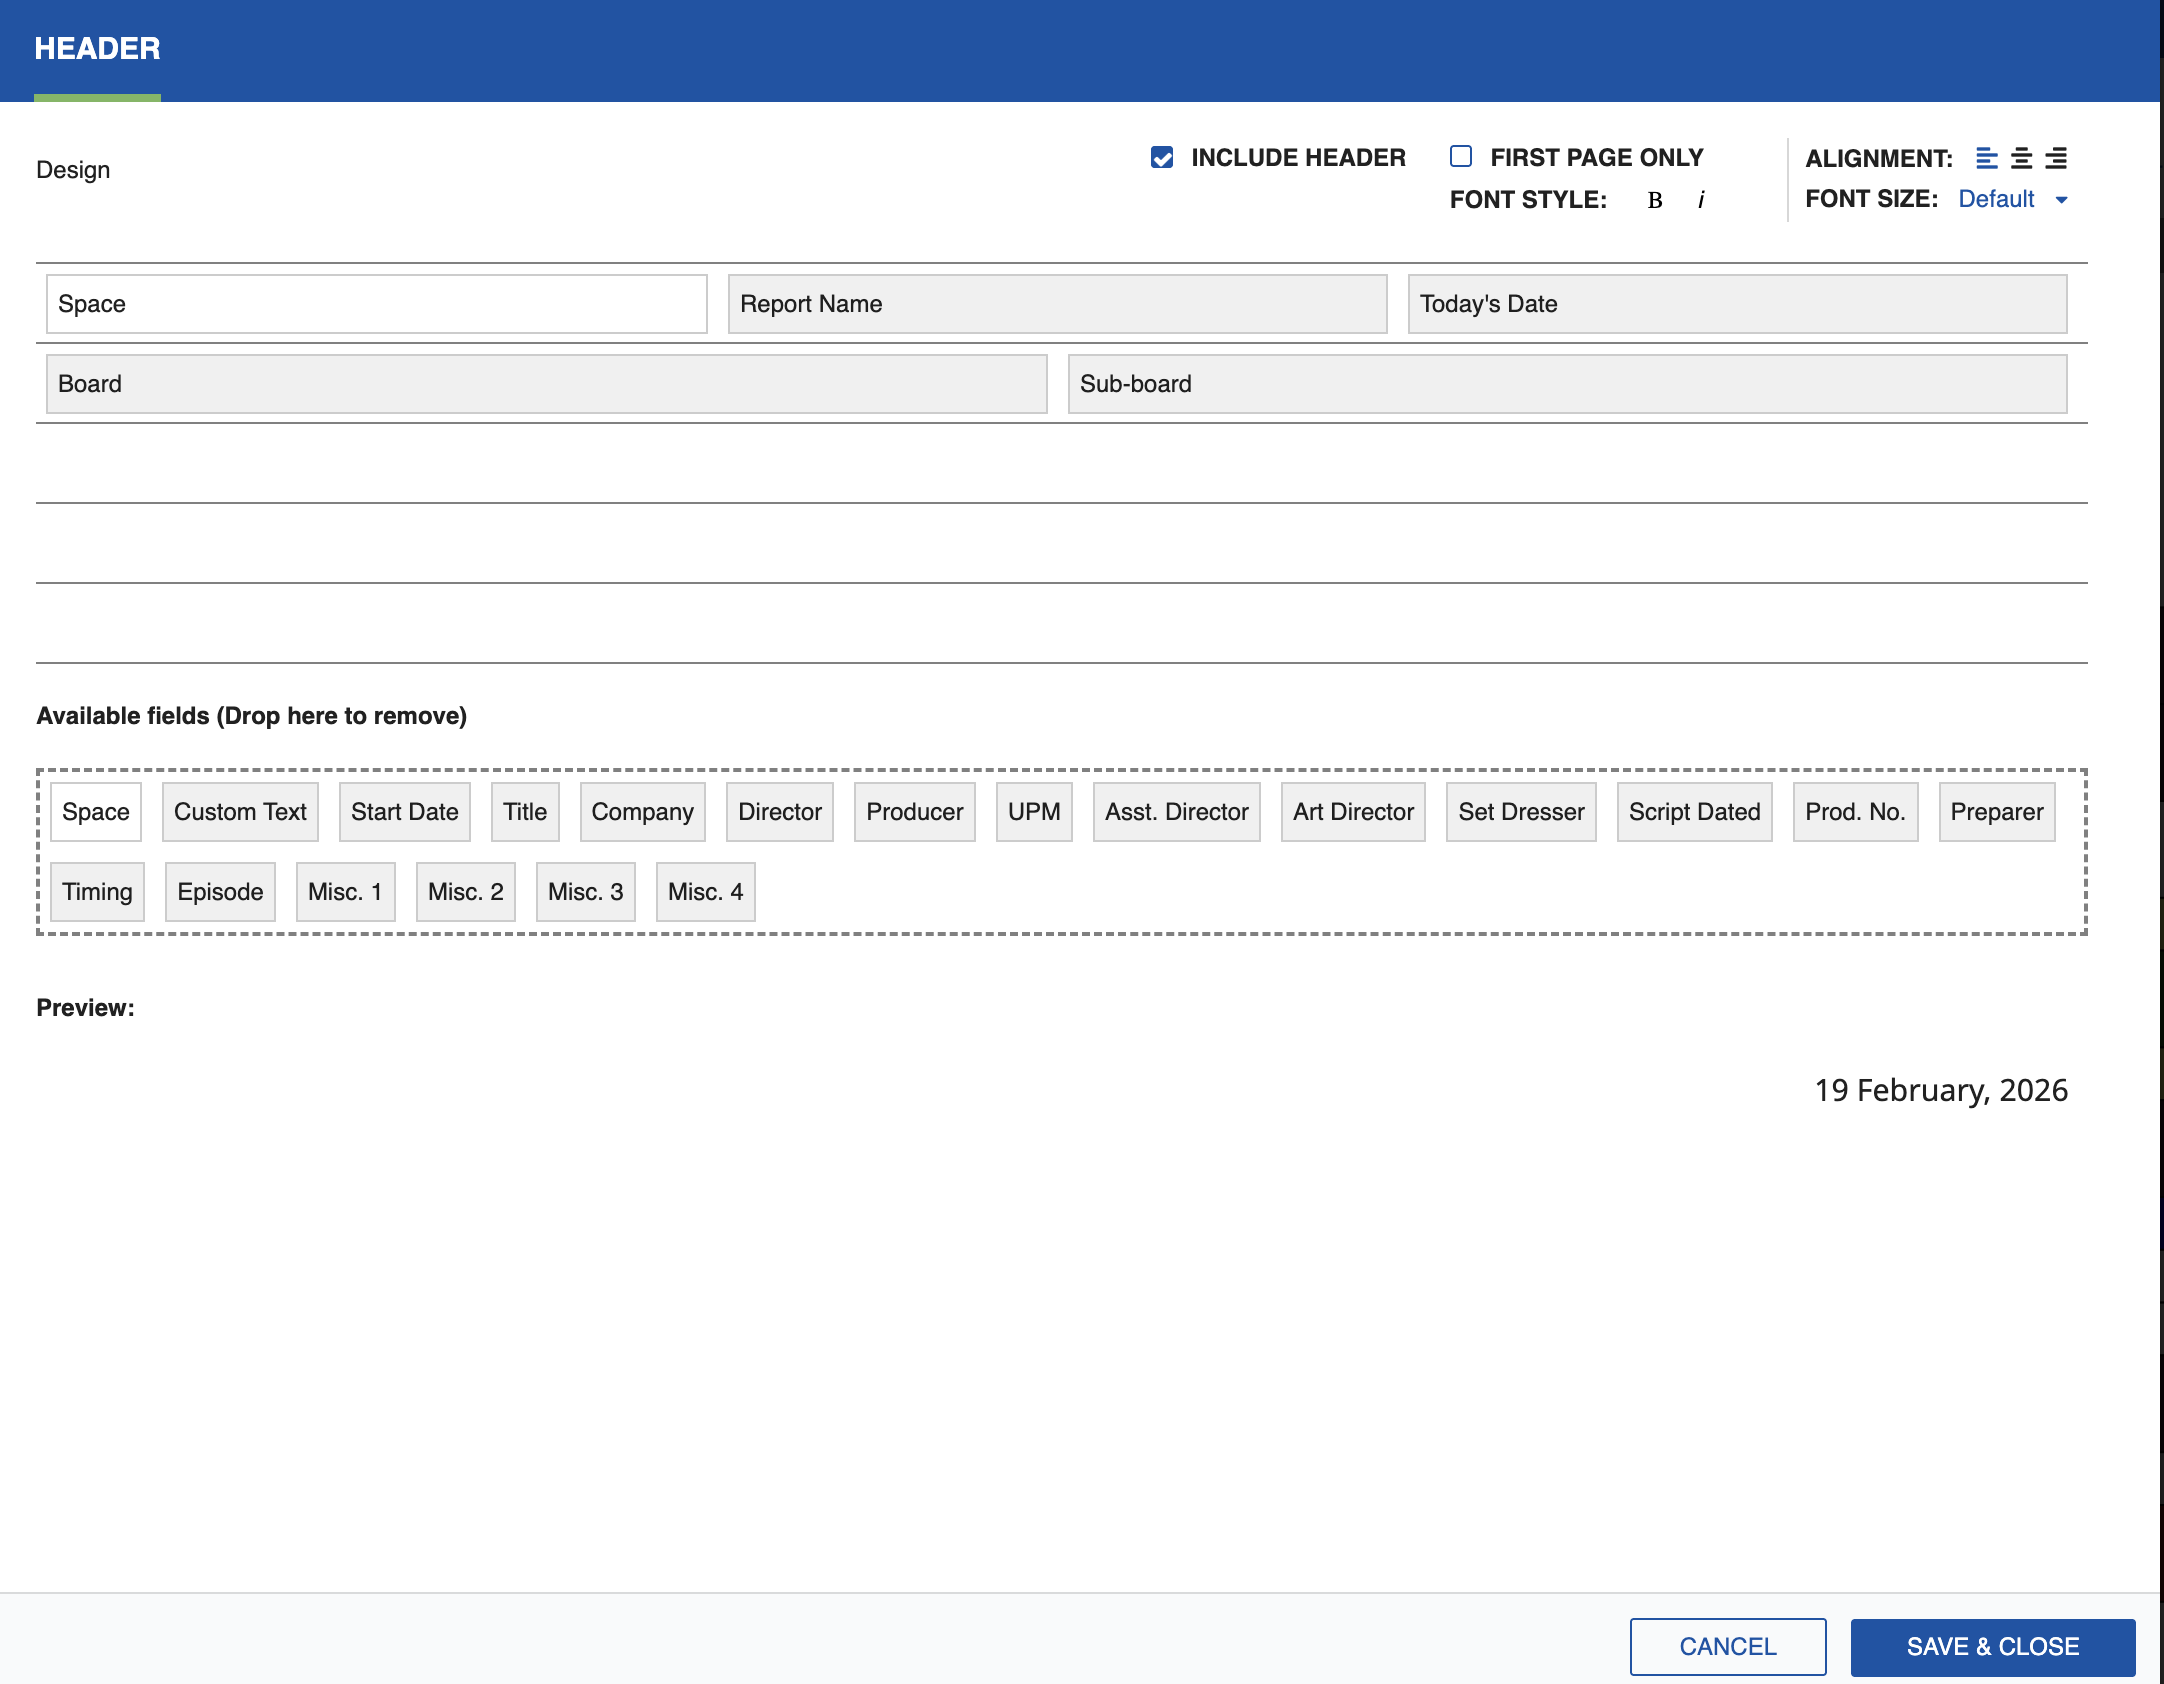
- Design the header by dragging and dropping your chosen fields.
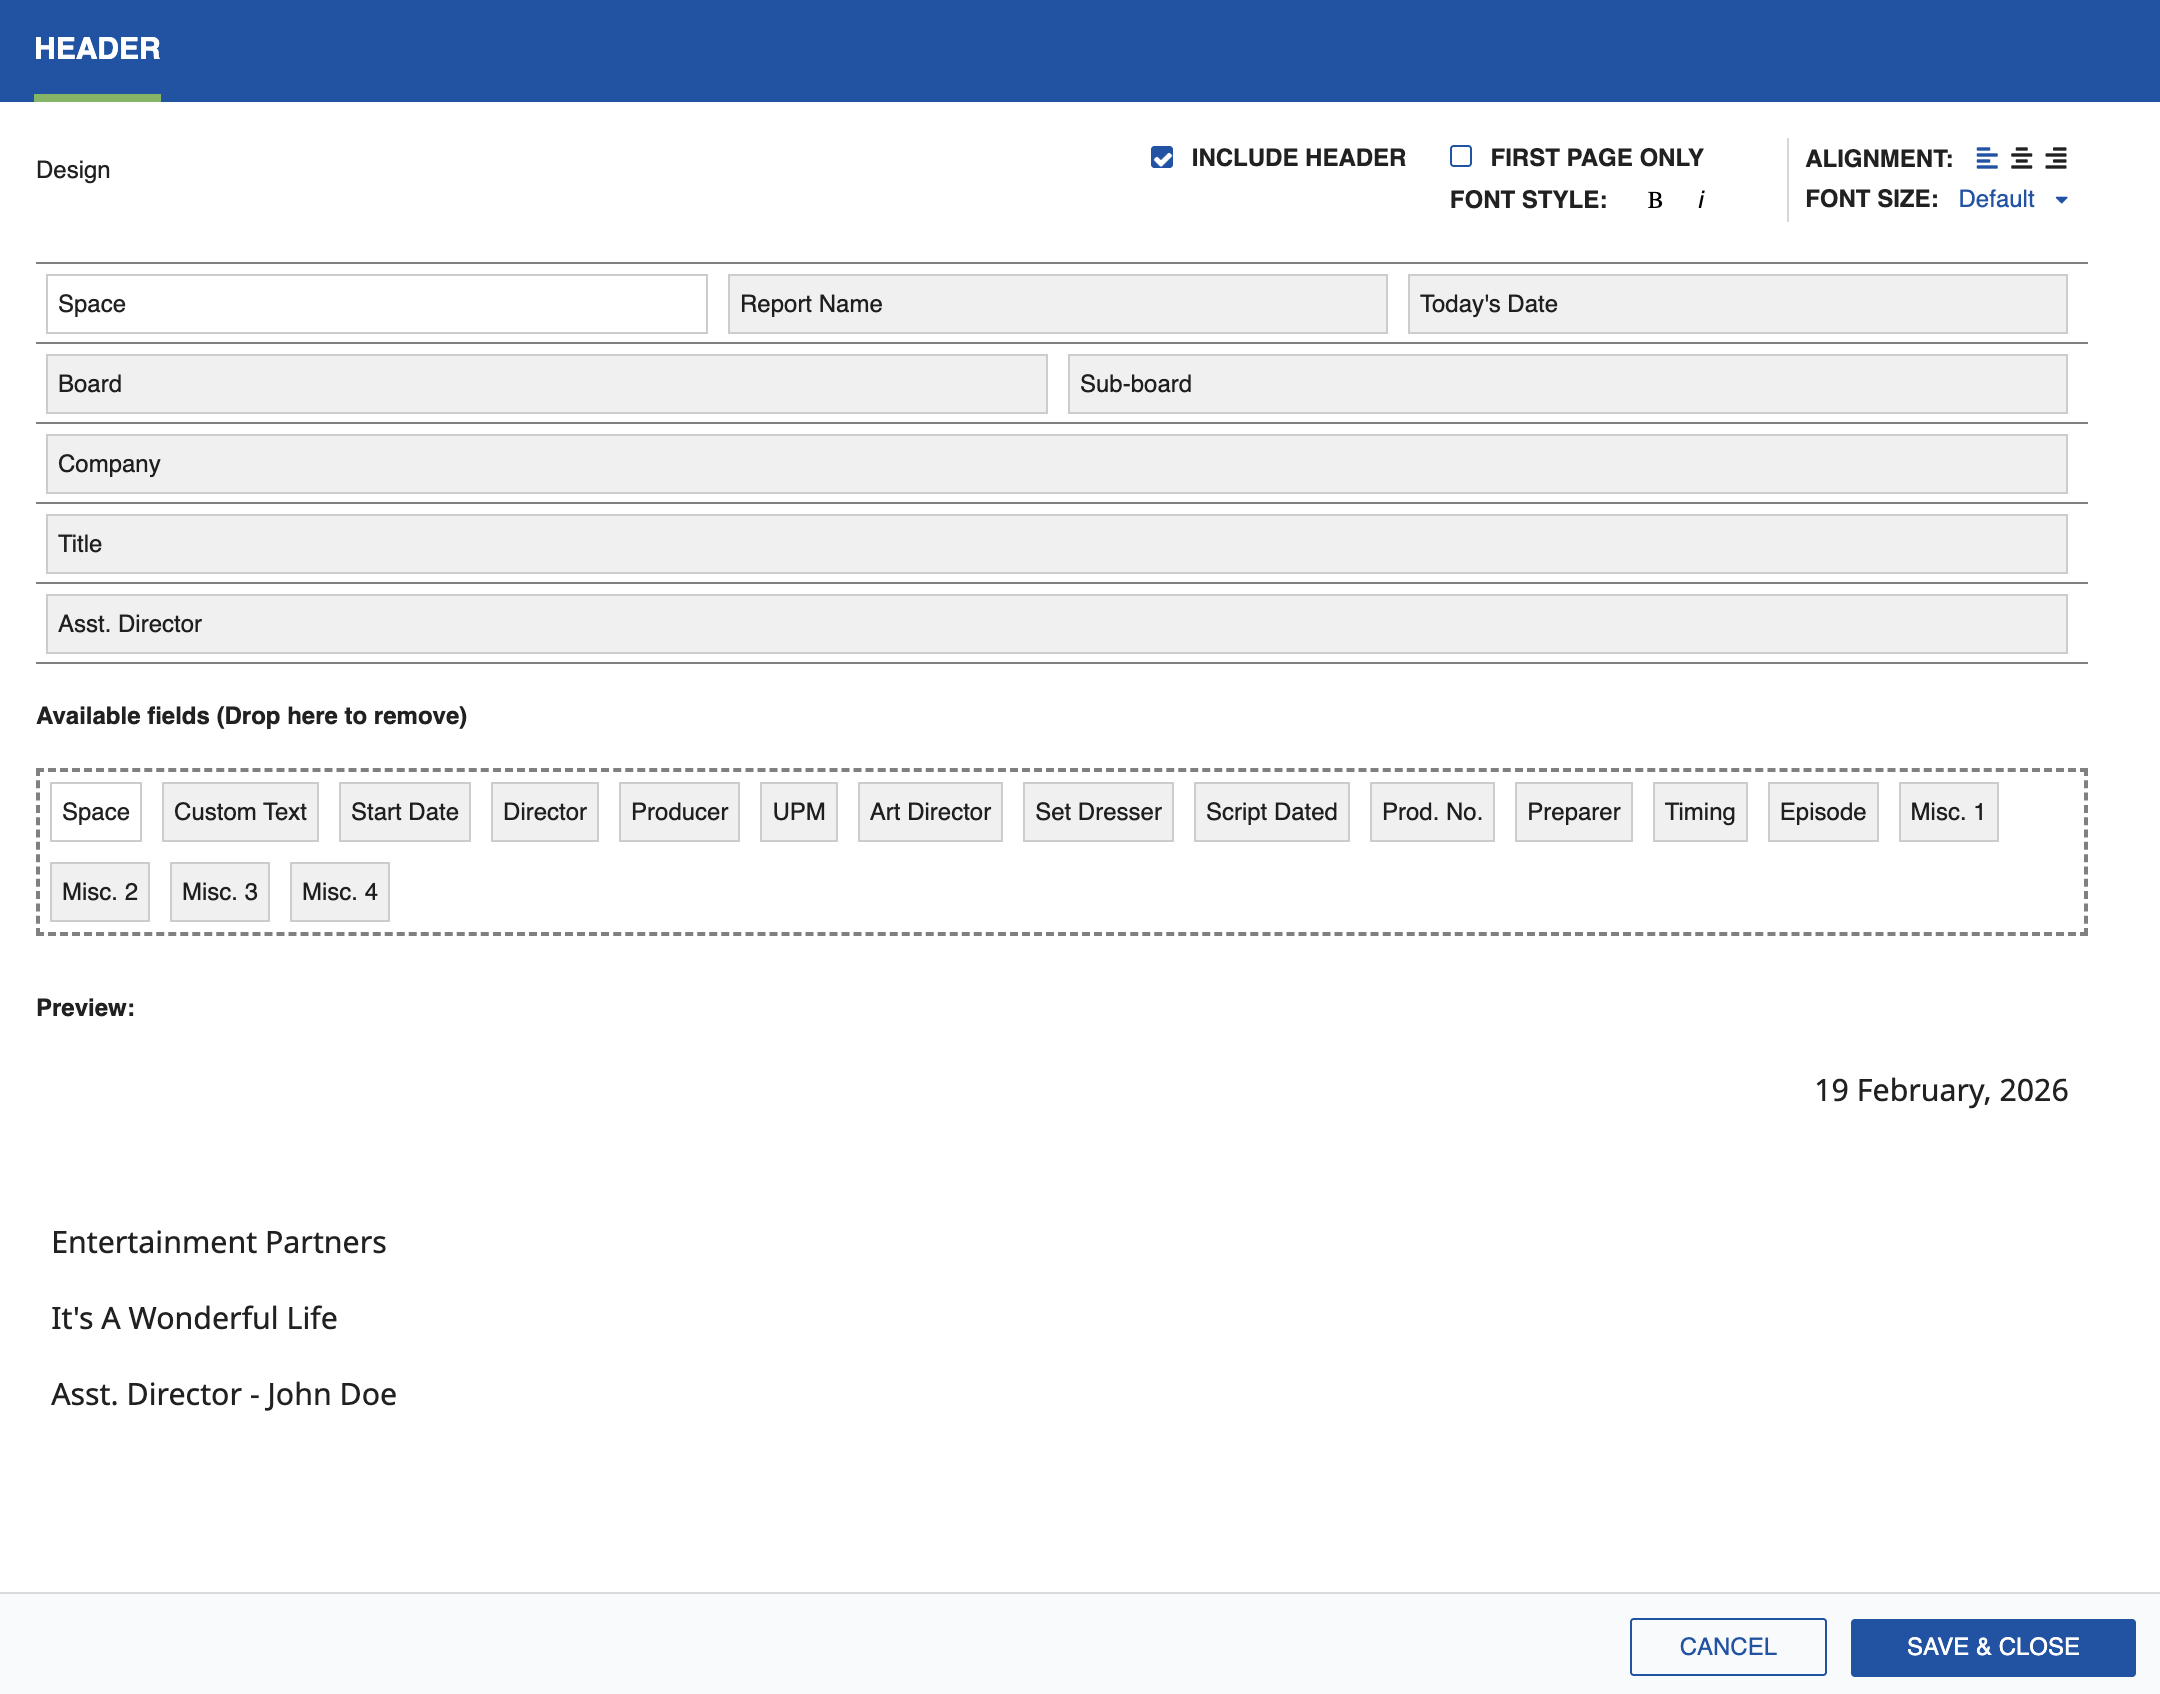
- Click SAVE & CLOSE. Your header will now appear on each of your reports.
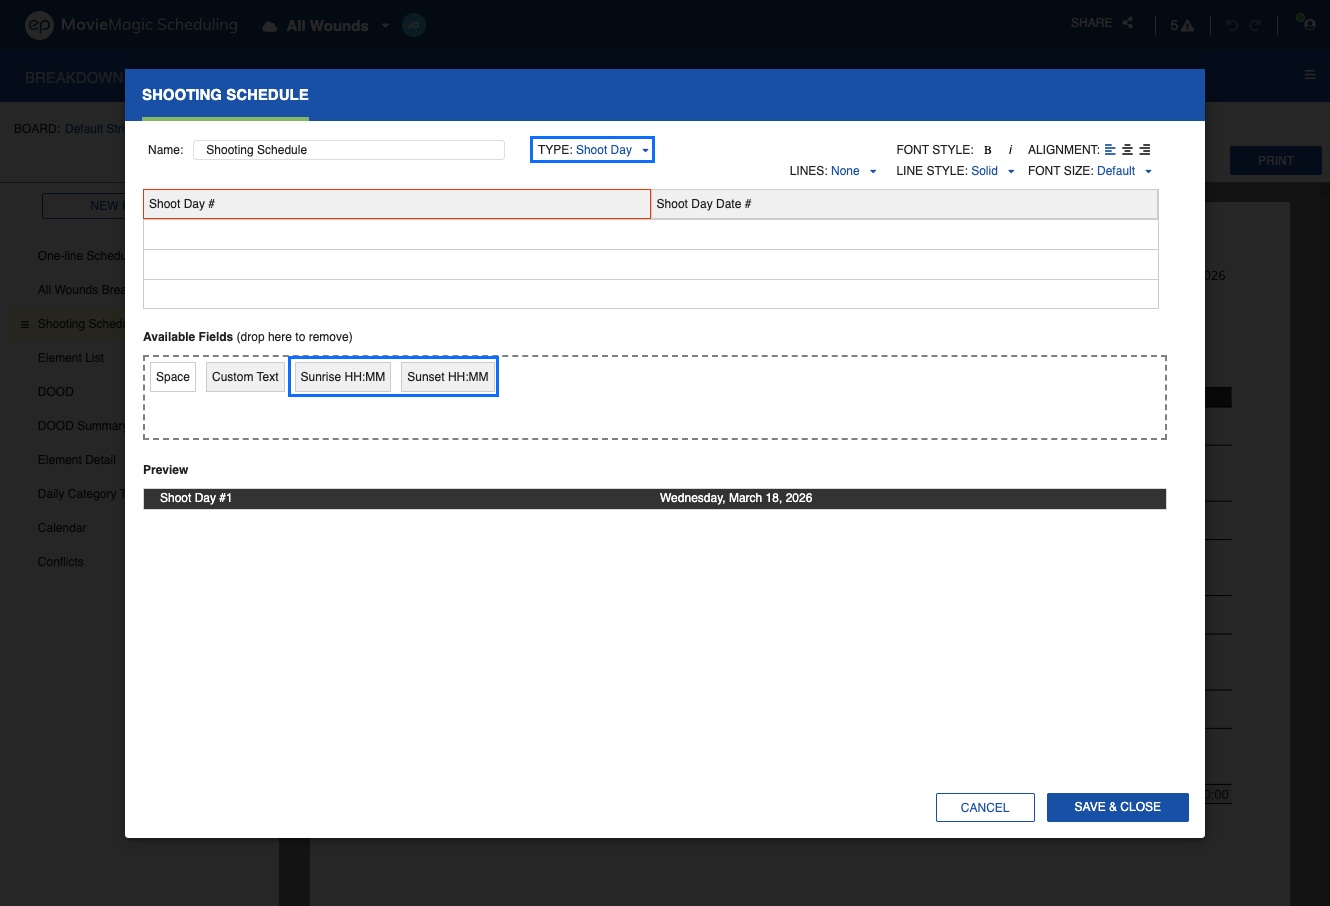
Shoot Day Designer in Reports
The Reports tab includes a Shoot Day designer that matches the one on the Board. Banners and Shoot Day layouts hold the position you set on the Board when you print from Reports. A banner placed under a shoot day reproduces under that day in the printed report, rather than on top of it.
Set TYPE to Shoot Day in the report designer to configure the Shoot Day strip. The same Day Break and Shoot Day fields available on the Board, including Sunrise and Sunset, are available here.