One-line Schedule
The One-line Schedule displays all Strips in the currently selected Board and Sub-Board with a single horizontal Strip per Breakdown Sheet, Banner, and Day Break.
Selecting Sub-Boards for the Export
The One-line Schedule export dialog includes a checkbox list of all Sub-Boards in the active Stripboard. All Sub-Boards are selected by default, with the Boneyard excluded. The dialog shows a count when multiple Sub-Boards are selected, or the Sub-Board name when only one is selected.
Select All and None shortcuts are available in the dropdown.

Merged Multi-Unit Output
Selecting multiple Sub-Boards produces a single PDF with shoot days from all units ordered by calendar date.
Within a shared date:
- Each unit's Strips are preceded by a banner row showing the unit name.
- Each unit has its own
End of Day #N [unit name]row.
A date that exists in only one unit shows only that unit's Strips, with no empty Day Break rows for the other units.
Note
Selecting a single Sub-Board with no element filter produces the same output as the single-board export from earlier releases. Nothing changes for the single-unit workflow.
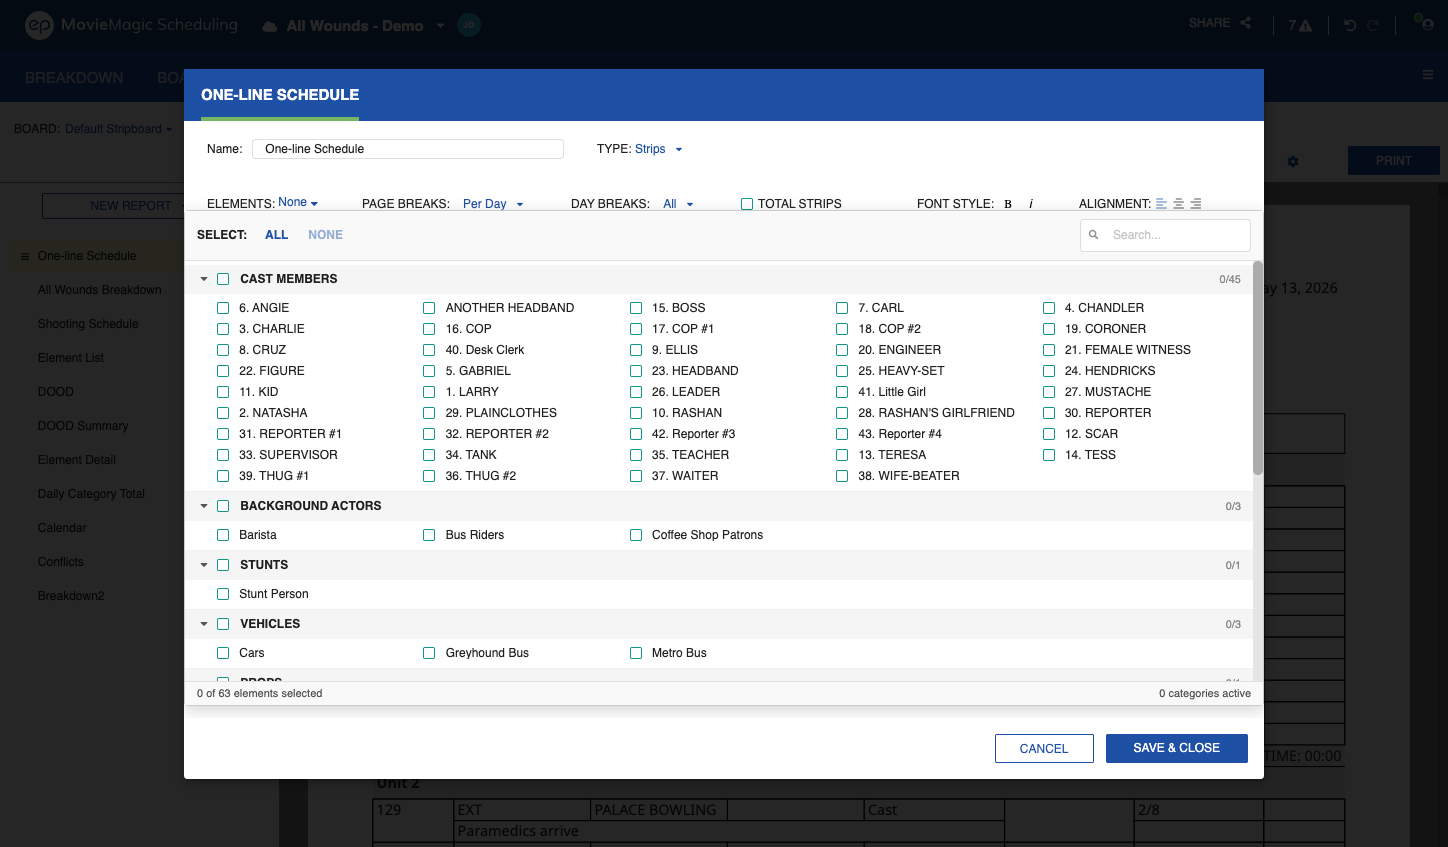
Element Filter
An optional element filter narrows the export to scenes that contain specified Elements. The filter UI is a searchable category-and-element accordion with:
- A checkbox per Category and per Element
- Selected/total counts per Category
- All / None shortcuts
Shoot days with no matching scenes are dropped entirely, so the report does not contain empty Day Break rows.
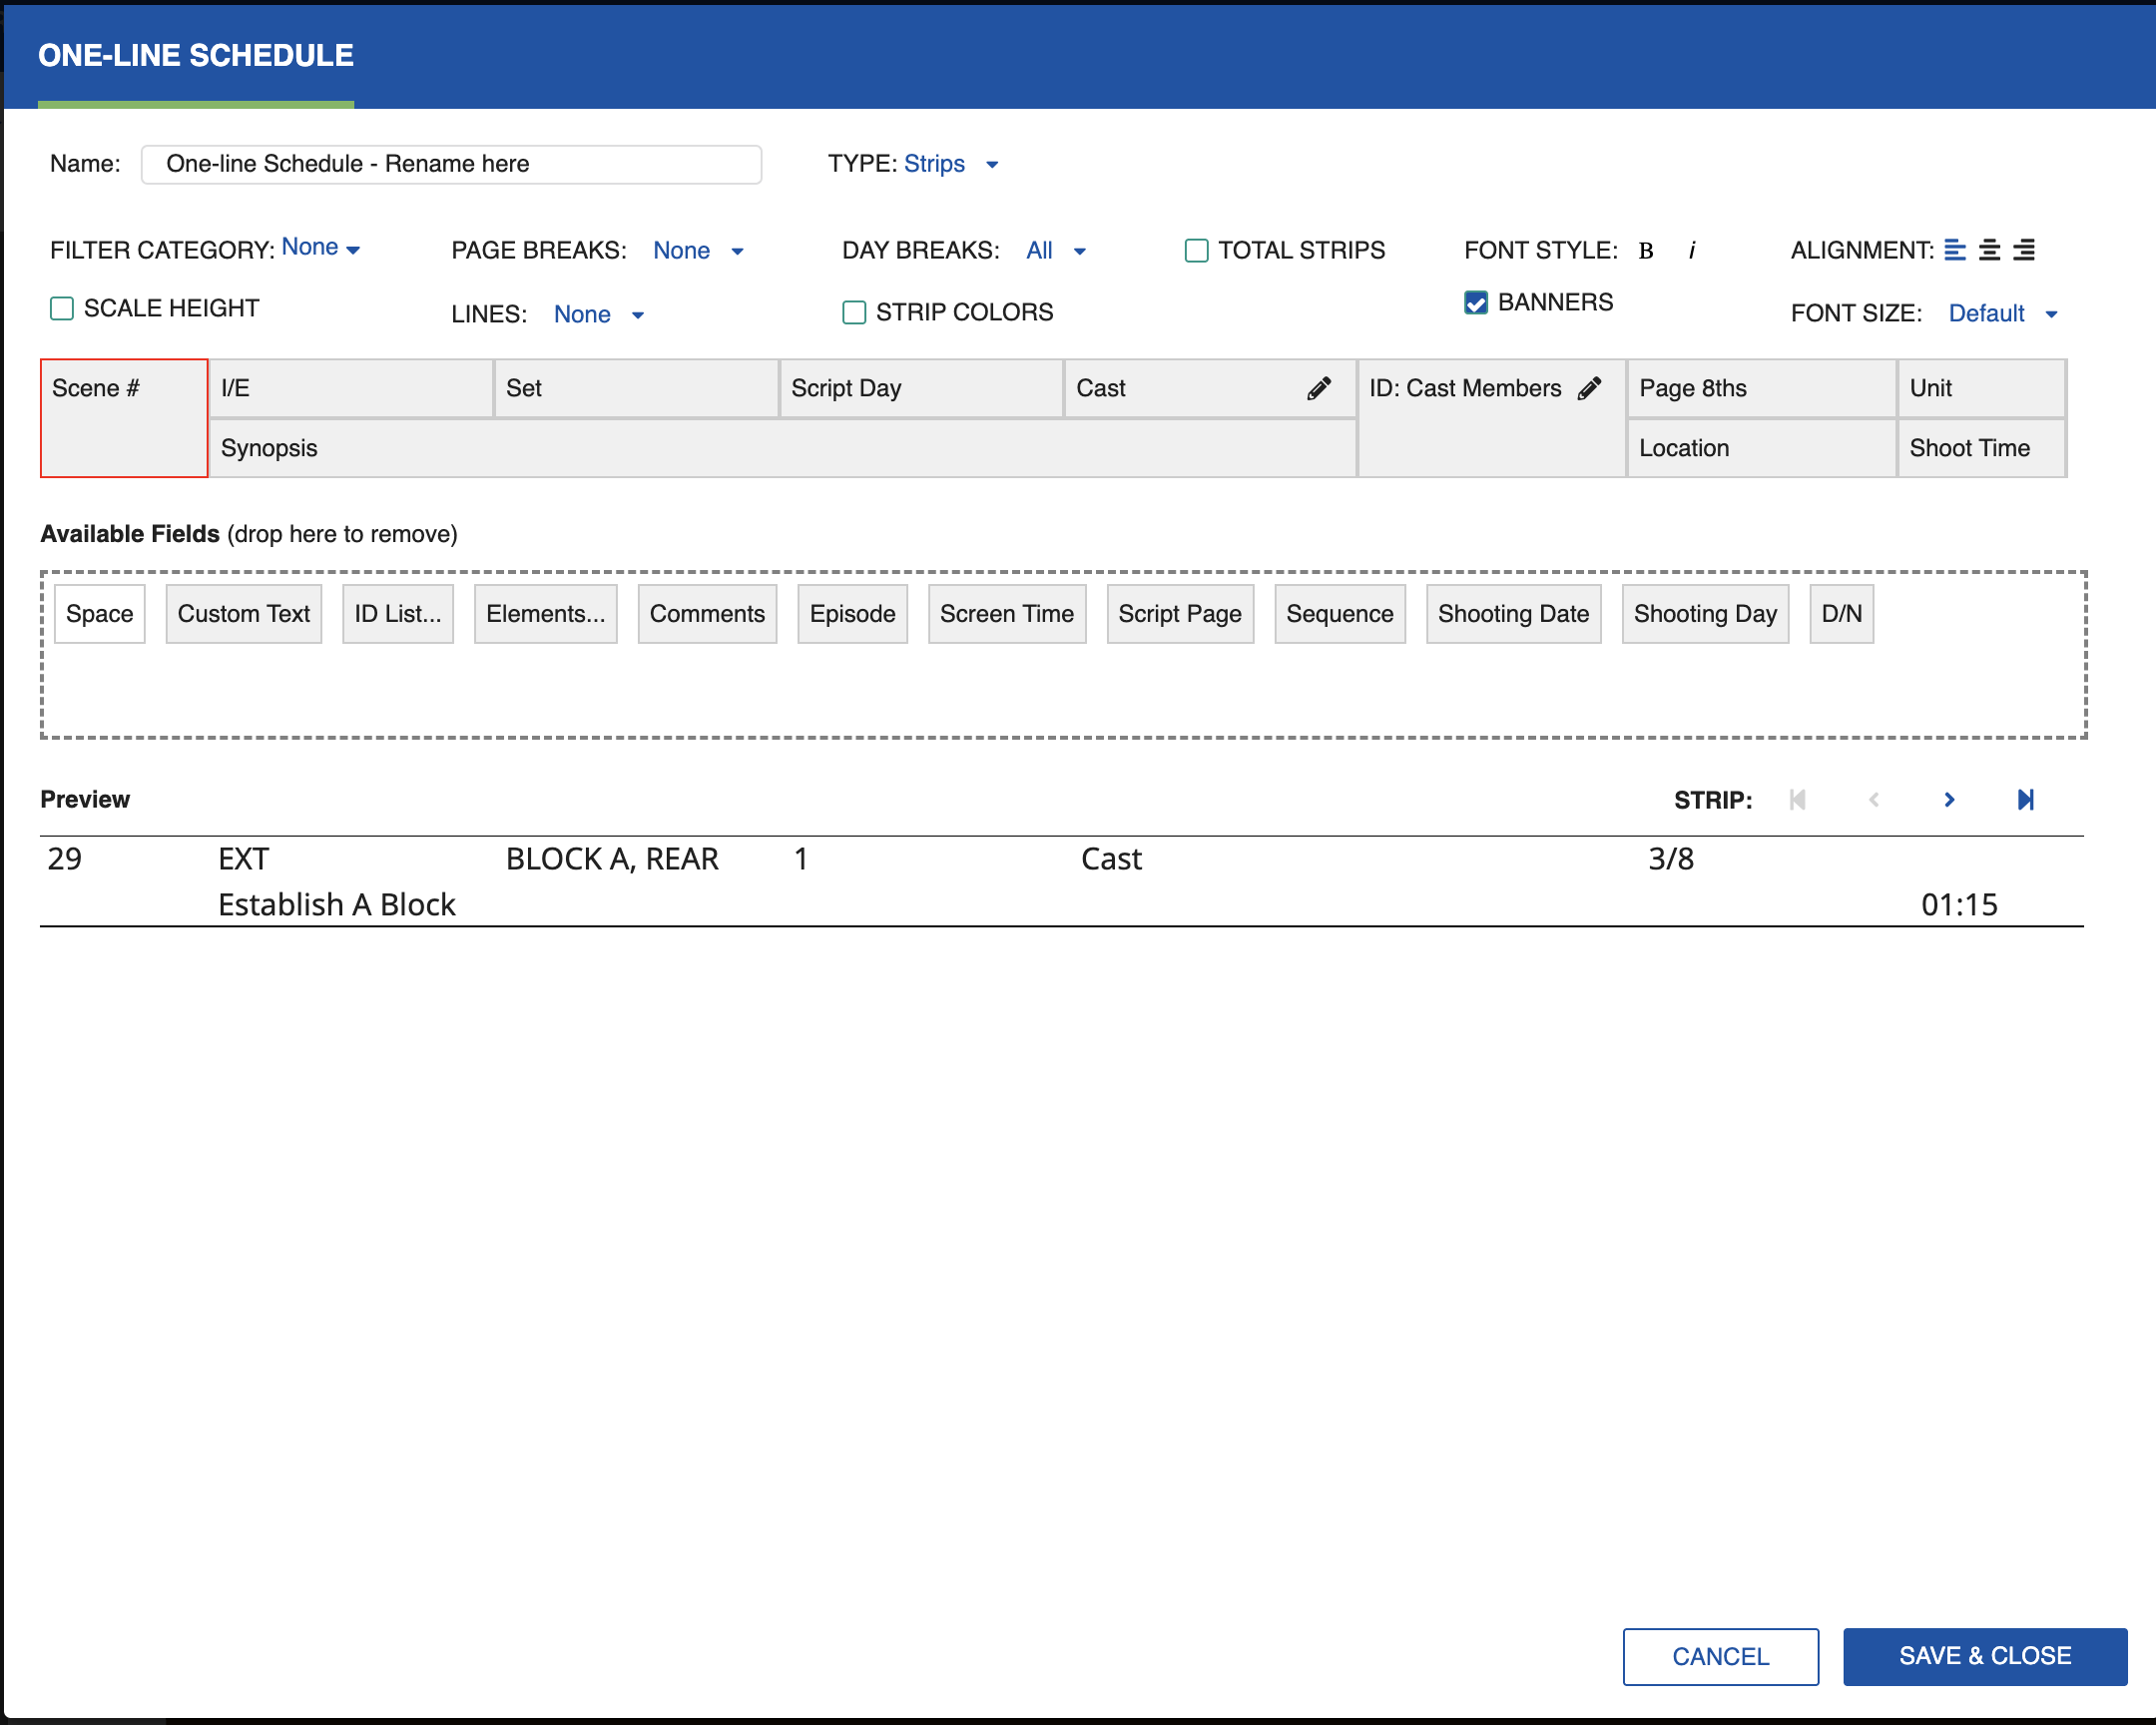
Editing the Report: Strips
Customize the One-line Schedule by clicking the Settings icon (cog) at the top of the Report pane:
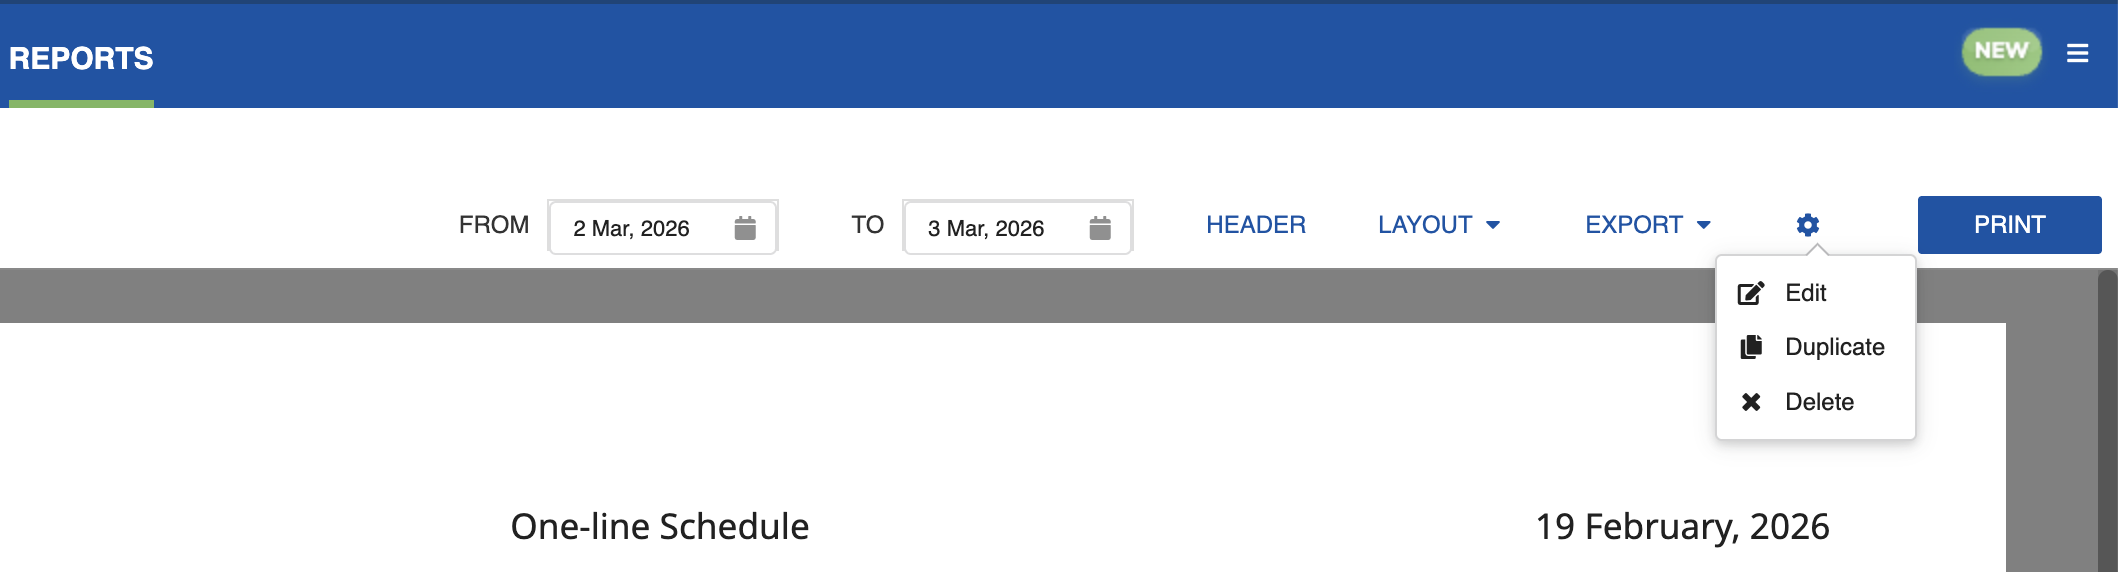
You can edit your report, duplicate the report layout to create a custom version, or delete the report.
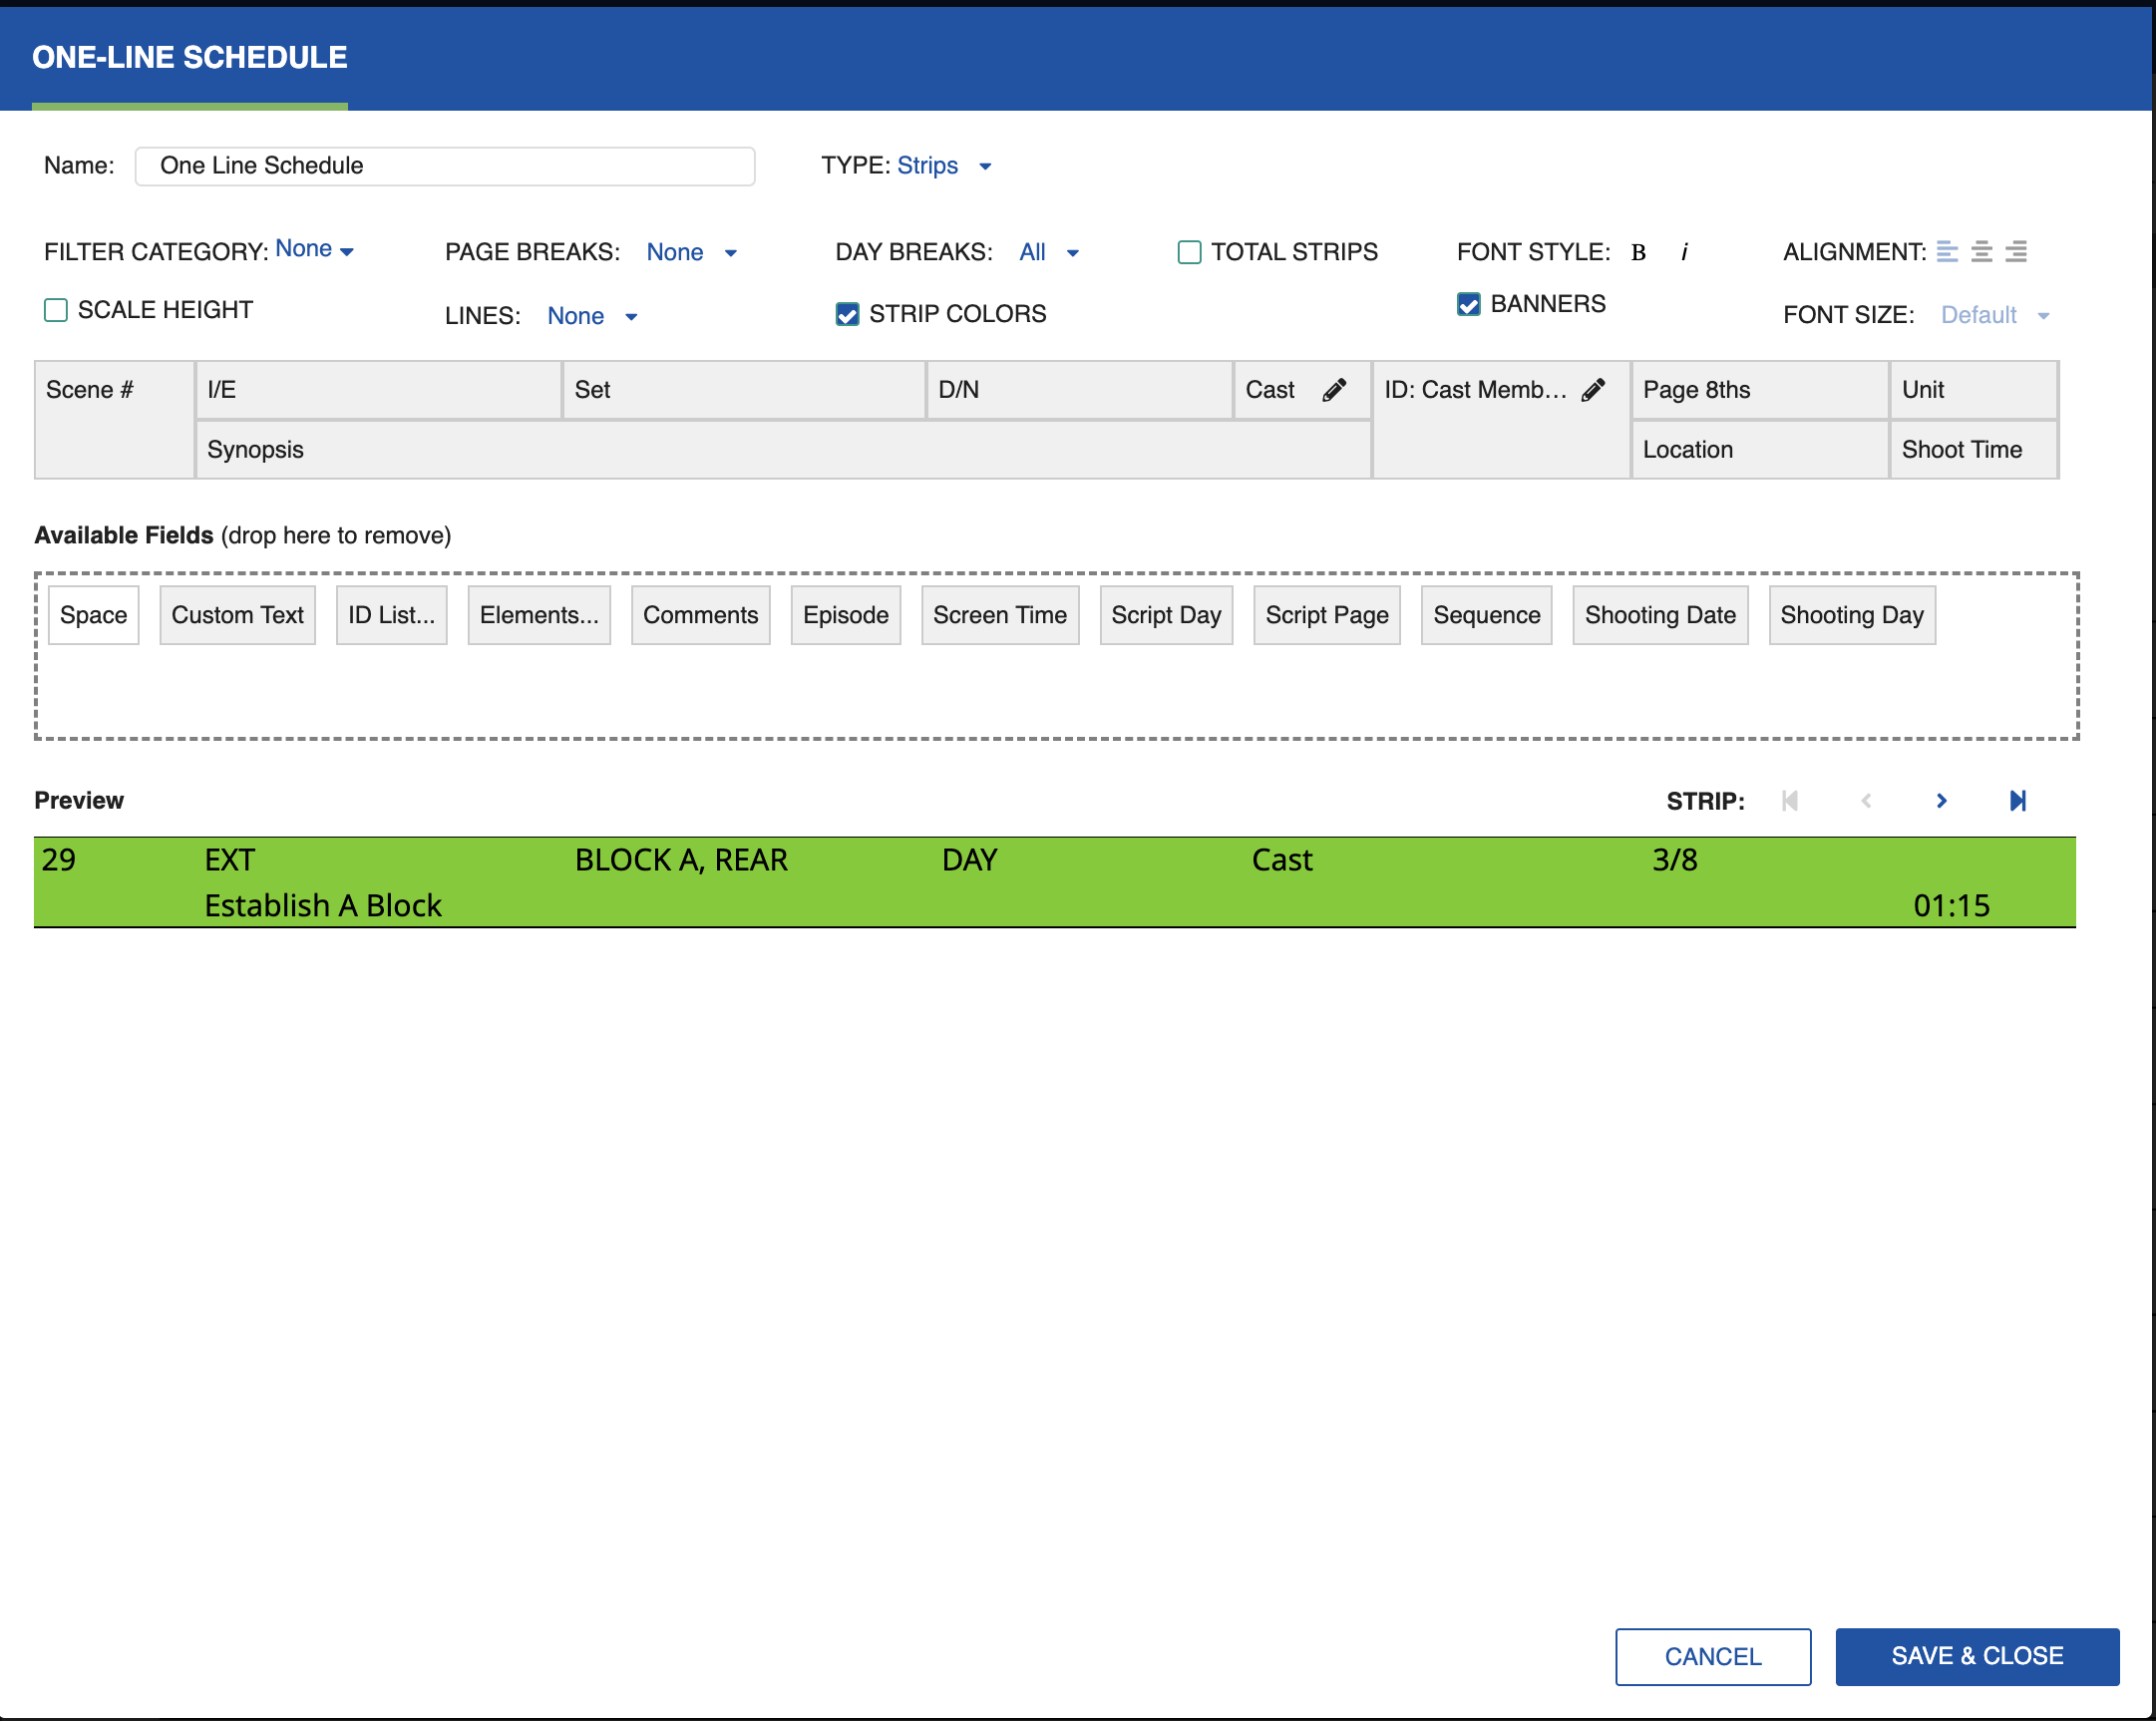
- Select if you want your Strips to be one or two columns high.
- Select how many columns you want to use.
- The table below shows which scene header, Category, or custom data you are using in each Strip.
- To change the information shown in a cell, click the cell and select the new data from the dropdown list. For Category Name... or ID List..., select which Category you want the data from.
- Click SAVE & CLOSE to apply.

The settings dialog also lets you configure:
- Name the Report: Change the report name from the default "One-line Schedule".
- Filter Category: By default all Categories are included; select specific Categories to limit what is reported.
- Page Breaks: Choose between a continuous report or a new page per Shooting Day.
- Day Breaks: Show all Day Breaks, or only Day Breaks where Strips exist.
- Strip Colors: Toggle to show Strips in the colors set in the Strip Designer.
- Banners: Toggle to show or hide Banners in the report.
More to know:
- If you place the same item in two cells next to each other, the cells will be merged.
- Green in the setup table indicates two cells merged vertically. Blue indicates two cells merged horizontally. You cannot merge both vertically and horizontally.
- With any cell selected, you can choose SCALE HEIGHT TO CONTENT, which will wrap data in the cell and increase the cell size so that all data is visible in every Strip. You can also change the alignment of the data in the cell (left, center, or right alignment).
- Below the setup table, a preview of your Strip layout displays. You can adjust the columns in the preview by hovering and dragging the red borders between cells.
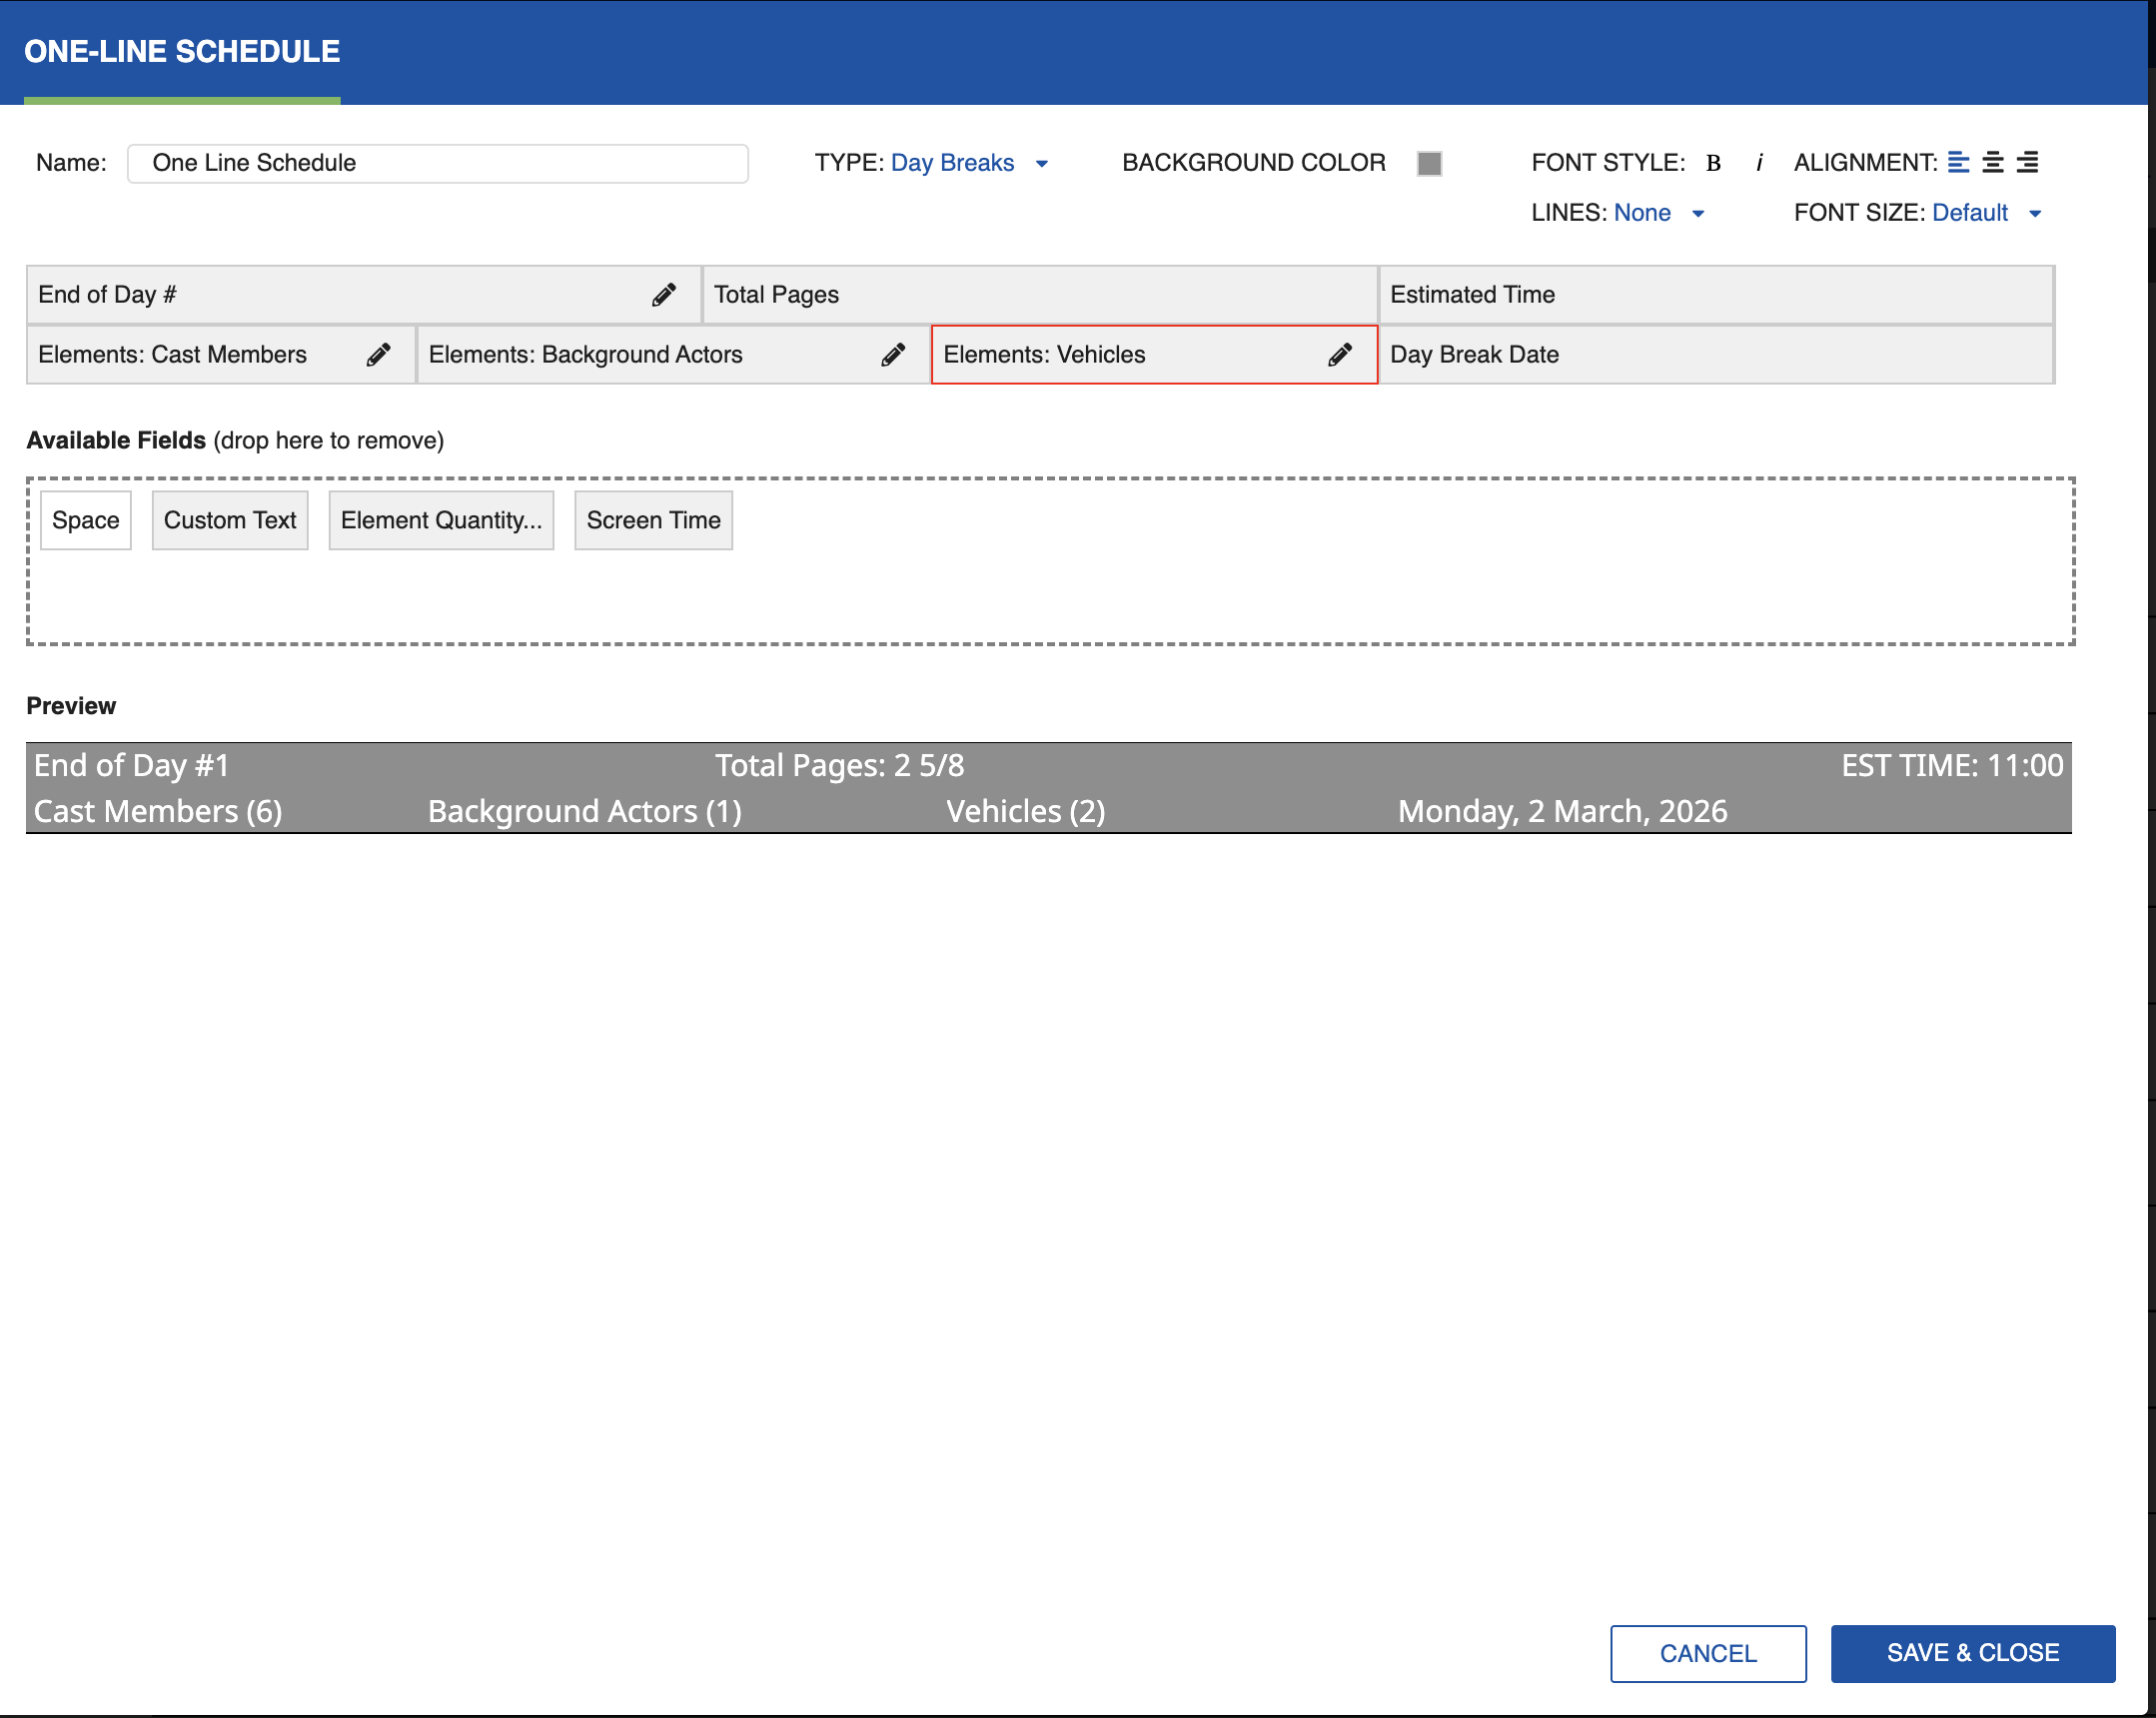
Editing the Report: Day Breaks
Day Break display within the One-line Schedule can also be customized from the Settings icon. Select Day Breaks from the Type dropdown.
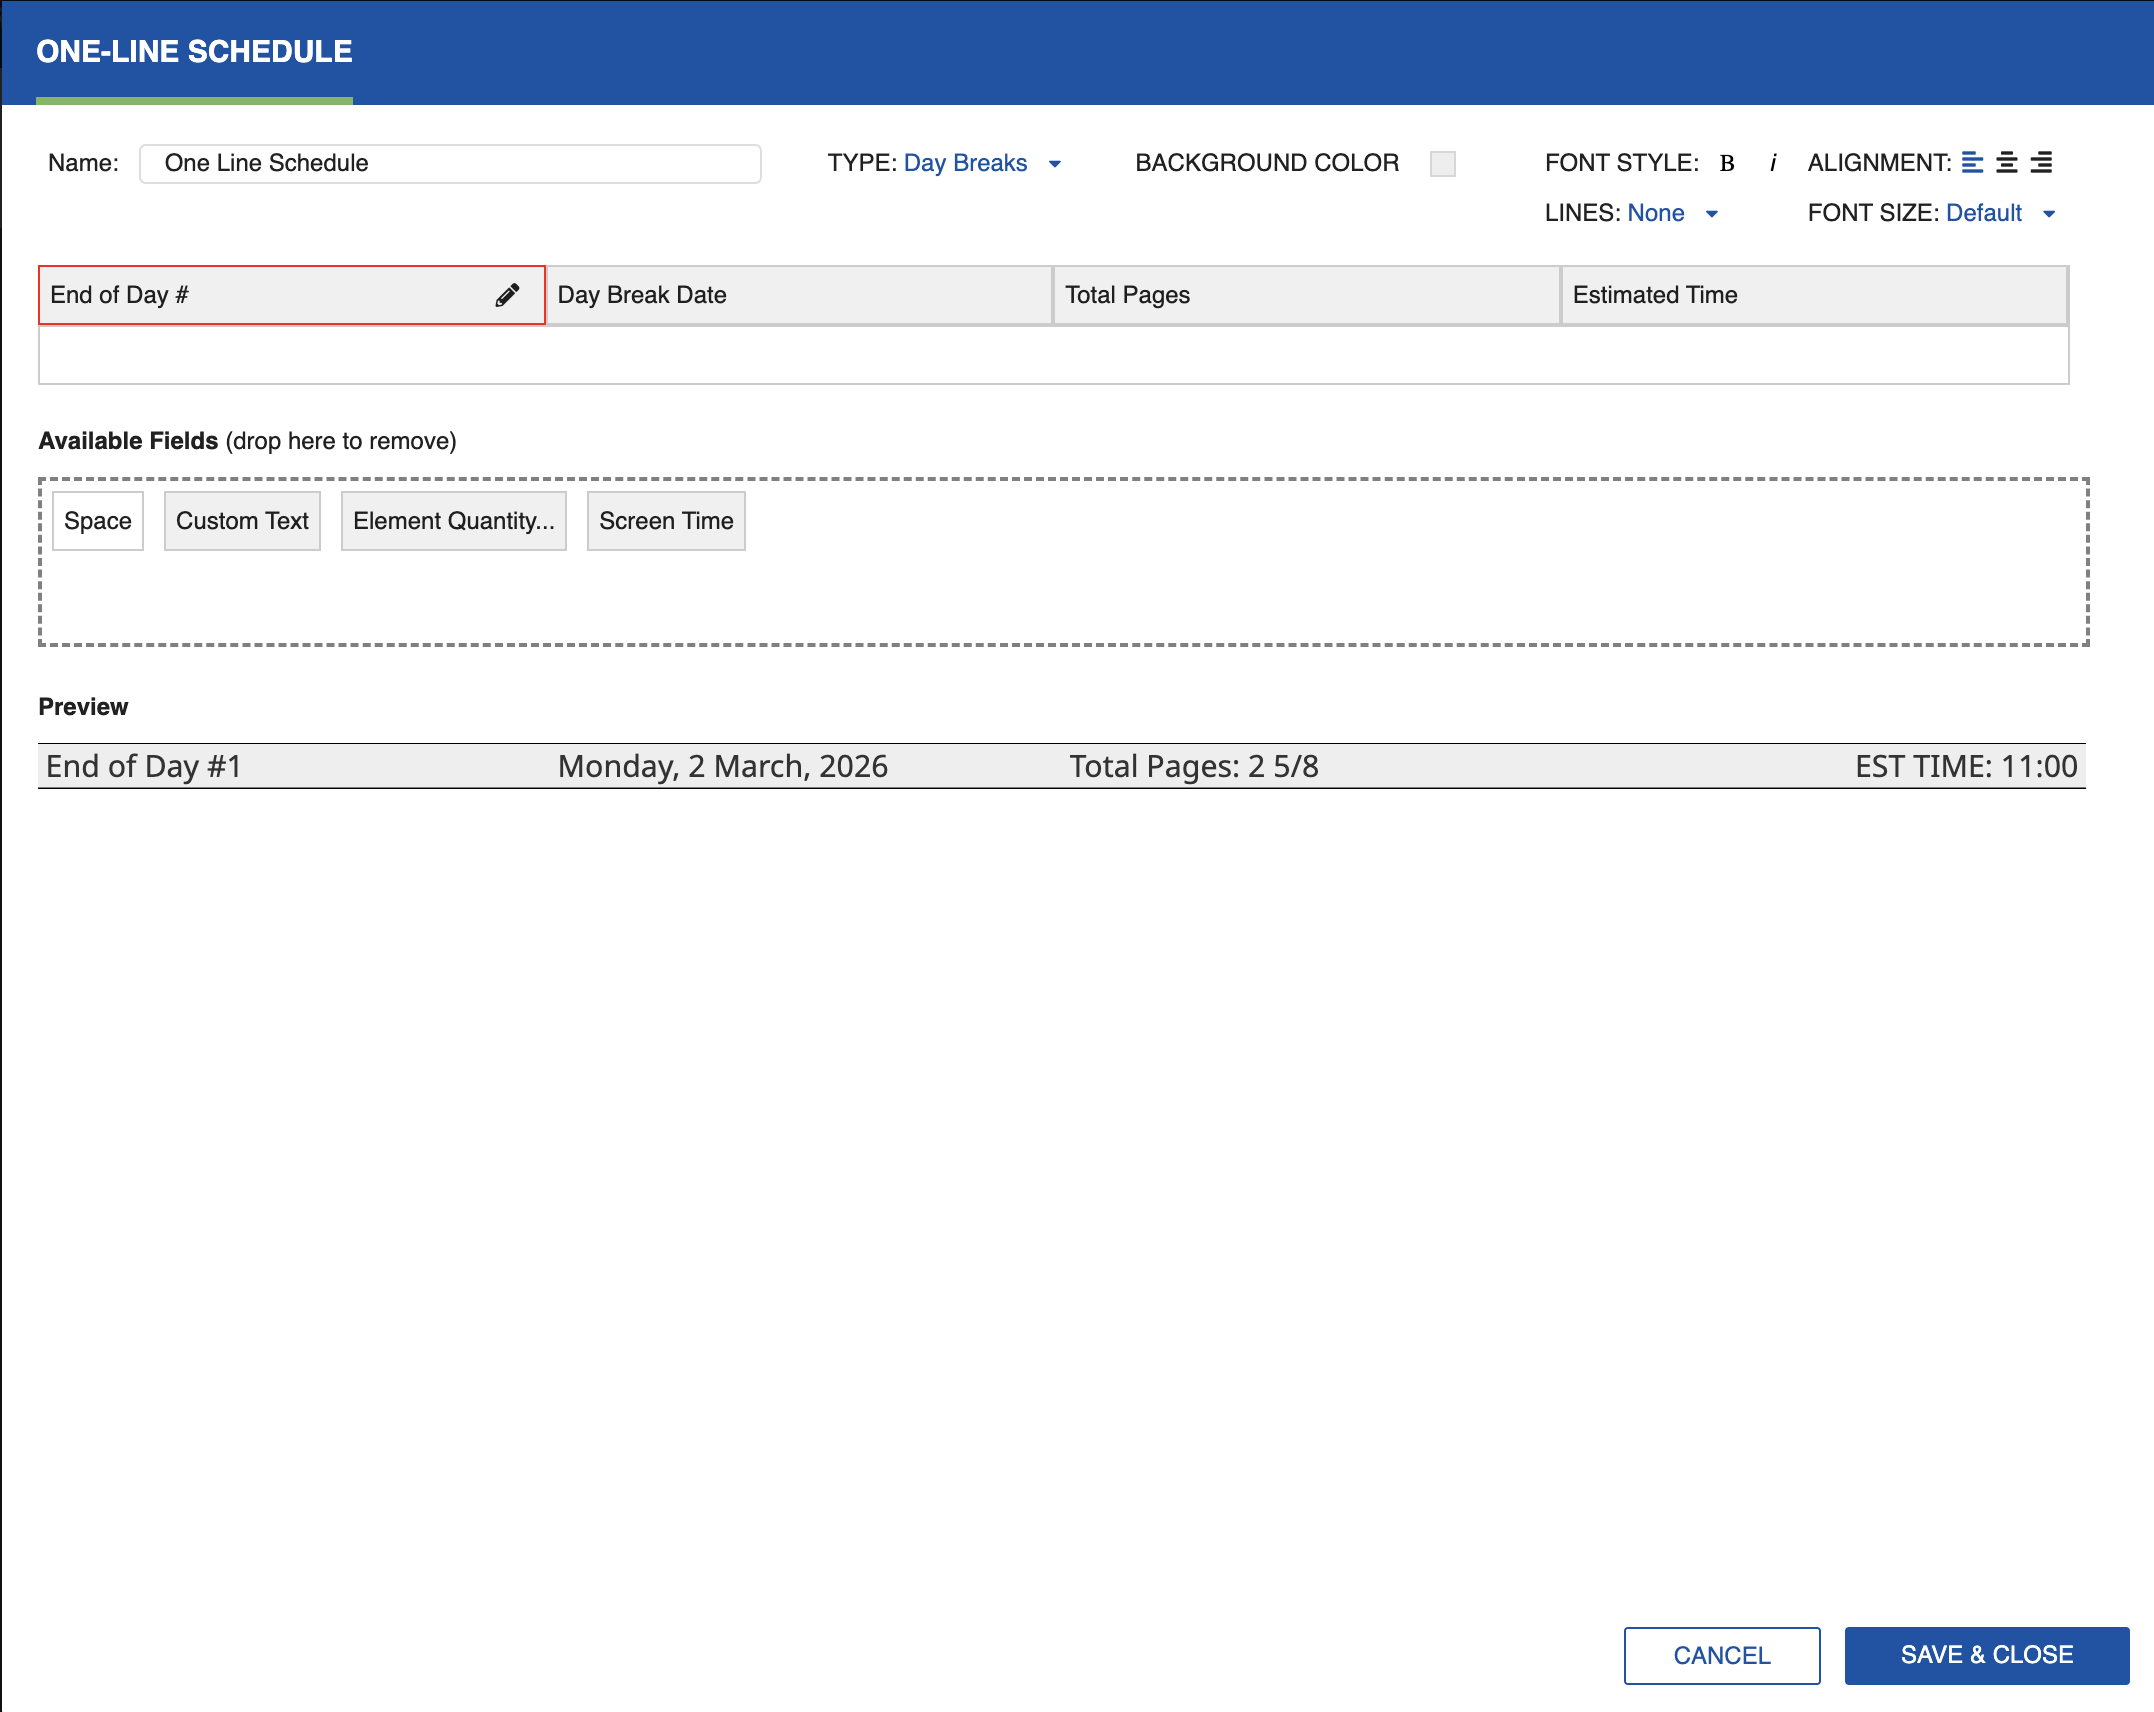
Click Background Color to select the color of your Day Breaks. You can set font size, alignment, scale height, and line styles. Day Breaks can be one or two lines thick. Drag and drop fields between the Day Break and Available Fields to design your Day Break.
Duplicating Report Layout
If you want to create a different design based on the One-line Schedule, select New Report from the dropdown.
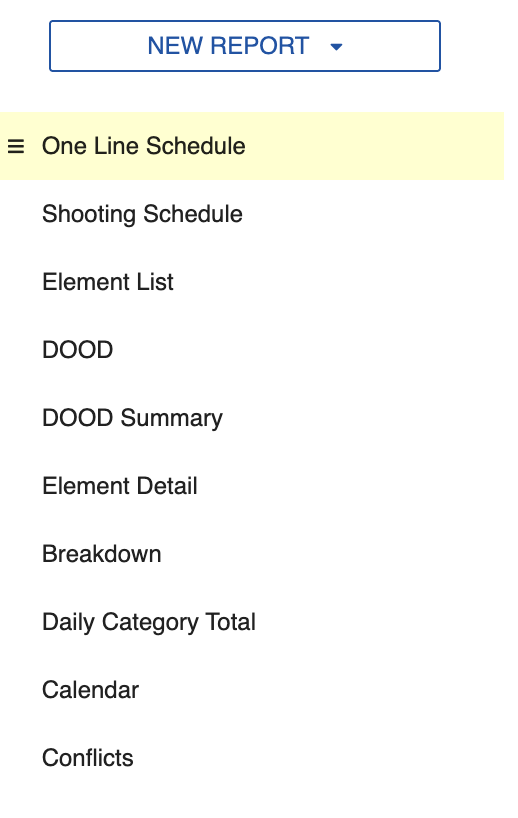
Select One-line Schedule from the dropdown.
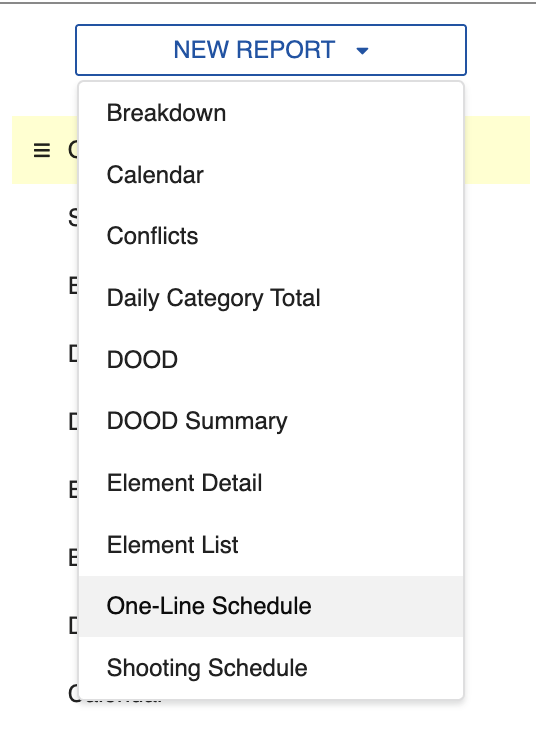
Rename the report as needed, then click SAVE & CLOSE.
Note
You can currently only have one Report layout per Report type per Schedule. If you want to reuse a Report layout, copy your Schedule file (or Save as...) and use that new Schedule file for your next project.