Day-Out-of-Days
The Day-Out-of-Days (DOOD) shows when each of your Elements is expected to work throughout your production.
Day-Out-of-Days Overview
A Board and Sub-Board are selected at the top of the screen, and then a specific Category is selected below to identify which Elements display. Built-in Categories from the Scene Header fields, such as Set, Location, Unit, and Episode are also available in the DOOD.
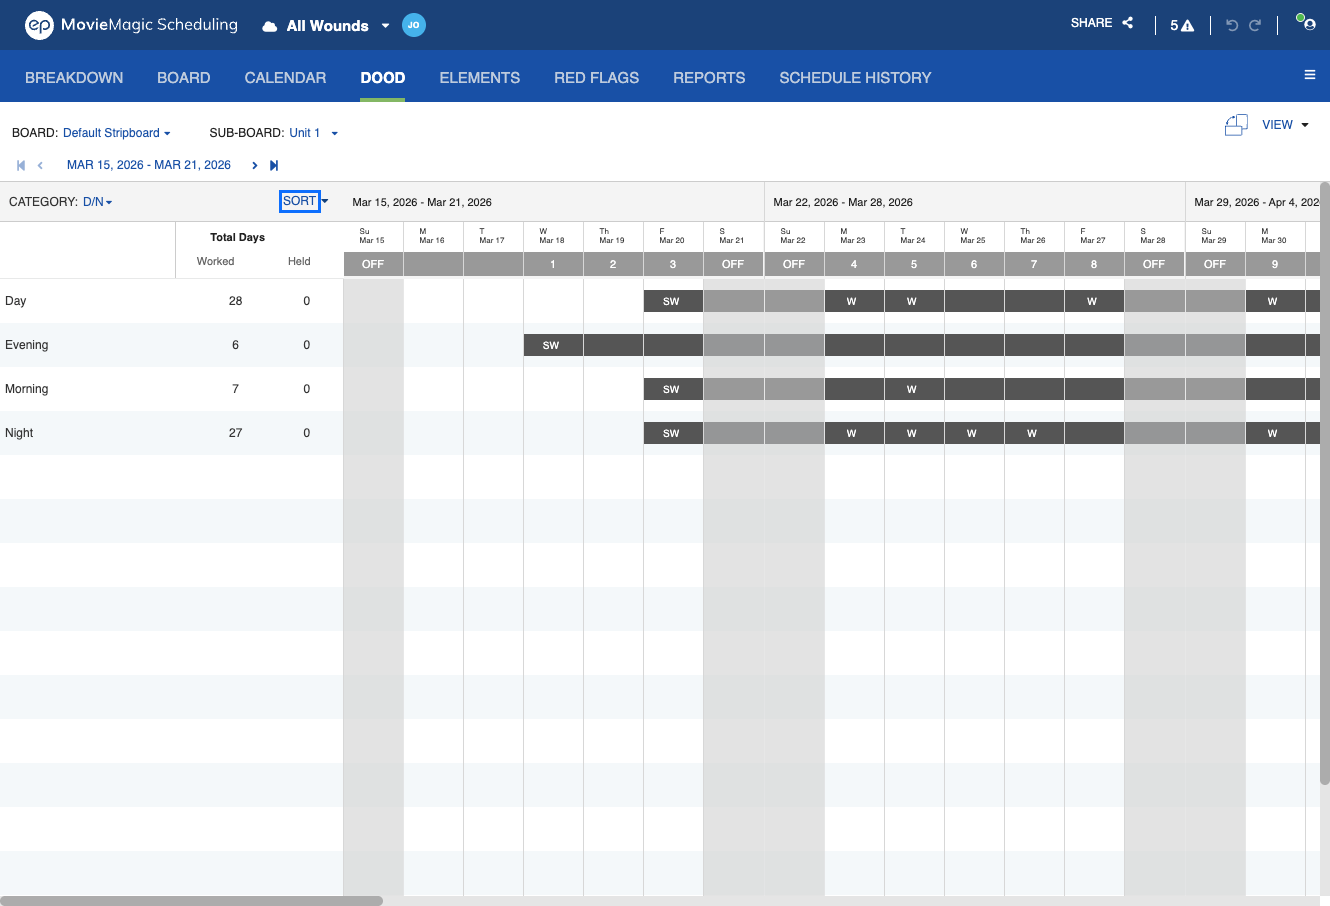
The DOODs Screen
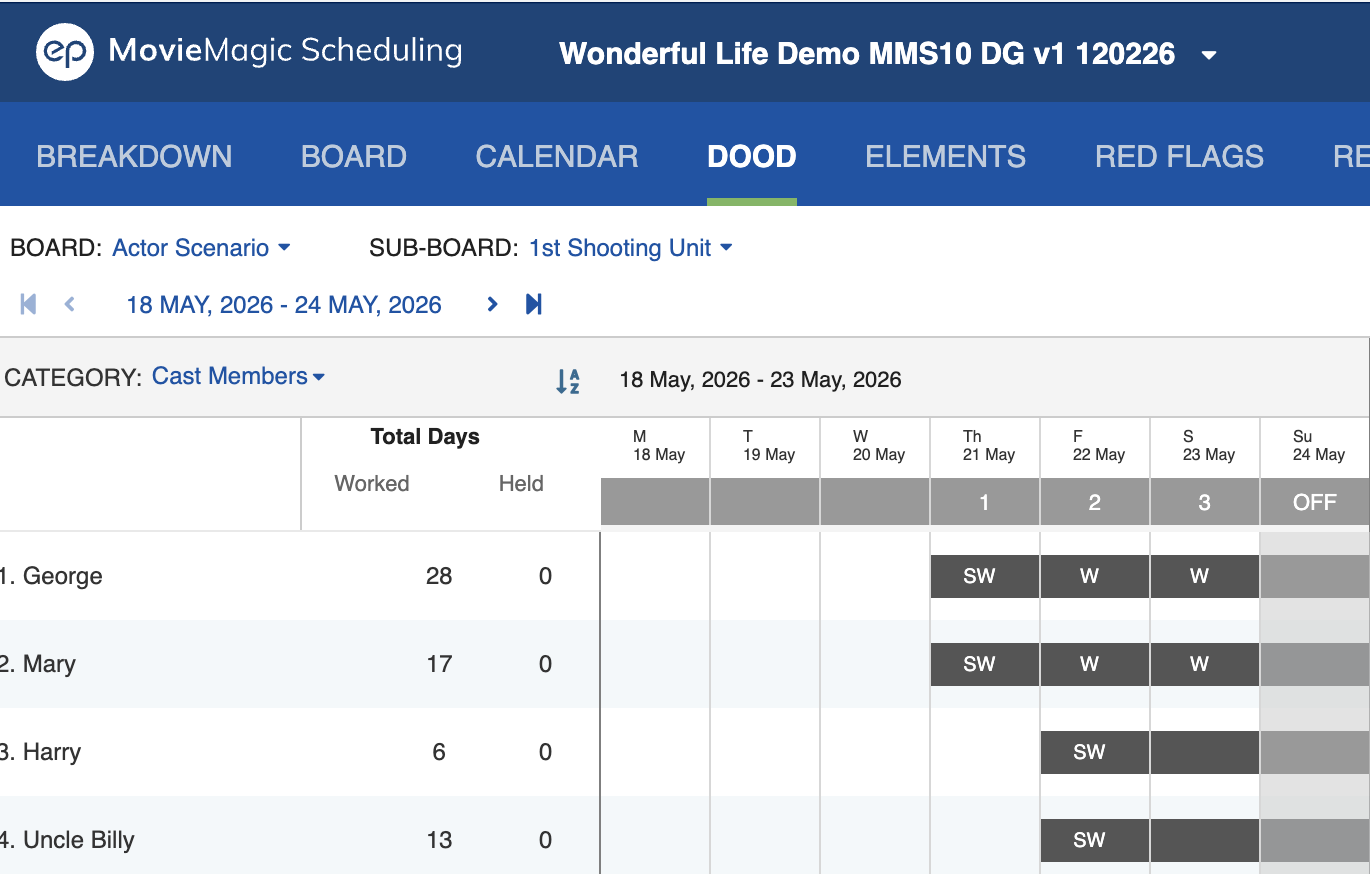
The system displays weeks (Sunday through Saturday) across the top. Each Element in the selected Category displays in its own row. Cells in the table are marked with a dark background and a letter code if the Element is scheduled to work on a given day.
The most common letter codes you will see are:
| Code | Meaning |
|---|---|
| W | Working: the Element is scheduled in a Strip that day |
| S | Start: the Element's first working day (usually shown as SW) |
| F | Finish: the Element's last working day (usually shown as WF) |
| H | Hold: a non-working day between the Element's first and last day |
| D | Drop: the Element has been released and is not on hold |
| P | Pick-up: the Element returns to work after a Drop (usually shown as PW) |
| TR | Travel: the Element has an individual Travel event that day |
| FT | Fitting: the Element has a Fitting event that day |
| R | Rehearsal: the Element has a Rehearsal event that day |
| / | Company Holiday |
| M | Company Travel / Move day |
See DOOD Rules for full definitions of each code.
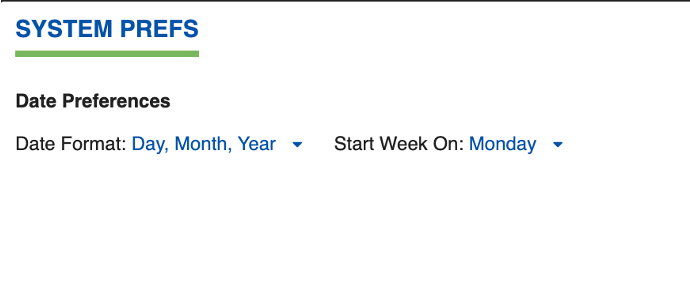
Setting the Working Week
You can define your working week to control which days count as working days in the DOOD. This setting is shared with the Calendar.
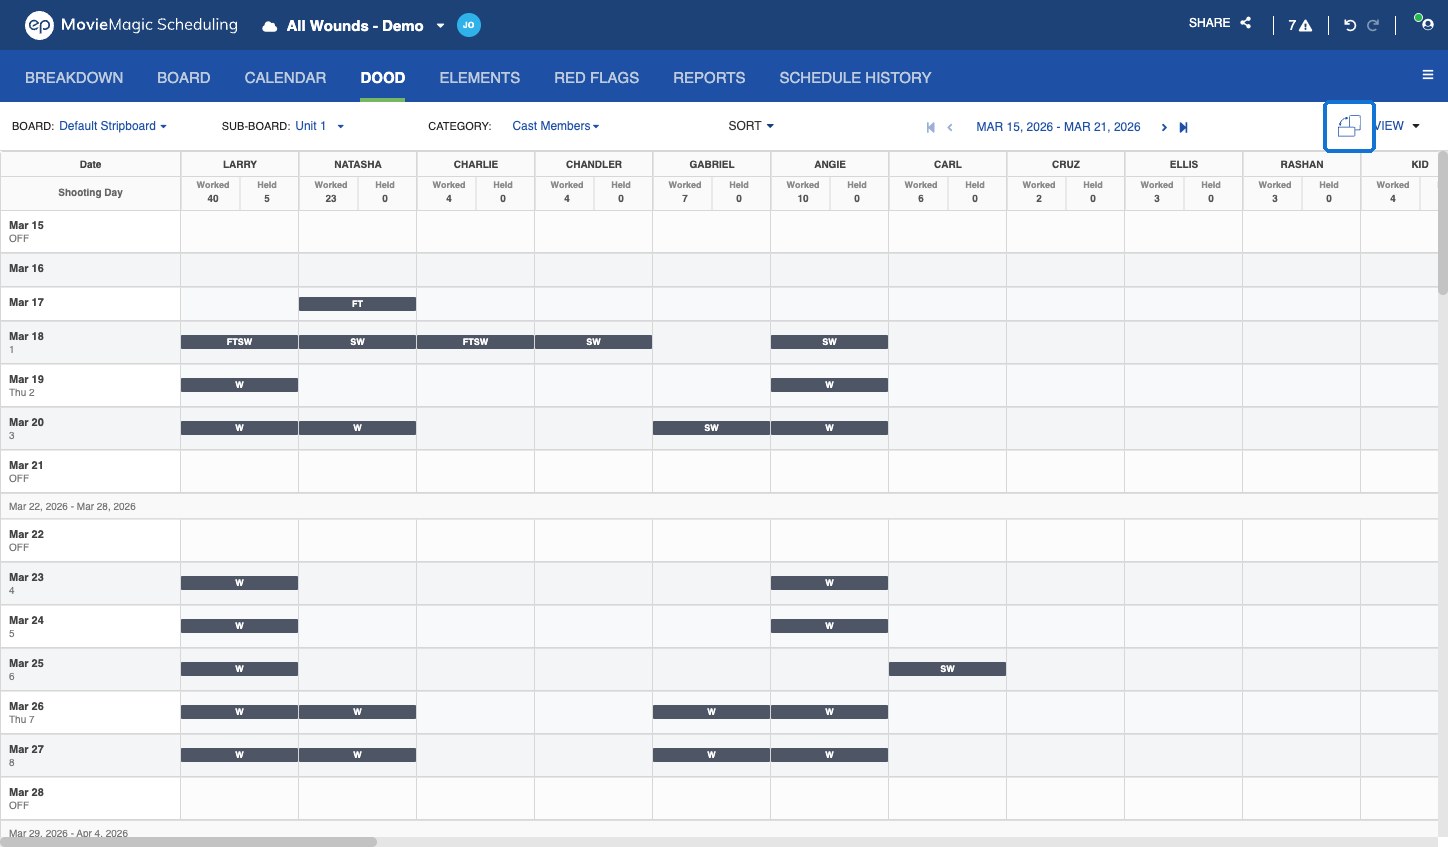
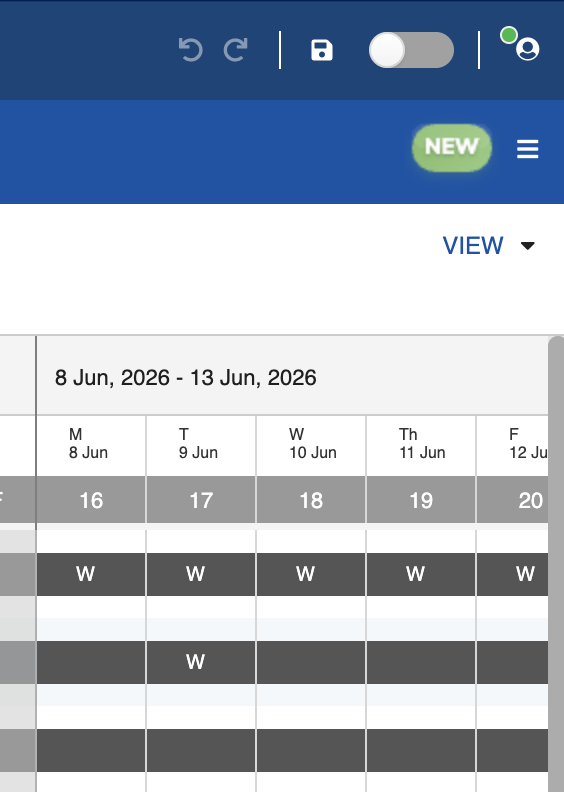
Switching Between Vertical and Horizontal Layouts
Click the Switch view icon at the top of the DOOD tab to switch between the default vertical view and a horizontal layout. Use the horizontal layout for wide-format printing or side-by-side review on a wide monitor.
Sorting the DOOD
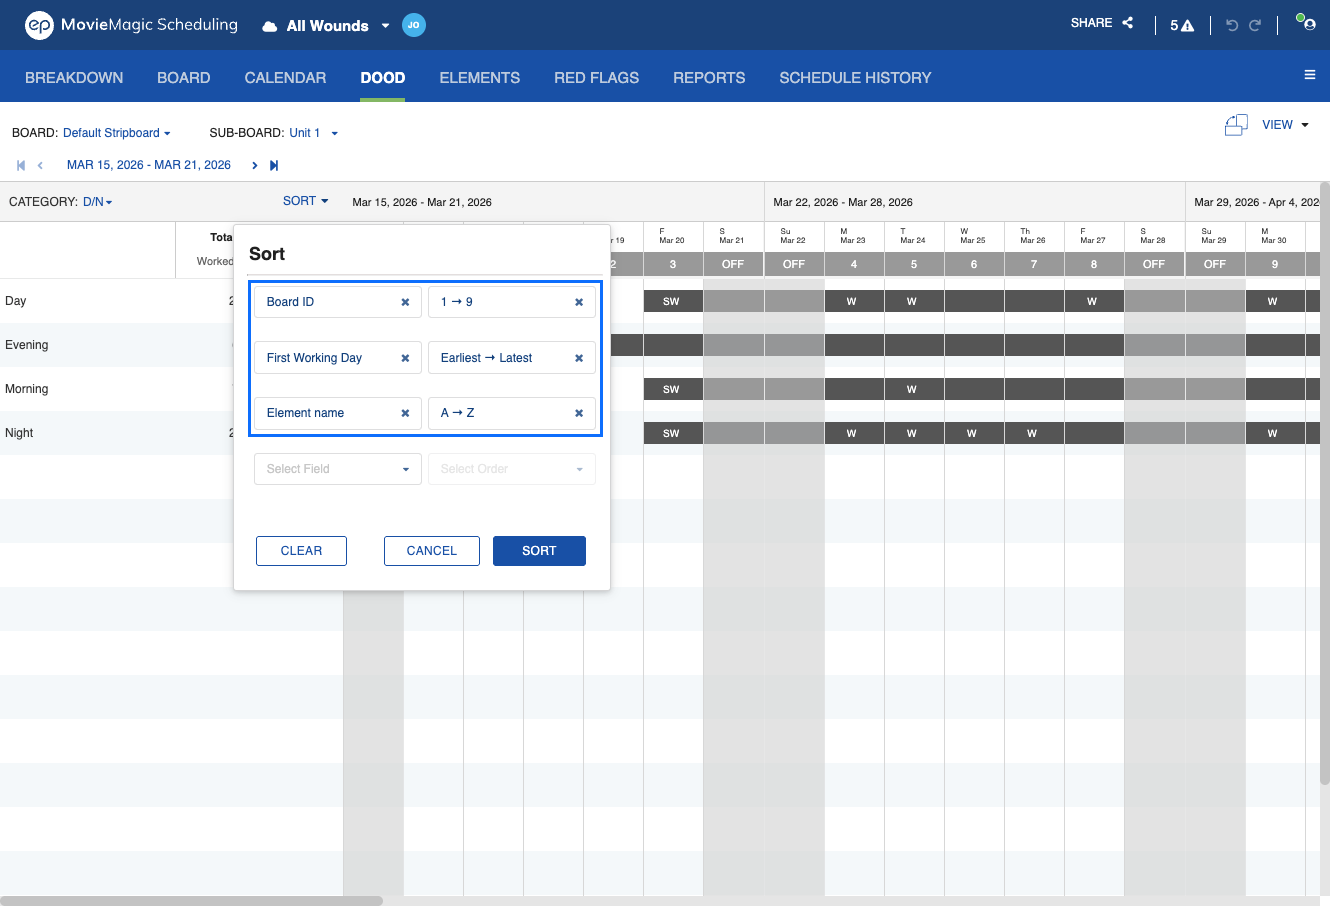
The DOOD displays in Scene Order by default. Use the SORT control in the DOOD toolbar, next to the Category selector, to reorder the table by up to four rules at once. Sorting applies to the vertical view only.
- Click SORT in the DOOD toolbar to open the Sort dialog.
- Select a field and an order for your first rule. Available fields: Board ID, Element name, First Working Day, Last Working Day, Worked Day, and Held Days. Order options match the field, such as 1 → 9, A → Z, or Earliest → Latest.
- Add more rules to sort within the previous result. You can stack up to four. A field chosen in one rule is removed from the field list in the rules below it, so each rule uses a distinct field.
- Click SORT to apply, CLEAR to reset the dialog, or CANCEL to close without applying. CLEAR becomes active once at least one rule is set.
A few things to expect from a sort:
- Elements with no value for a sorted field move to the end of the list.
- Records with equal values keep their original relative order.
- A configured sort applies for the current session. It clears when you close the schedule, switch Sub-Boards, or leave the DOOD tab, and it is not saved to the file.
View Drop Down
Use the View dropdown to switch between different display modes, such as showing only selected categories or all elements.
Navigating the DOOD Screen
- Navigate between weeks by scrolling left and right or using the left and right arrows at the top of the table.
- You can also navigate to the first and last week an Element is scheduled in your production.
-
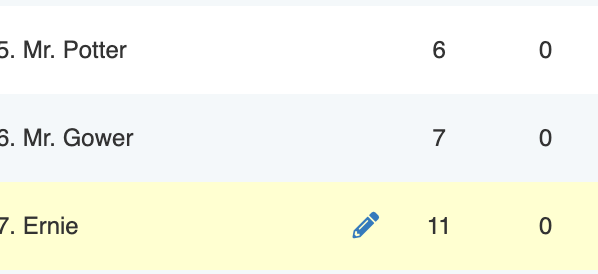
Certain Elements may be subject to Hold or Drop/Pick-Up rules. To set these rules:
-
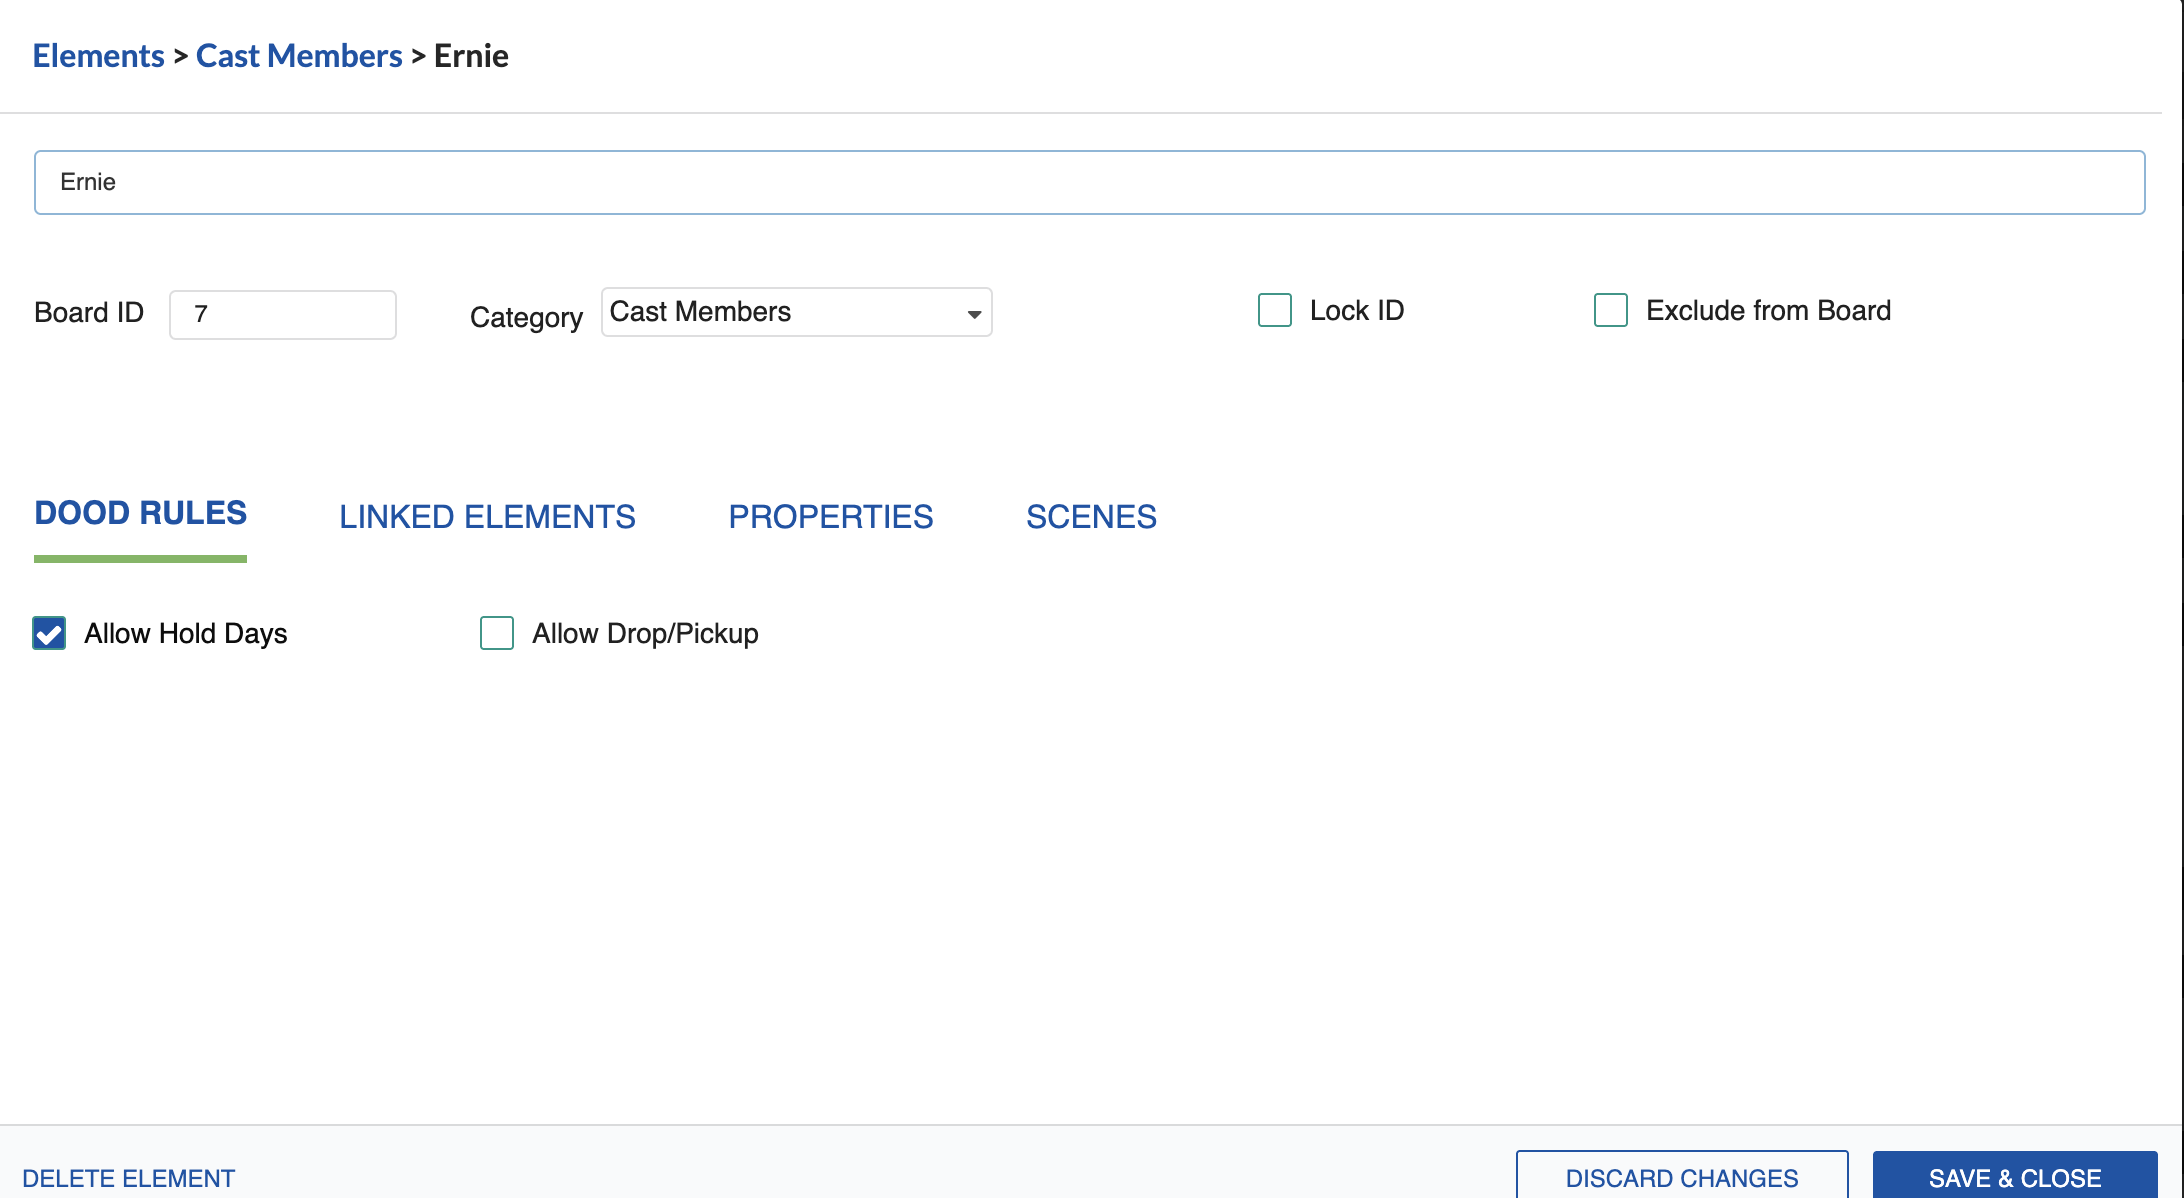
Hover over an Element name in the DOOD table.
- Click the Edit (pencil) icon.
- If the Element is subject to Hold days, select the Allow Hold Days checkbox.
- Holds apply between the Element's first workday and last workday if it is not otherwise working in a Strip.
- If the Element can be Dropped/Picked-Up, you must first select Allow Hold Days, then select Allow Drop/Pickup.
- Then select the minimum number of Calendar days between when the Element can be Dropped and when it can be picked back up.
- The system will automatically place the Drop period in the first available slot in the Element's Schedule.
Note
Hold/Drop rules can also be applied by default to a Category. For more details, go to Elements.
DOOD Rules
See DOOD Rules for the letter codes used in the DOOD.
Creating a DOOD Report
To generate a DOOD report, go to the Reports tab and select DOOD Report or DOOD Summary.