Elements

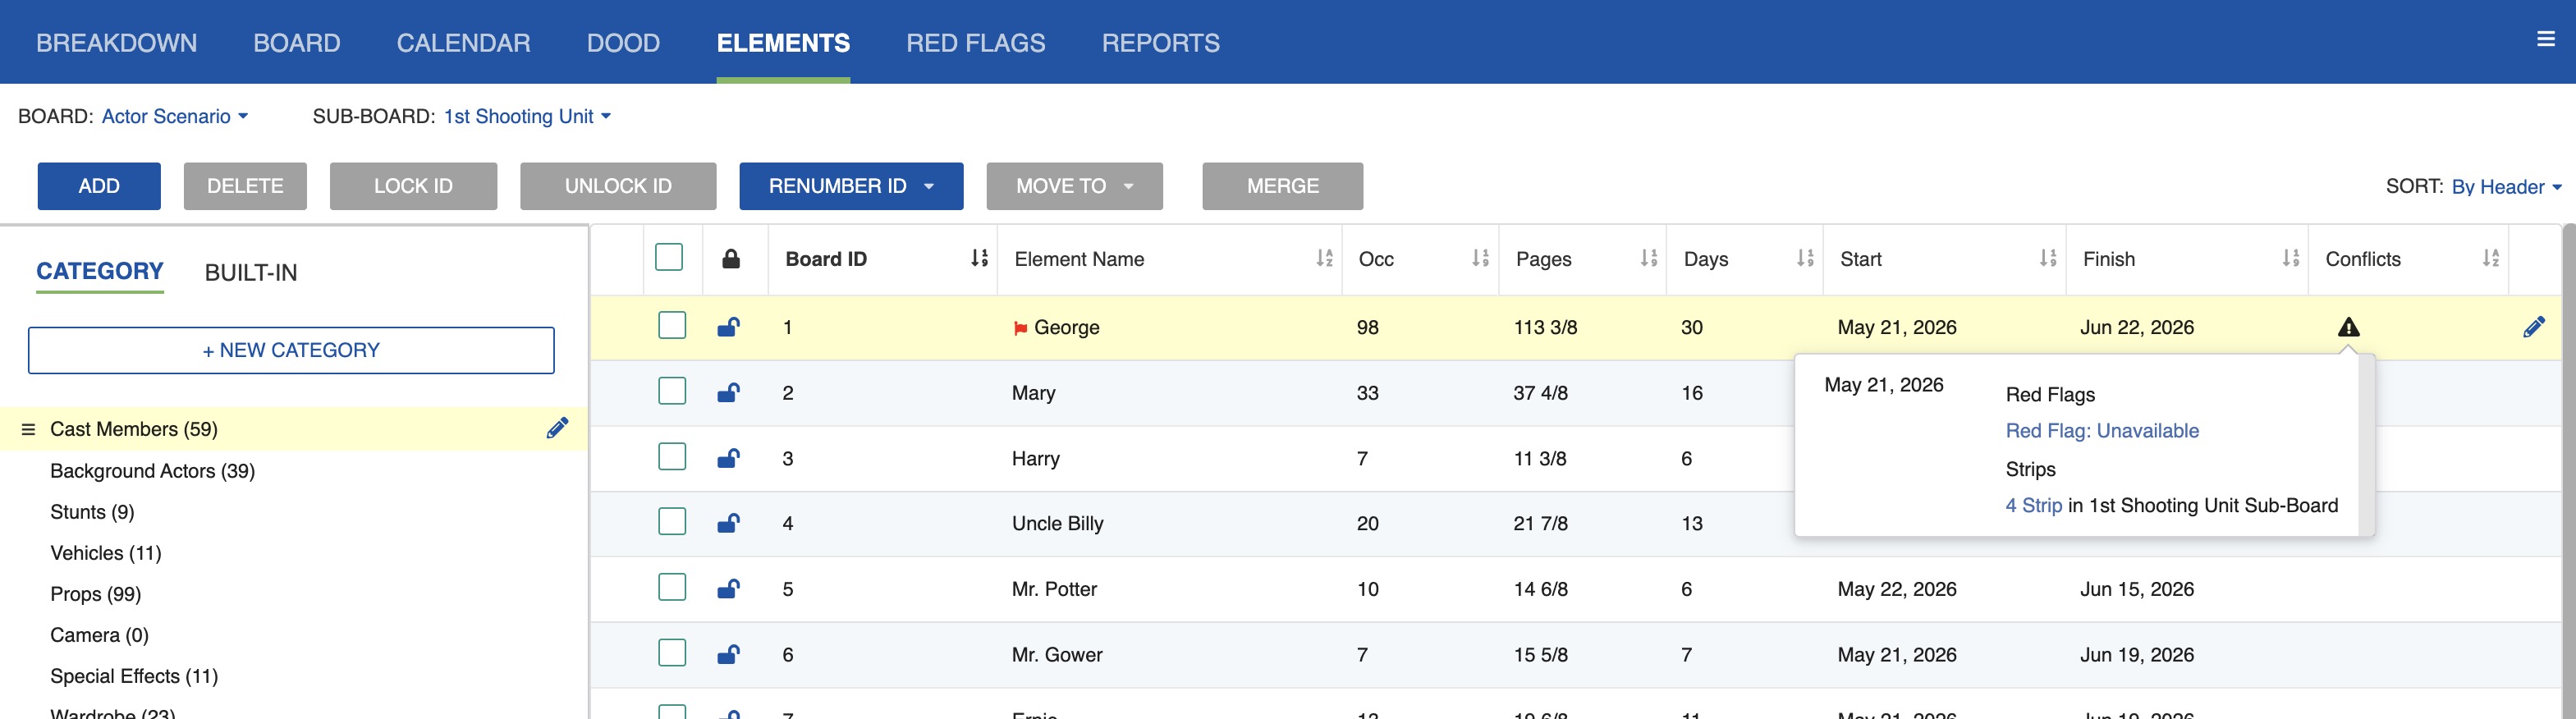
The Elements tab provides details on any Element added to your Schedule. All Categories (and Built-In Categories from the Scene Header fields) are included in the left rail list. Select any Category to view the Elements in that Category in the table on the right.

Edit Category Name

To edit a Category name:

  1. Click the Category header. Then, click the Edit (pencil) icon that appears.
  2. Change the name of the Category in the dialog box that appears.
  3. Click Save & Close.

Note: Category names must be unique.

Add New Category

To add a New Category:

  1. Click + Category in the top left of the Elements page.
  2. Select a name for the Category.
  3. Click Save & Close.

Note: Category names must be unique.

Reorder Categories

To reorder your Categories:

  1. Click the three-bar icon next to the Category name.
  2. Drag-and-drop the Category to a new location in the list.

Note: Built-in Categories that are standard in your MMS setup cannot be re-ordered.

Edit a Category

To edit a Category:

  1. Click the Category header and then click the Edit (pencil) icon.
  2. Edit the Category name.
  3. Select if you want new Elements added to the Category to get an automatically assigned Board ID (the next available whole number in the list) when created.
  4. Select if you want Elements in this Category to be Excluded from the Stripboard.
    • *The private beta of New Movie Magic Scheduling has a fixed Stripboard layout. The Excluded from the Stripboard option has no effect, and the Stripboard will only show the Cast Members Category.
  5. Select if new Elements added to the Category should have "Allow Hold Days" by default.
  6. Select if new Elements added to the Category should have "Allow Drop/Pickup" on by default (if applicable).
  7. Select the minimum days between Drop/Pickup (if applicable).
  8. Click Save & Close.

Delete a Category

To delete a Category from your entire Schedule:

  1. Click on the Category header and then click the Edit (pencil) icon.
  2. Click DELETE CATEGORY.
  3. The system will ask you to confirm deleting the Category and all Elements within it across your entire Schedule. Click Delete Category to continue.

Note: Any changes to your Categories will be reflected across the entire Schedule (in every Stripboard and Segment), as well as on the Breakdown Sheet.