Managing Categories
When selecting the edit option or double-clicking on an element, the window with all of its properties opens.
Edit Category
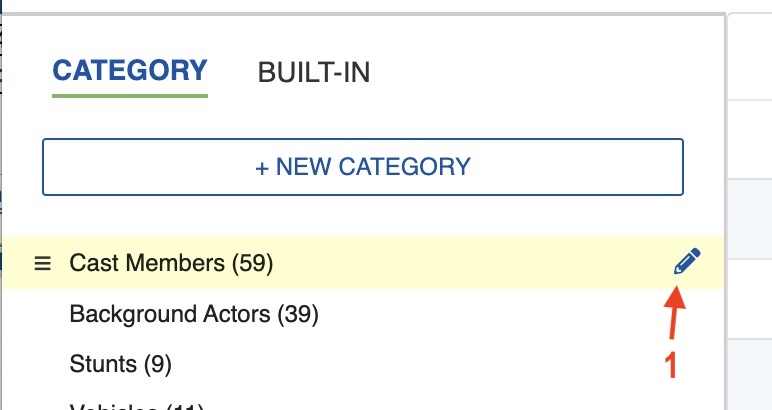
To edit a Category:
-
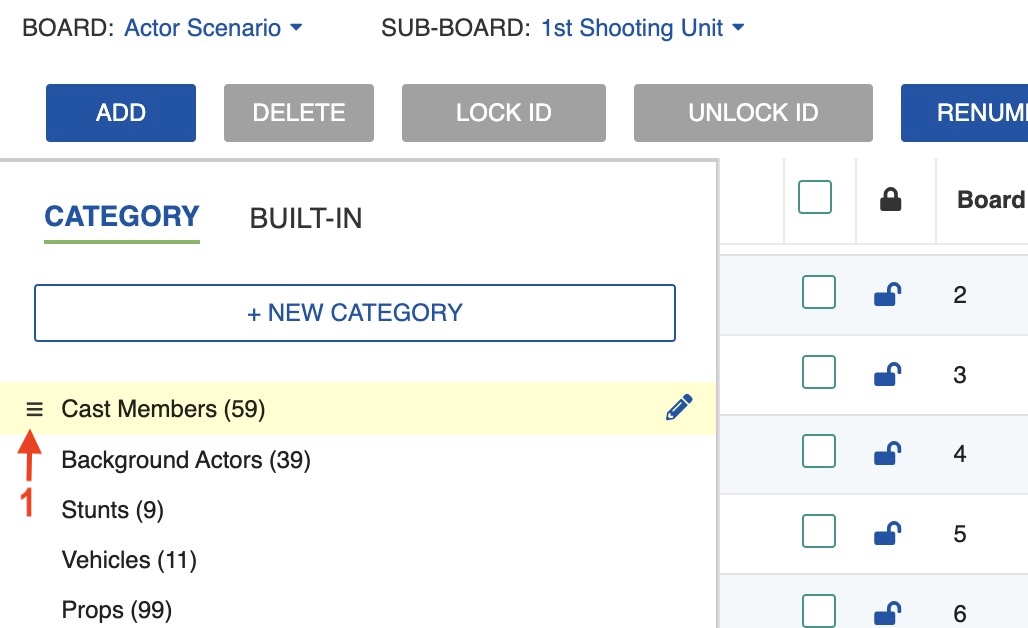
Click the Category header. Then, click the Edit (pencil) icon that appears.
-
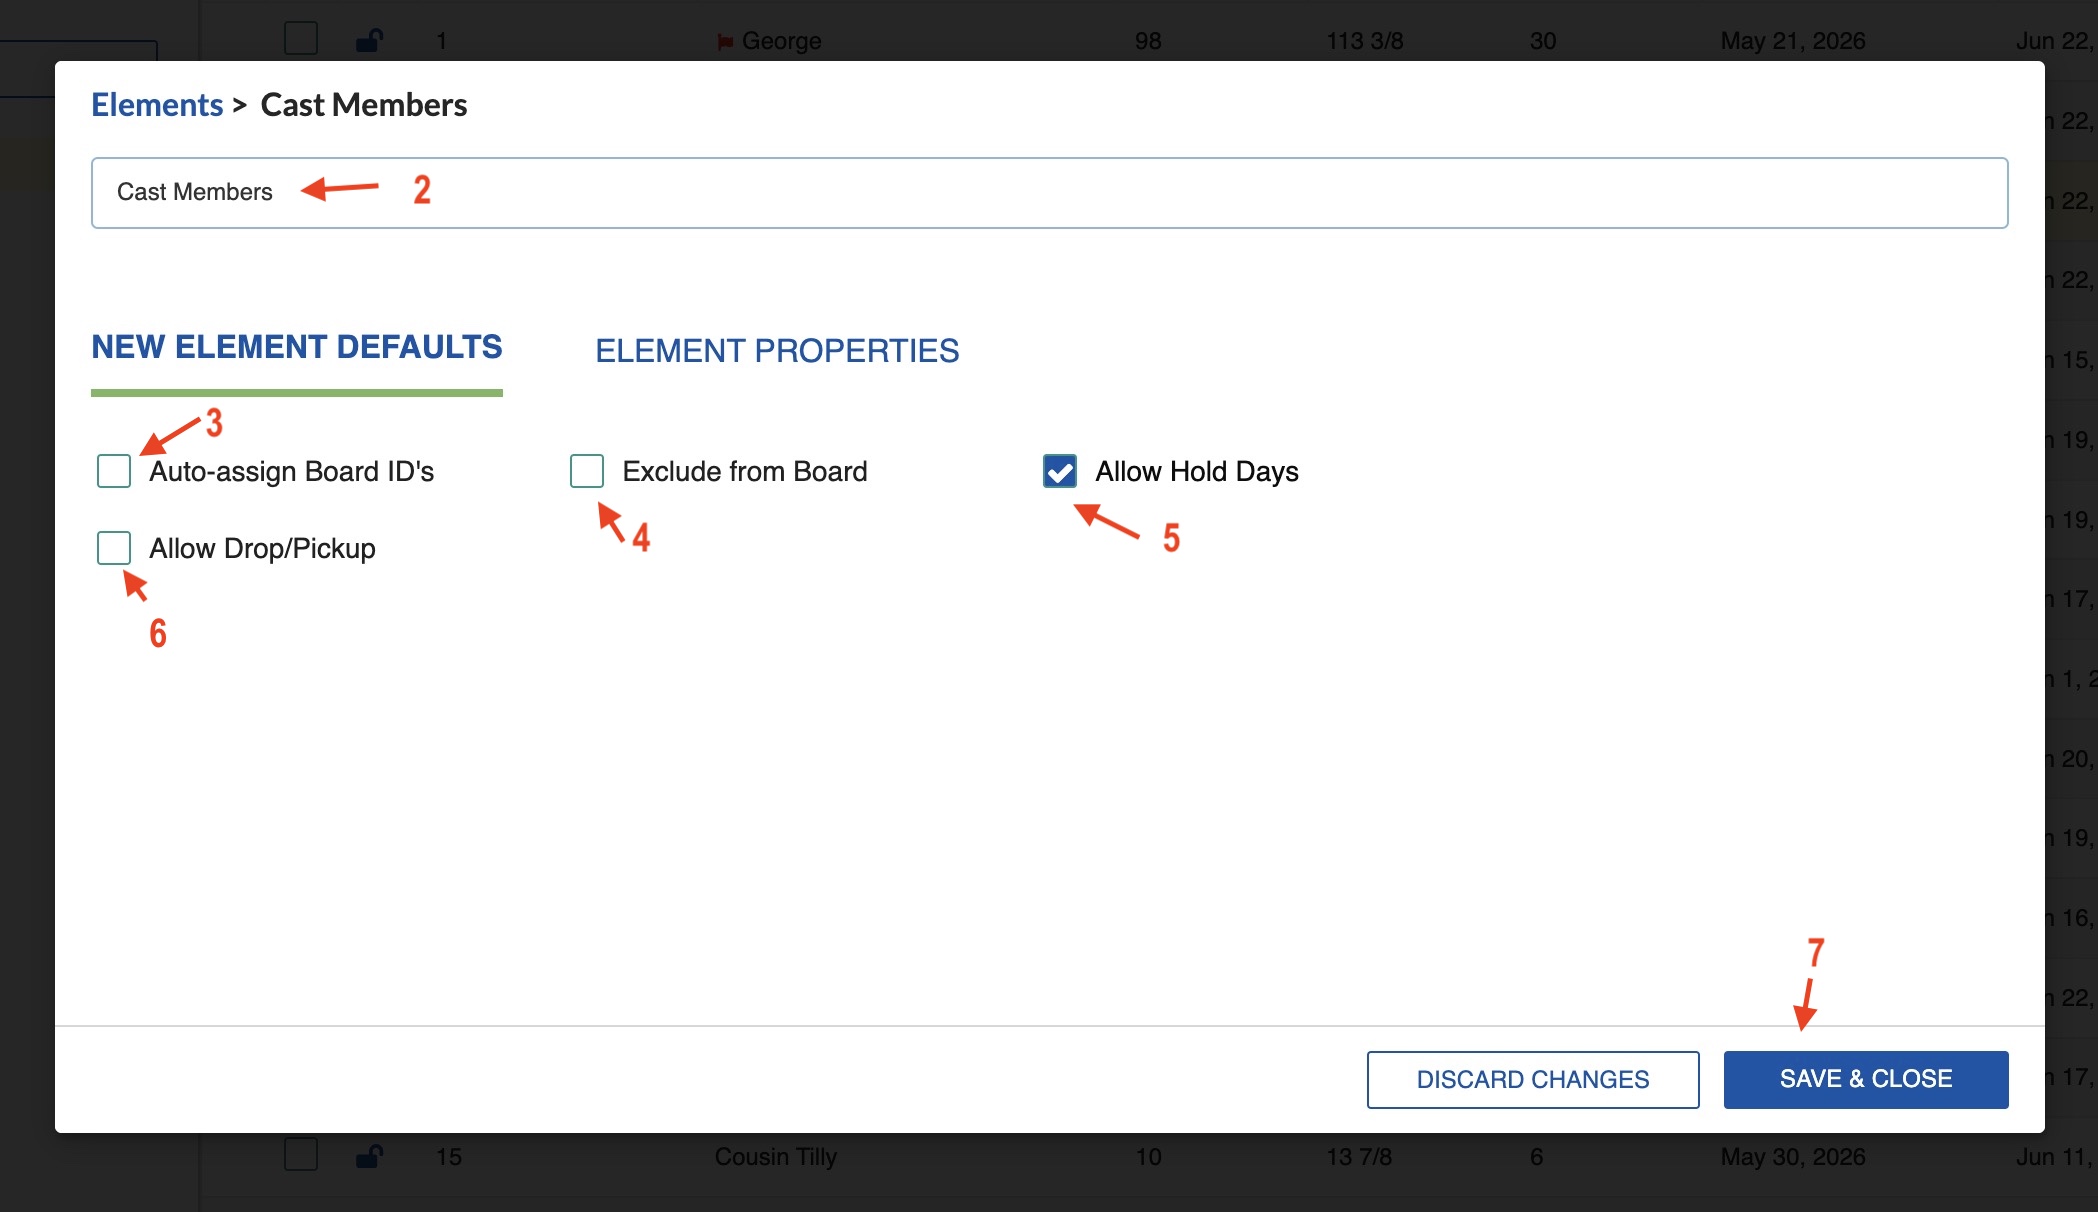
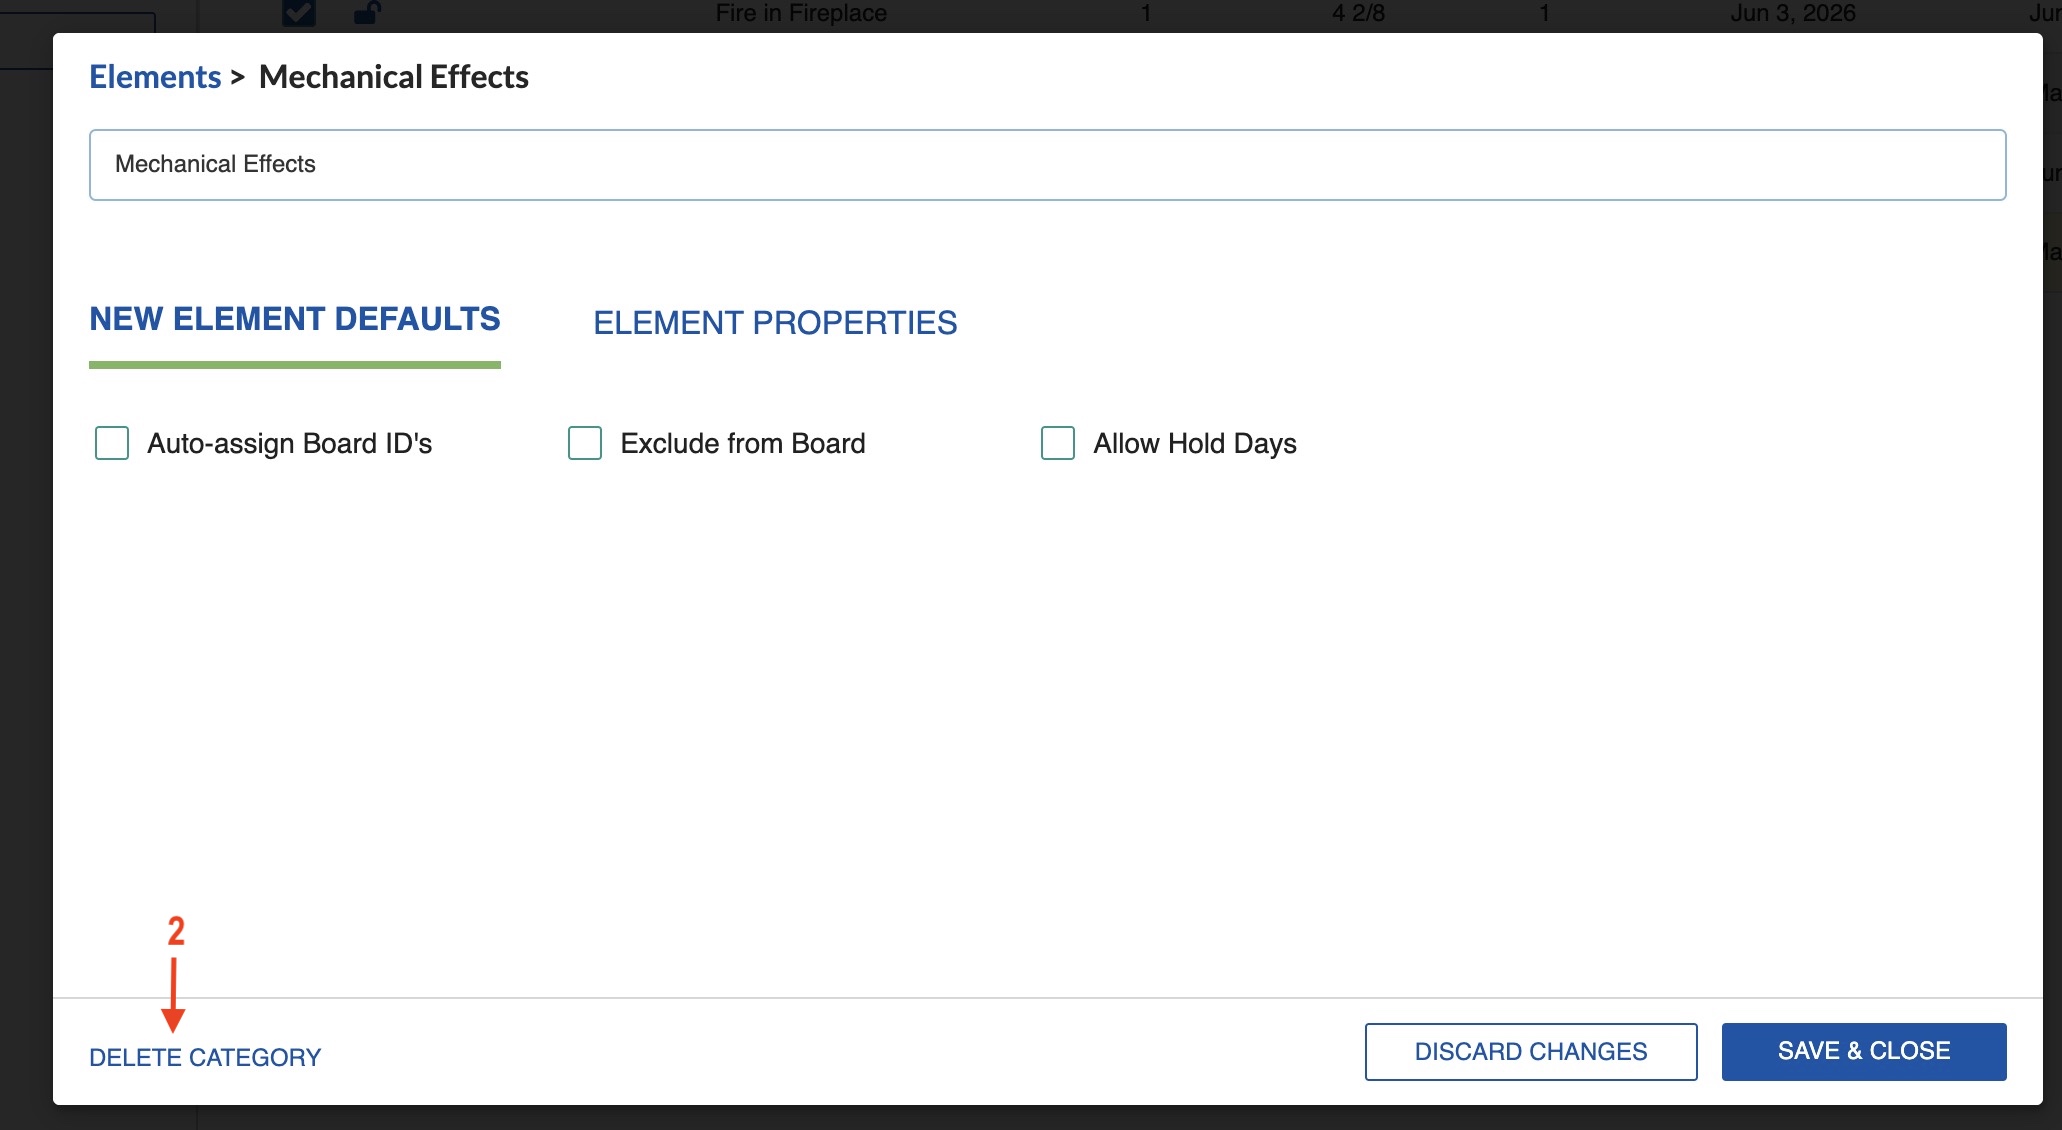
Edit the Category name if needed.
- Select if you want new Elements added to this Category to receive an automatically assigned Board ID (the next available whole number) when created.
- Select if you want Elements in this Category to be excluded from the Stripboard.
- Select if new Elements added to this Category should have Allow Drop/Pickup on by default (if applicable).
- Select the minimum days between Drop/Pickup (if applicable).
-
Click Save & Close.
Note
Category names must be unique.
Edit Element Properties
In the Element Properties tab of a Category, you can define custom fields that apply to all Elements in that Category.
- Click the Category header. Then, click the Edit (pencil) icon that appears.
- Click the Element Properties tab.
- Add, edit, or delete fields.
- Change the order of the fields if needed.
-
Click Save & Close.

Add New Category
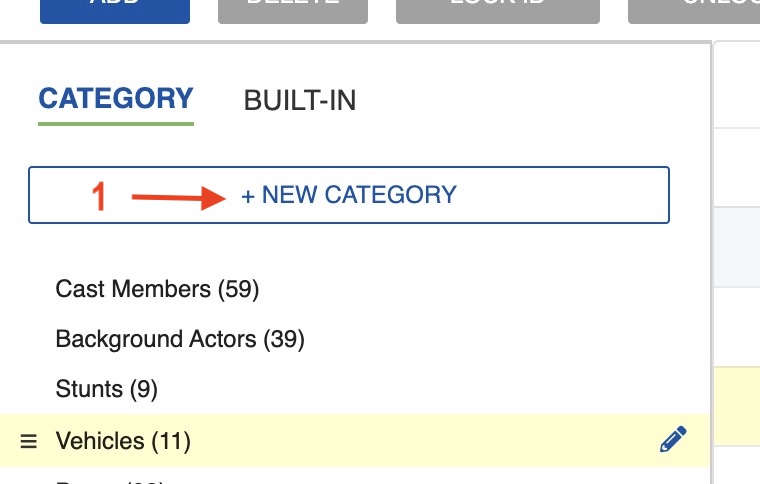
To add a new Category:
-
Click + Category in the top left of the Elements page.
-
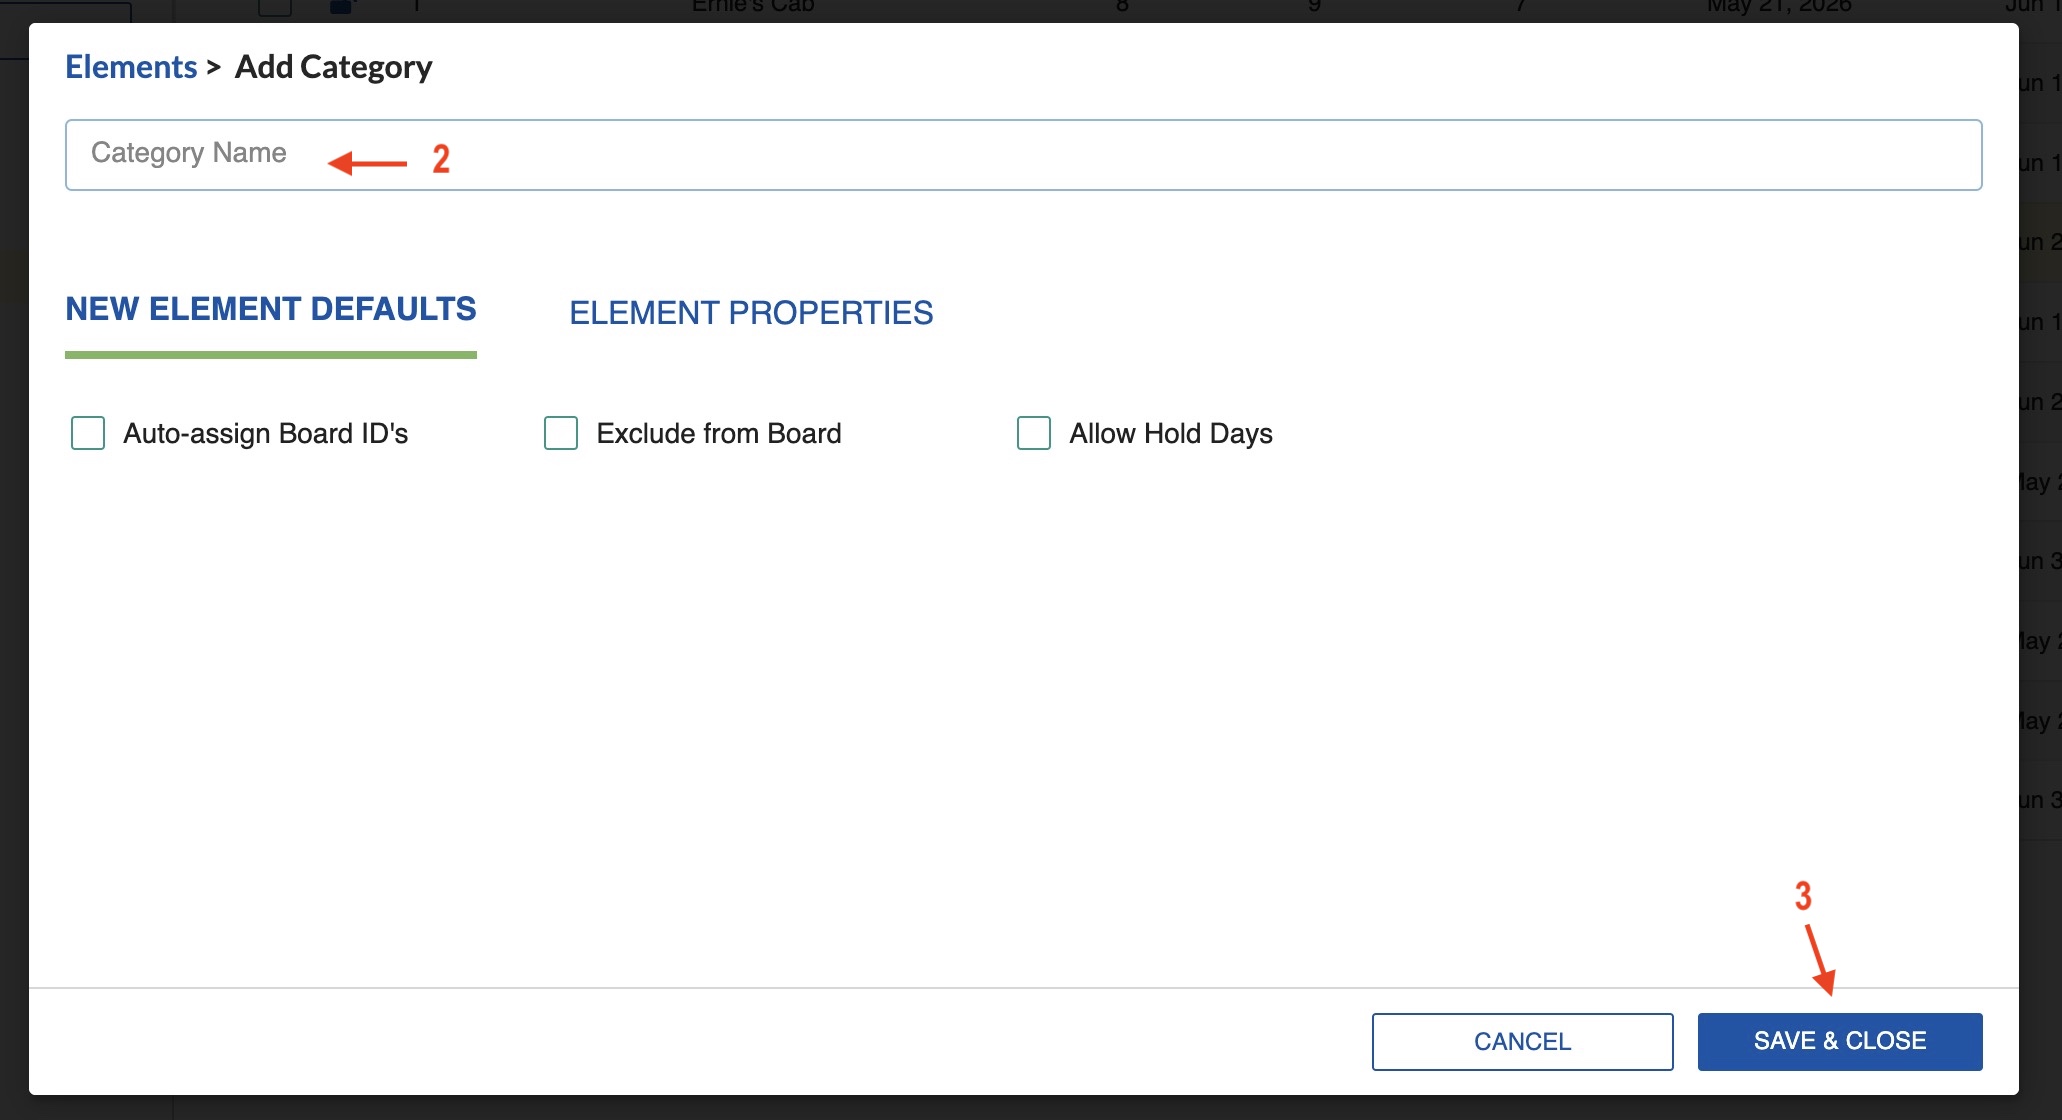
Select a name for the Category.
-
Click Save & Close.
Note
Category names must be unique.
Reorder Categories
To reorder your Categories:
- Click the three-bar icon next to the Category name.
-
Drag-and-drop the Category to a new location in the list.
Note
Built-in Categories that are standard in your MMS setup cannot be re-ordered.
Delete a Category
To delete a Category from your entire Schedule:
-
Click on the Category header and then click the Edit (pencil) icon.
-
Click DELETE CATEGORY.
-
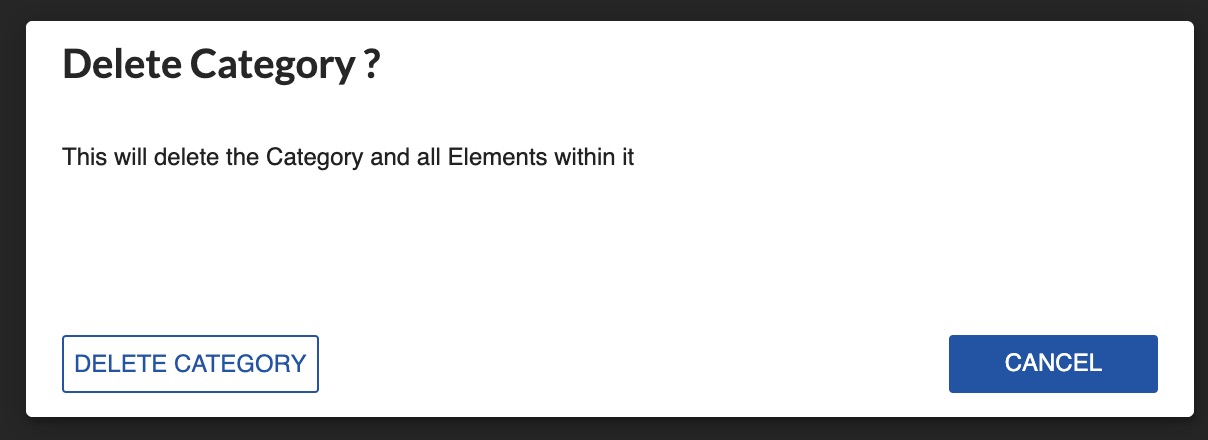
The system will ask you to confirm. Click Delete Category to continue.
Note
Any changes to your Categories will be reflected across the entire Schedule (in every Board and Sub-Board), as well as on the Breakdown Sheet.