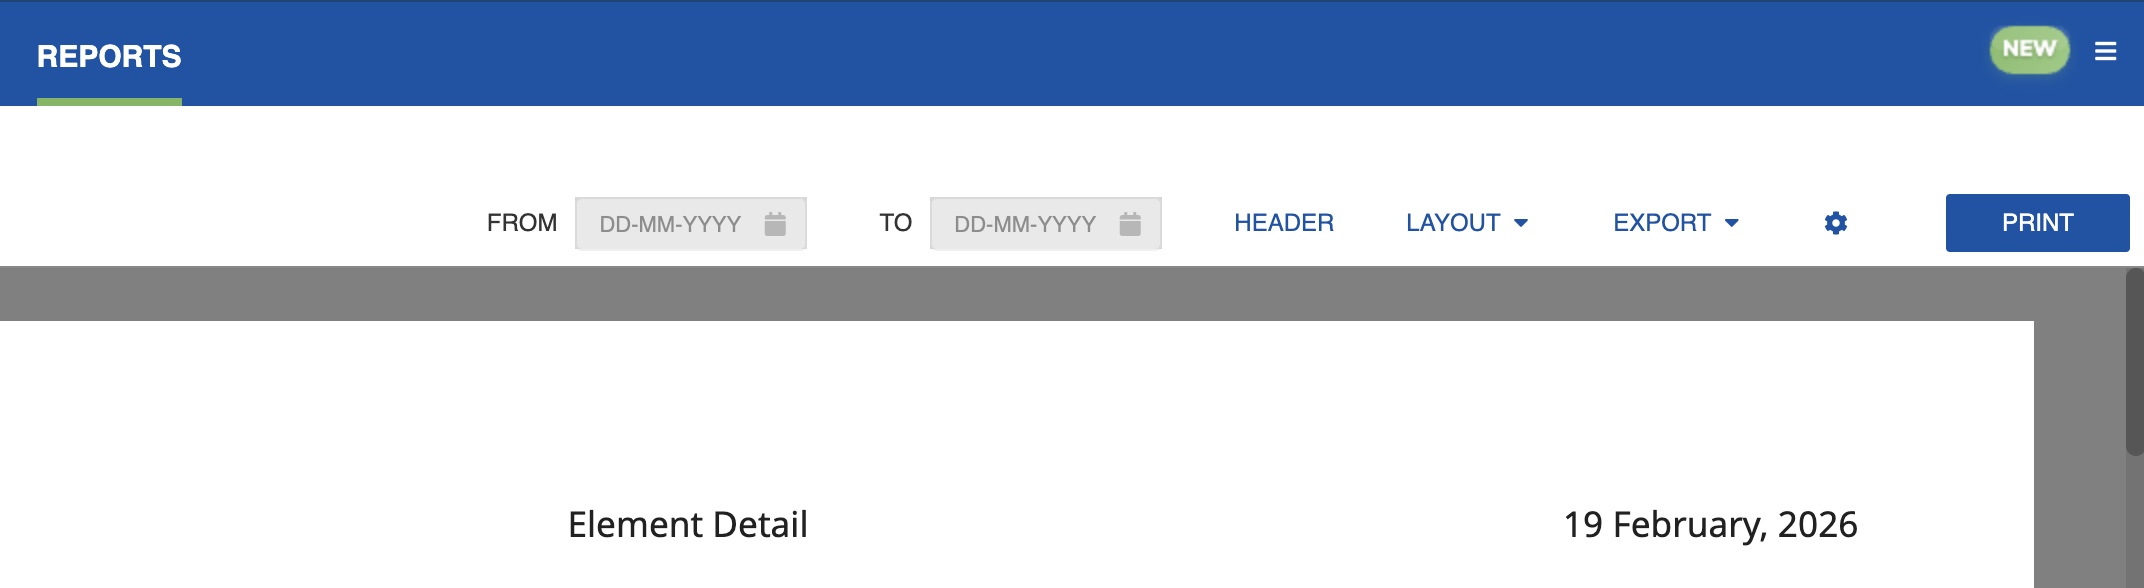
Element Detail
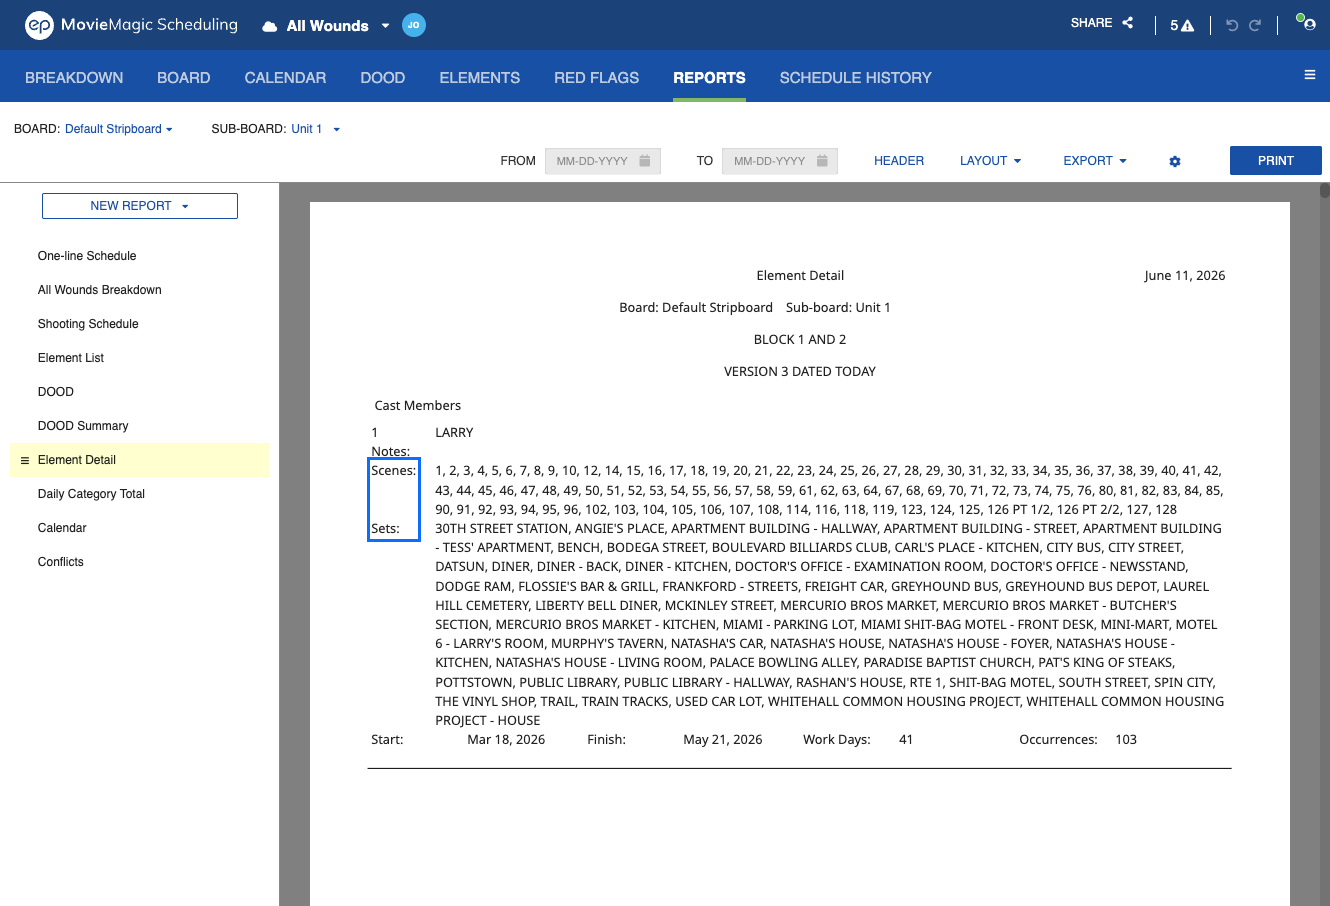
The Element Detail report provides a scene-by-scene breakdown of where and when each Element appears in the schedule.
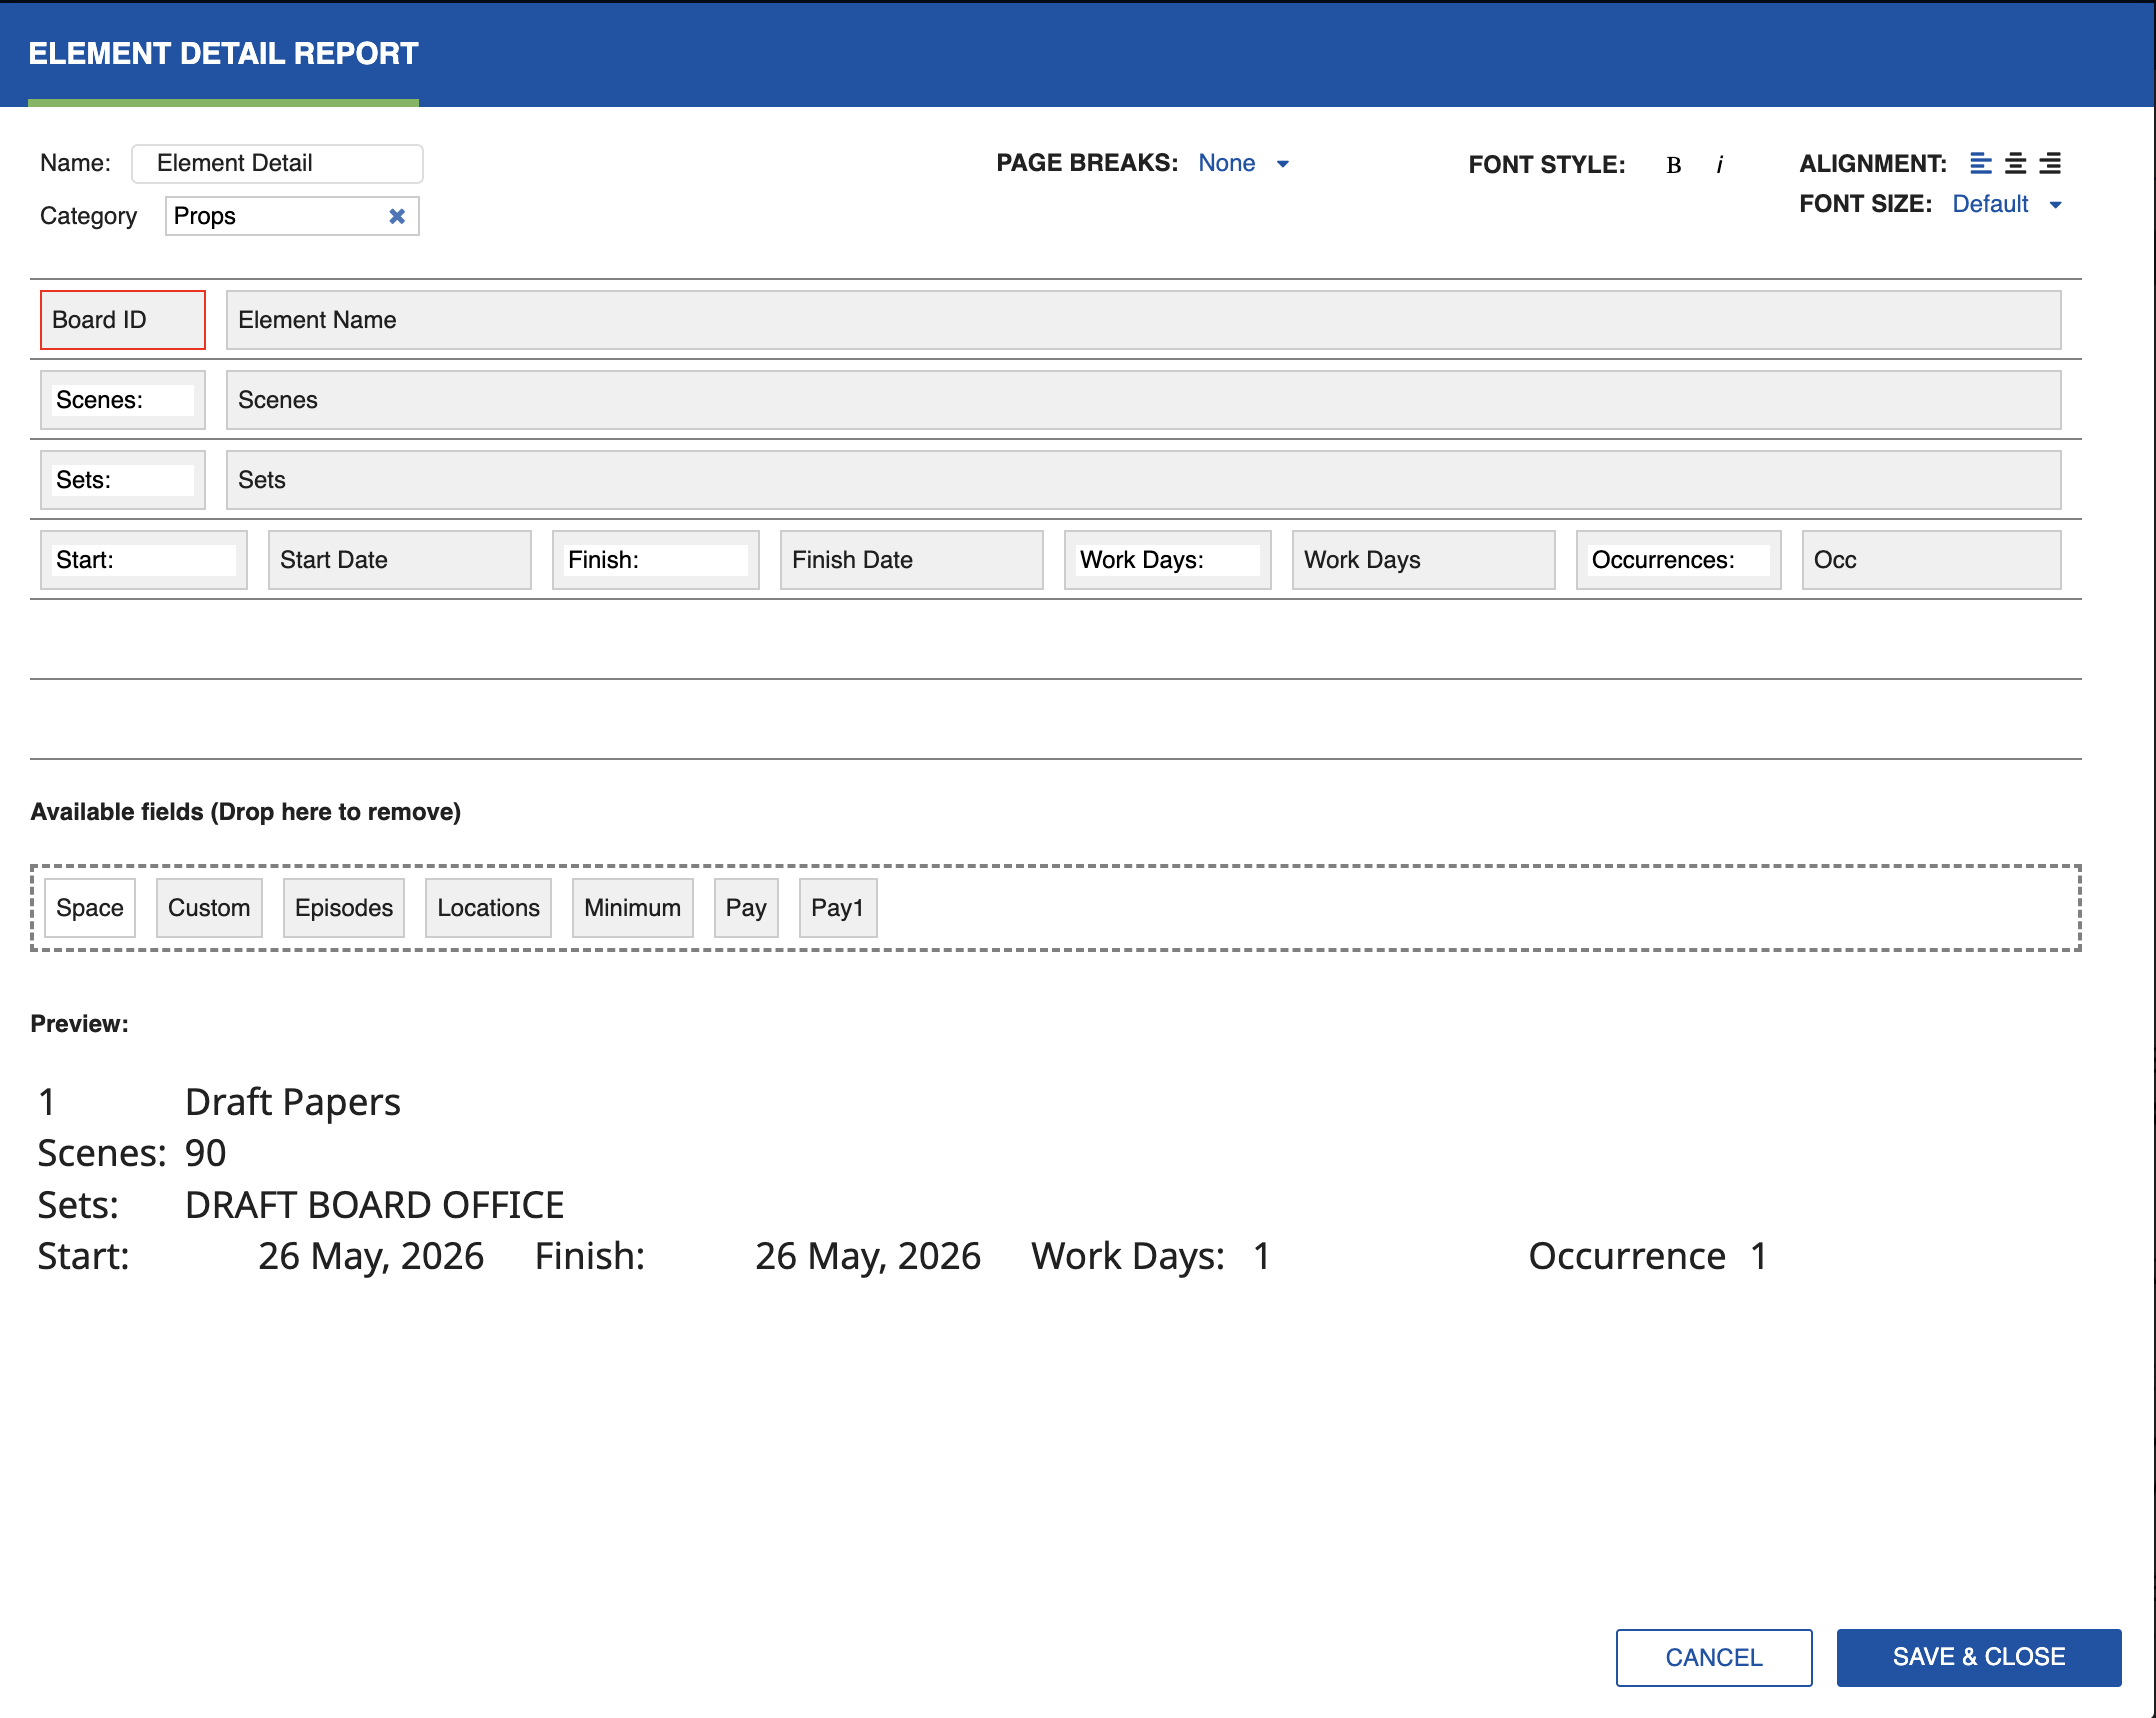
Use the CATEGORY and ELEMENT dropdowns at the top of the Report preview to select which Element to display. Calendar dates are greyed out.
For each scene the Element appears in, the report shows the scheduled date, scene number, set, and other relevant scene header information. Use this report to review an Element's full schedule across the production.
Click the Settings icon (cog) to open the settings dialog, where you can select the Element to be reported.
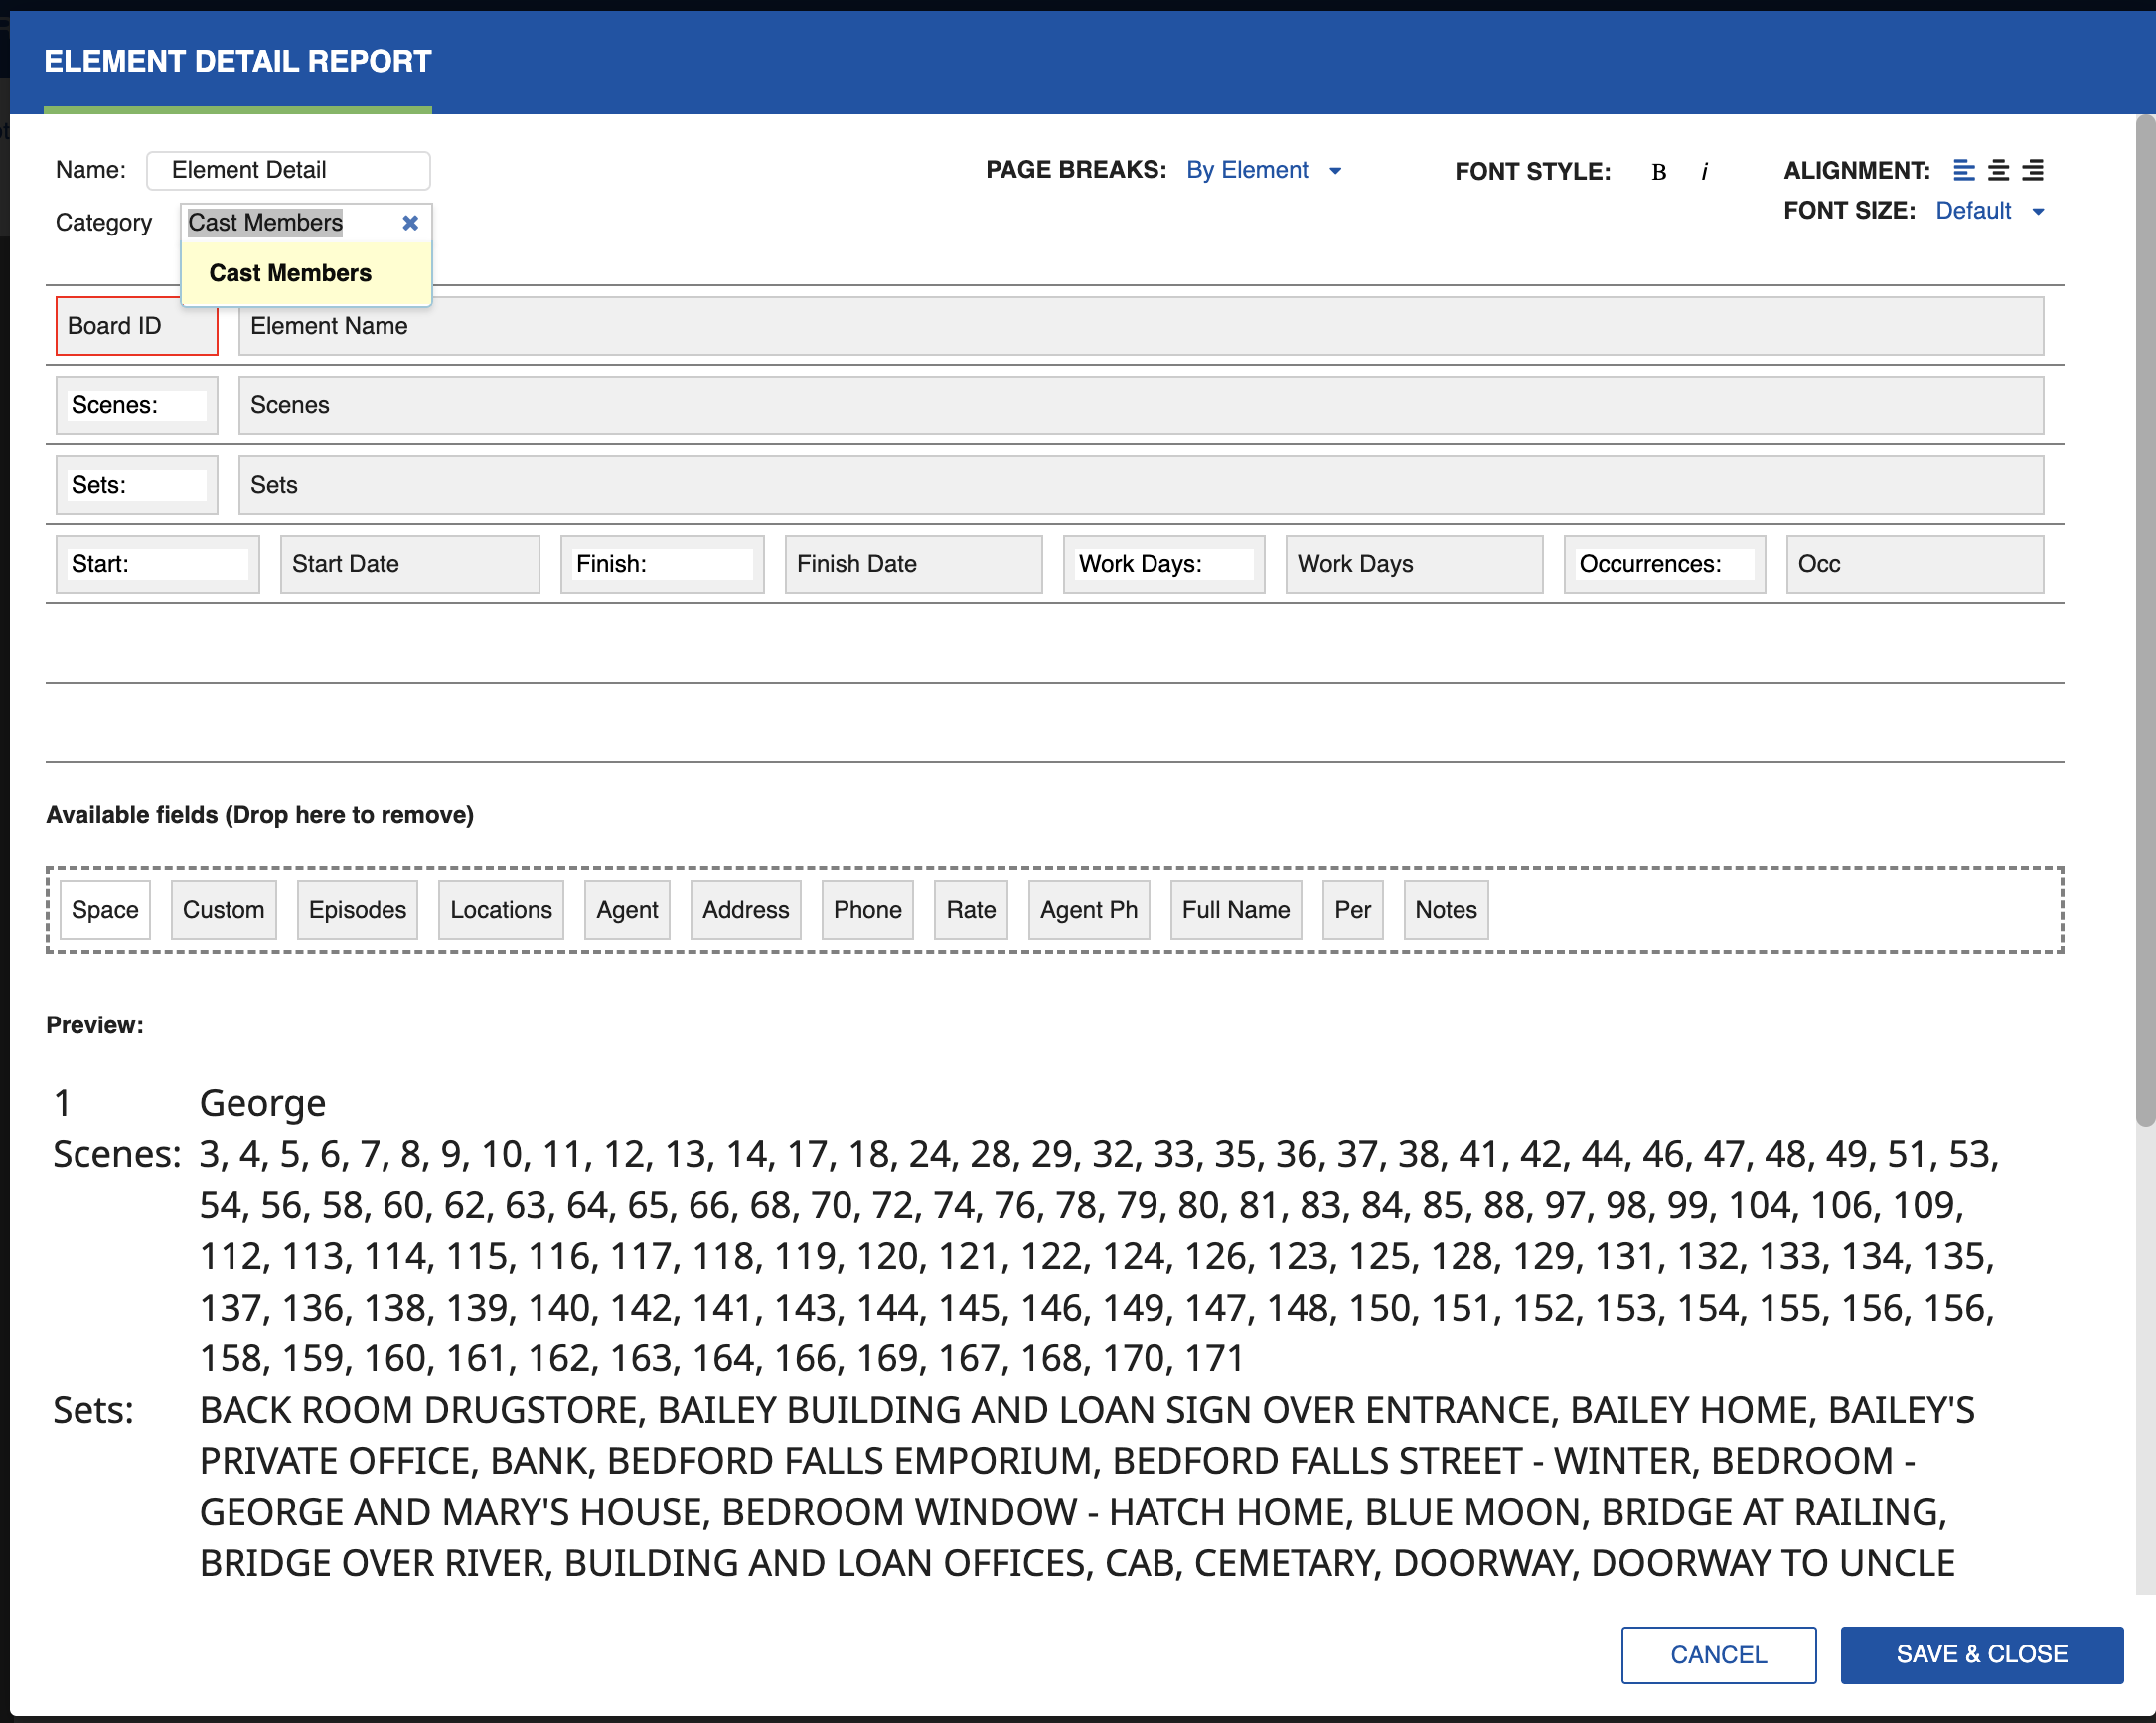
Type in the Category box to choose a Category. You can add fields driven by the Element Detail to the report layout.
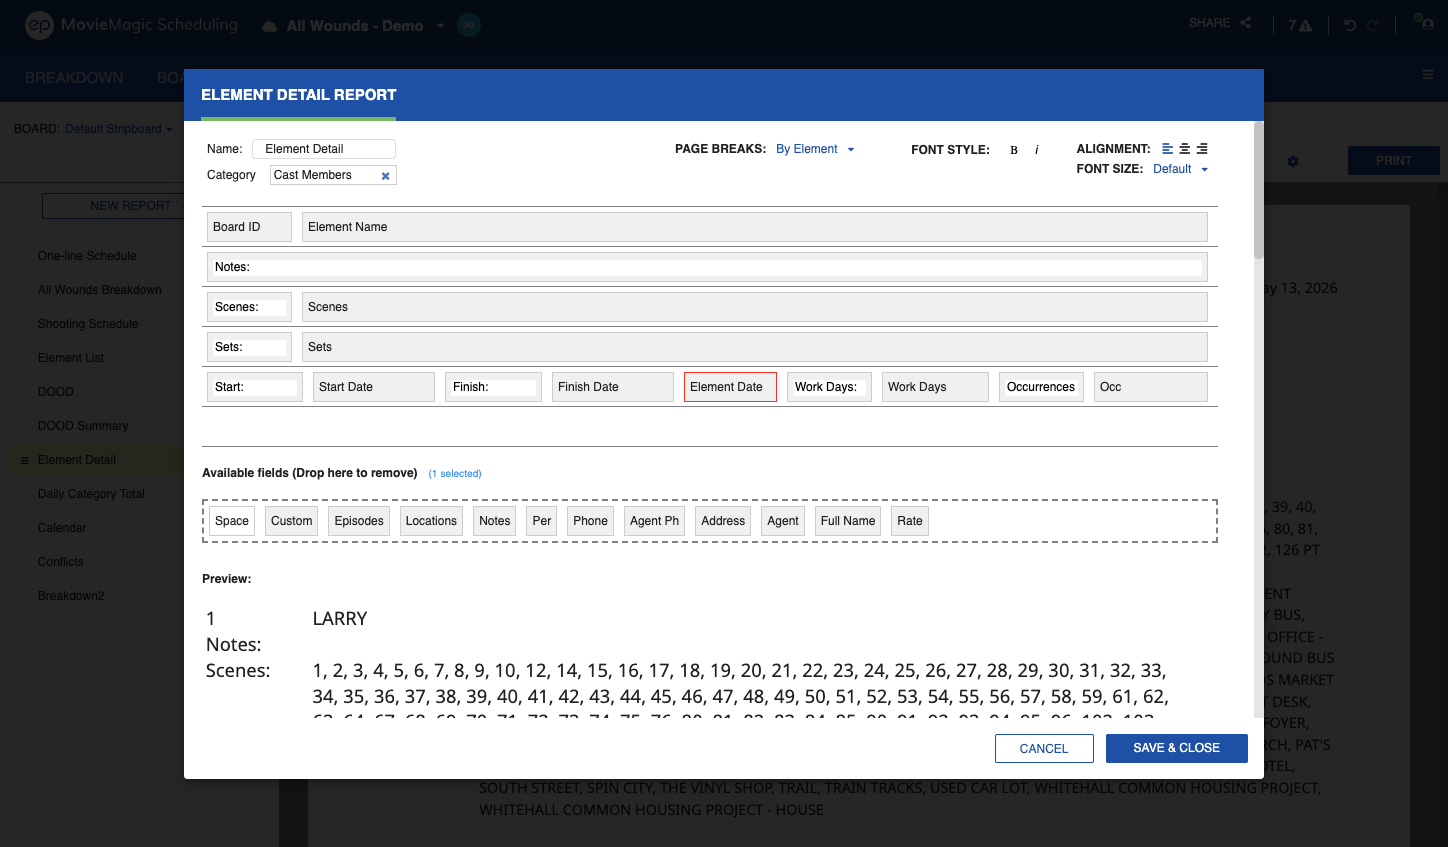
Element Date Field
The Element Date field is available in the Element Detail report designer. Adding it to a report displays all of the Element's working dates in sequence, comma-separated, using the system date format preference.
To add Element Date to the report:
- Open the Element Detail report.
- Click the Settings icon (cog) to open the report designer.
- Drag the Element Date field into a column.
- Click Save & Close.
Note
Values are Sub-Board specific. Element Date behaves like Start Date, End Date, and Workdays: used once per Element row, not recursive.
Built-in Category Fields
The Element Detail report includes Built-in Category fields for Elements mapped to a Built-in Category. Scenes, Sets, Location, and Episode appear in the report for Built-in Category Elements, matching the coverage already available for user-defined Category Elements.
You can export the Element Detail as a PDF or Excel sheet, or click Print to generate a hard copy.