Banner Strips
Banners can be inserted into your Boards and Sub-Boards to communicate information about the surrounding Strips. Banners are unique to one specific Board. They're not shared across all Boards in your Schedule.
Create a Banner
To create a Banner:
-
Select a Strip in your current Sub-Board. From there, you can:
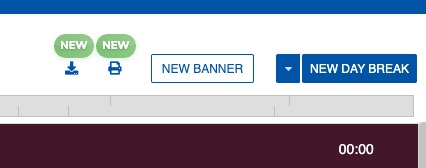
- Use the + BANNER option in the menu at the top of the Board.
- Press CTRL + B on Windows or CMD + B on macOS.
- Right-click and select Insert Banner.
-
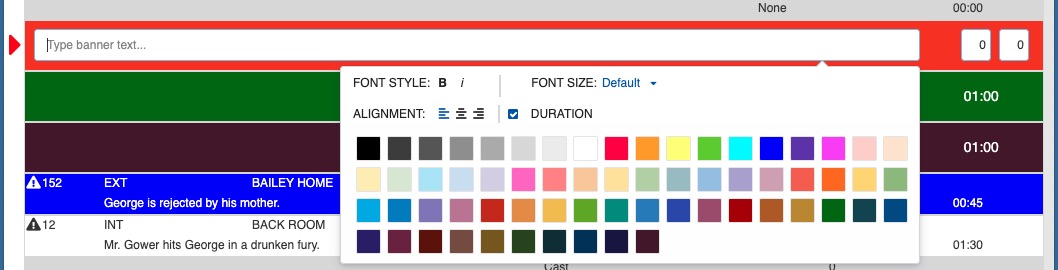
A new banner will be created. Enter any text you want to appear on the banner.
- Enter a Duration for the banner. This is calculated with Shoot Time for the Estimated Time for a given day.
-
Enter the text information in the text field, then select the font style, font size, alignment, and color.
-
Click any other Strip in your Board.
You can copy and paste Banners within the Board or across Sub-boards. Double-click a banner to edit without starting from scratch.
Banner Sizing
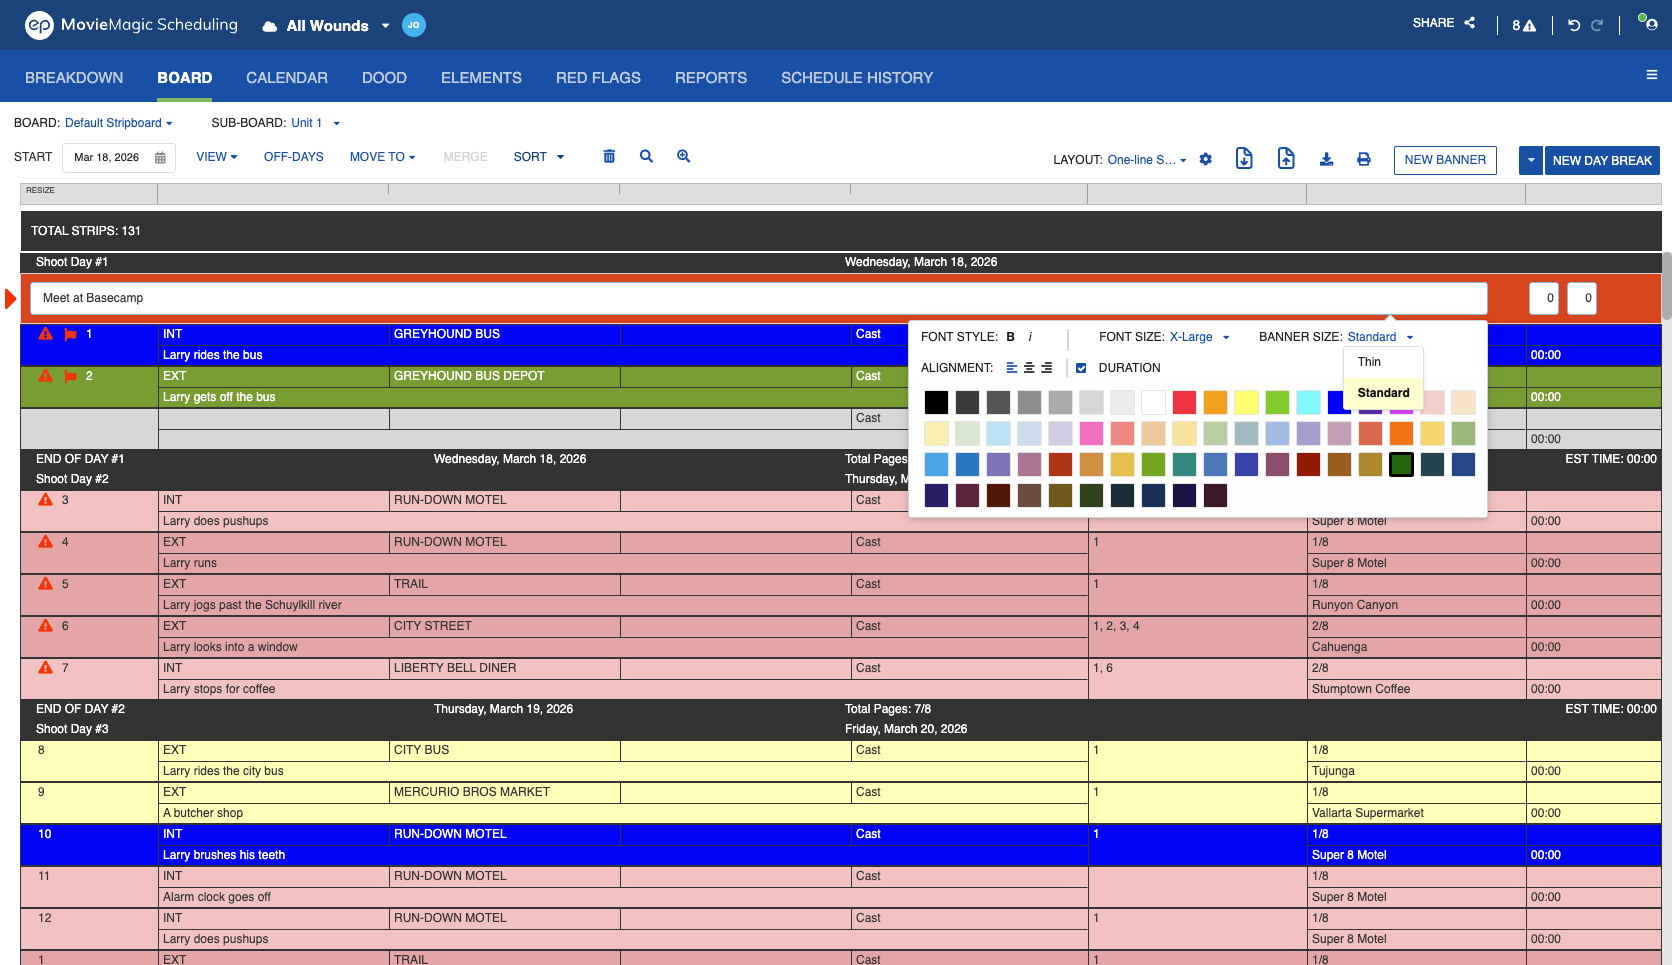
A full-height banner can take more vertical space on the Board and in reports than the note it carries needs. Each banner has its own designer. Click the Edit (pencil) icon on the banner or double-click it, then set BANNER SIZE to Thin or Standard.
- Standard is the full-height banner.
- Thin renders at half the Standard height.
Edit a Banner
Note
To edit an existing banner, click the edit icon (pencil) at the far right of the banner.
To edit a Banner:
- Click the Edit (pencil) icon at the far right of the banner you want to edit, or double-click the banner.
- Update the banner text or duration.
- Click any other Strip in your Board.
Delete a Banner
To delete a Banner:
- Select the Banners you need to delete. From there, you can:
- Press DELETE or BACKSPACE on your keyboard.
- Right-click on the selected Strips and select Delete Banner(s).
- Click DELETE in the menu at the top of the Board. A warning will display. Select Delete Banner(s) to confirm.